


📸 Introduction
Mastering shutter speed gives you complete control over your photography. It shapes how motion, light, and mood appear in every frame. If you want sharper action shots, smoother waterfalls, or balanced low-light images, you must learn how to adjust shutter speed. This single camera setting can freeze a bird in flight or turn rushing water into soft mist. Fast shutter speeds capture speed and detail. Slow shutter speeds add drama, light trails, and creative blur.
Understanding how to adjust shutter speed is not only technical—it is creative. Every small change can redefine your photo’s impact. You choose whether to reveal energy, calm, tension, or movement. In this guide, you’ll get step-by-step instructions on how to adjust shutter speed in digital cameras. You’ll learn when to use fast or slow shutter speeds and how to avoid common mistakes. Whether you shoot landscapes, portraits, or action, mastering shutter speed will transform your photography.
🧠 What is Shutter Speed?
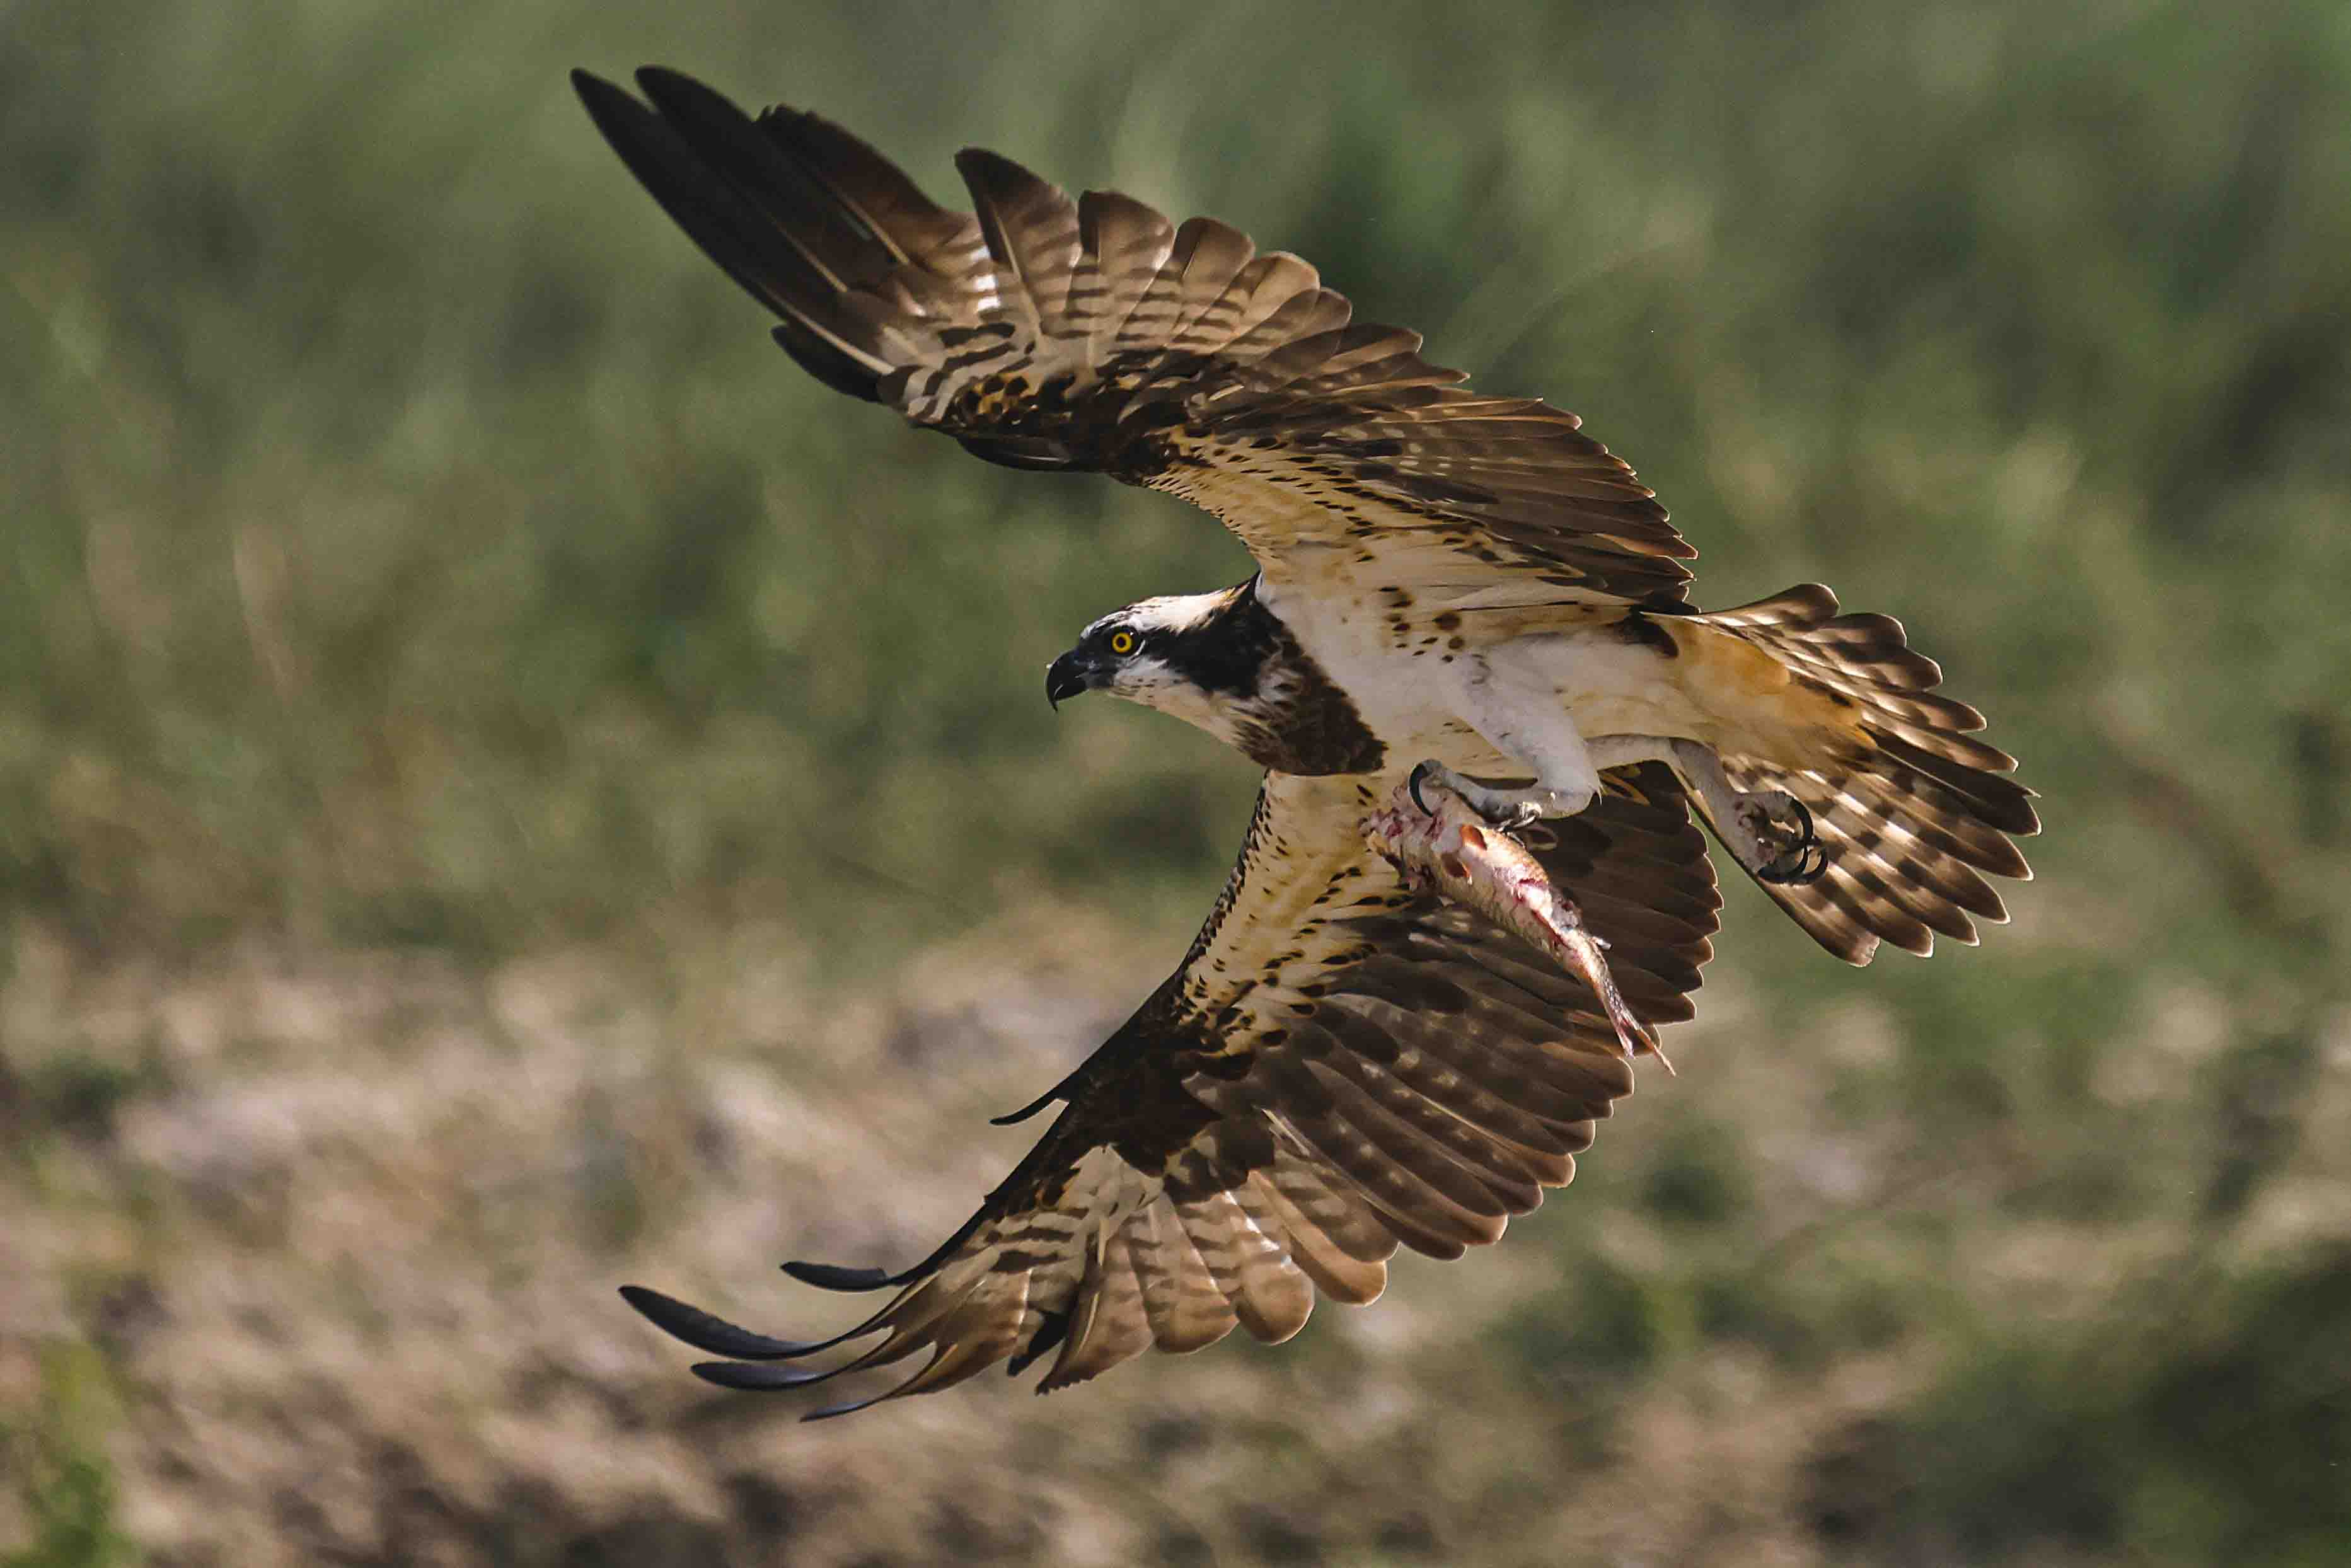
Osprey Flying With Fish – Photograph Captured with Higher Shutter Speed

Image captured with Low Shutter Speed
When learning how to adjust shutter speed, you must first understand what it means.
Definition: Shutter speed is the length of time your camera’s sensor stays exposed to light.
Units: It’s measured in seconds or fractions of a second (e.g., 1/1000s, 1/250s, 1/30s, 1s).
Function: It directly affects how much light enters and how motion appears in your photo.
⚡ Fast Shutter Speeds (1/500s – 1/4000s)
Freeze action with sharp clarity.
Perfect for sports, birds in flight, and fast-moving wildlife.
Reduce motion blur even in challenging conditions.
🌀 Slow Shutter Speeds (1/30s – several seconds)
Create motion blur for artistic effects.
Capture waterfalls, flowing rivers, and light trails.
Essential for night photography and astrophotography.
⚖️ Medium Shutter Speeds (1/60s – 1/200s)
Great for everyday shooting.
Balanced control for portraits, landscapes, and handheld shots.
Reduce blur when combined with steady hands or tripods.
👉 In short, shutter speed decides how motion looks in your photo. Mastering how to adjust shutter speed gives you creative power. Whether you want sharp frozen frames or dreamy motion blur, shutter speed makes it possible.
🛠 How to Change Shutter Speed on a Digital Camera
1. Switch to the Right Shooting Mode

Shutter Speed Setting in Digital Photography
To learn how to adjust shutter speed effectively, you must select the correct shooting mode. Your camera offers several modes that control how much freedom you have over shutter settings.
📸 Manual Mode (M):
Gives you complete control.
You decide both shutter speed and aperture.
Perfect for photographers who want full creative control.
⚡ Shutter Priority Mode (S or Tv):
You set the shutter speed.
The camera adjusts aperture automatically.
Ideal for beginners learning how to adjust shutter speed.
🌙 Aperture Priority Mode (A or Av):
You set the aperture.
The camera chooses the shutter speed.
Best for portraits or shallow depth-of-field shots.
🤖 Auto Mode:
The camera decides shutter speed, aperture, and ISO.
Easy for quick snapshots but limits creativity.
⏱ Shutter Speed in Action
Fast shutter speeds (1/500s – 1/4000s): Freeze fast-moving subjects like birds, athletes, or cars.
Medium shutter speeds (1/60s – 1/250s): Balance sharpness and natural motion in everyday photography.
Slow shutter speeds (1s or longer): Create motion blur, smooth waterfalls, or capture light trails at night.
⚡ Pro Tip
Switch to Shutter Priority Mode when starting out. It’s the easiest way to practice how to adjust shutter speed without worrying about aperture.
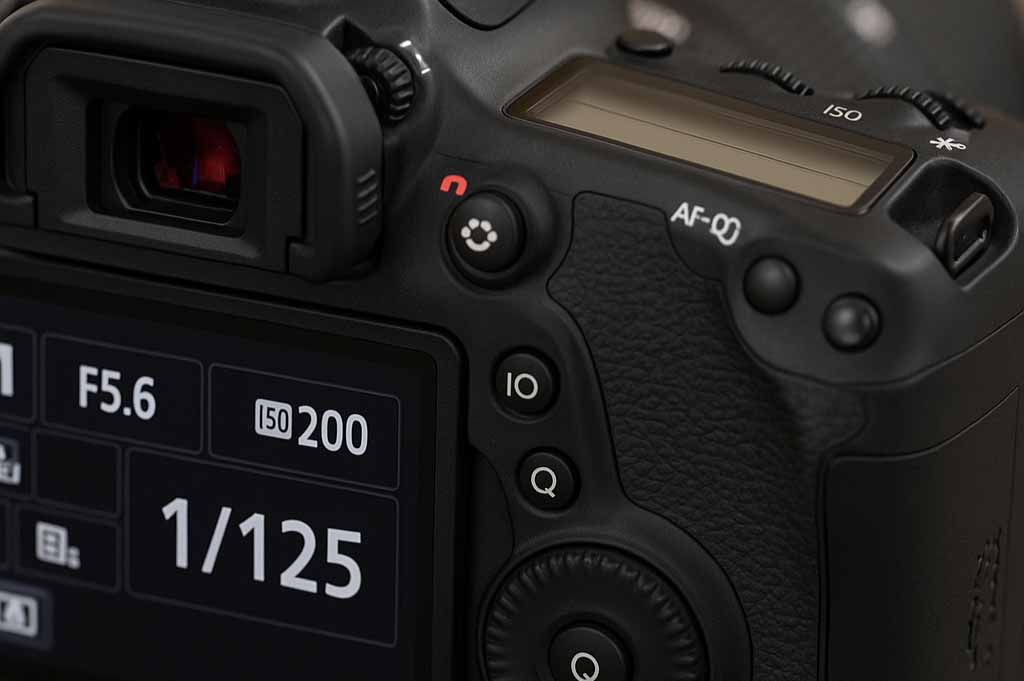
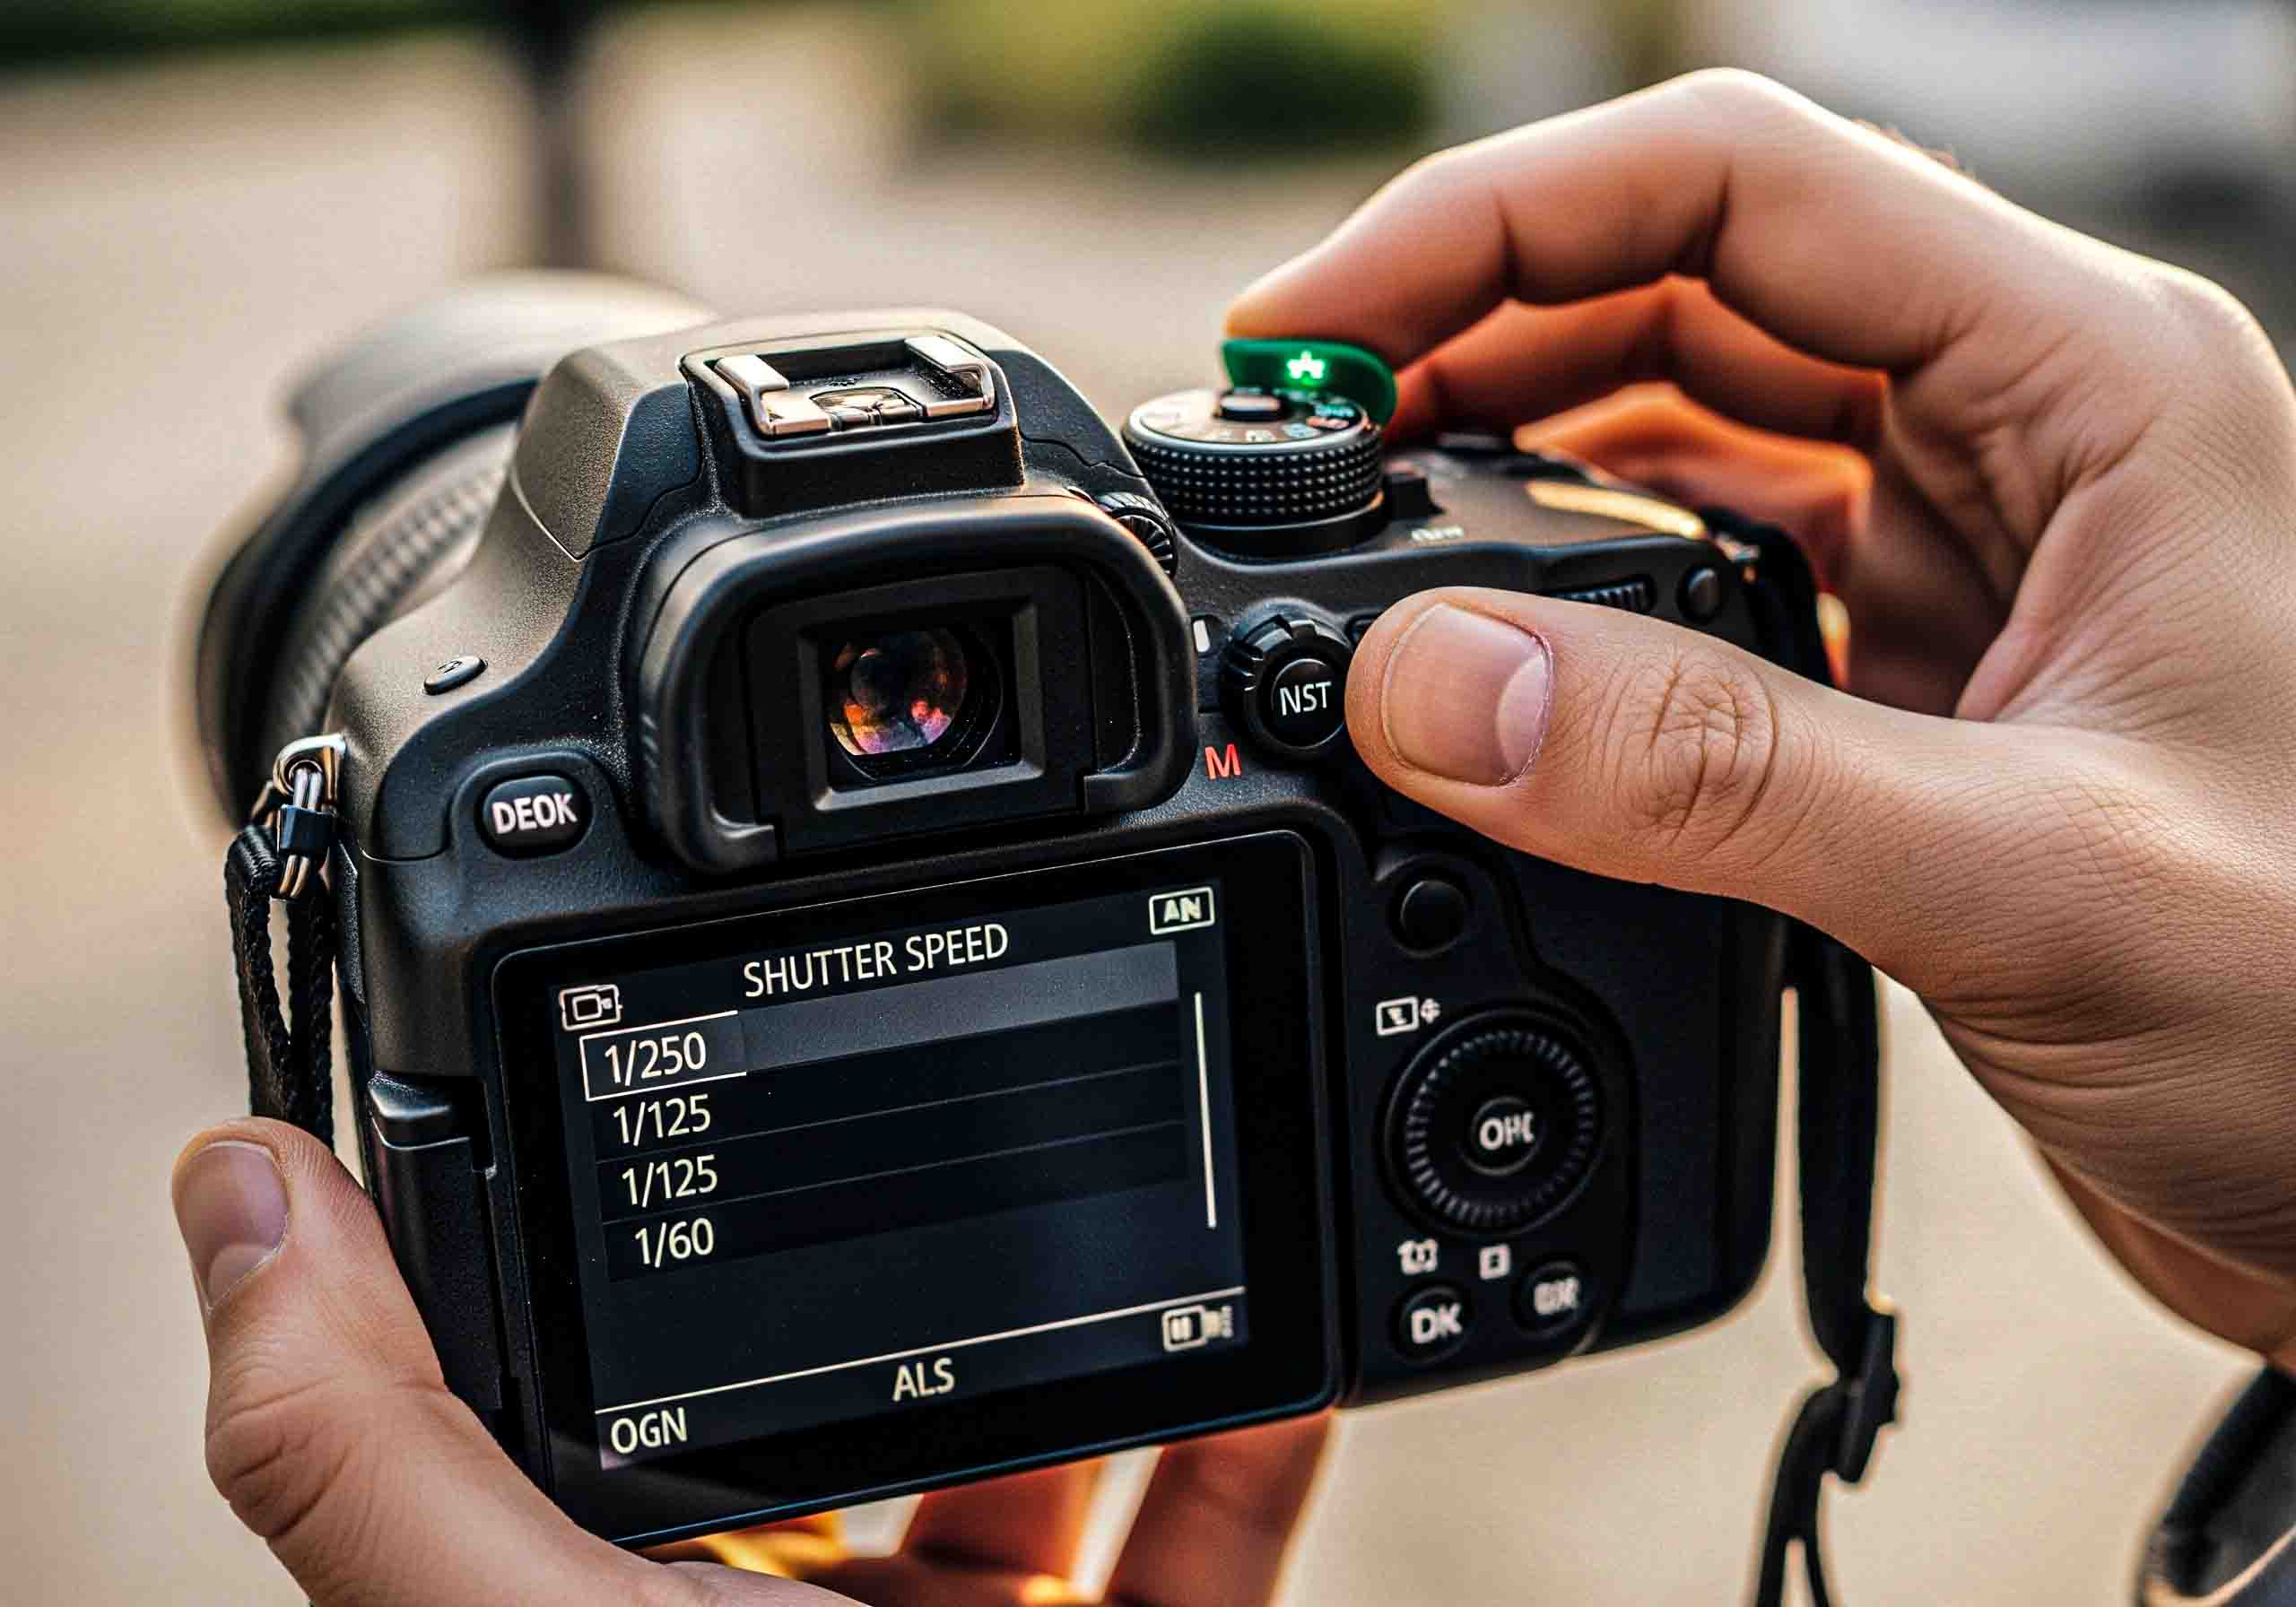
2. Locate the Shutter Speed Setting
When learning how to adjust shutter speed, the first step is finding the control on your camera. Modern cameras make it simple to view and change.
🔎 Where to check shutter speed:
Most digital cameras display it on the LCD screen.
You can also see it inside the viewfinder.
The format usually looks like:
1/1000 → Fast shutter, great for freezing action.
1/30 → Standard shutter, good for handheld shots.
1” → Slow shutter, best for night or low light. (The quote “ ” symbol means full seconds.)
⚙️ How to adjust shutter speed on DSLRs and mirrorless cameras:
Turn the main dial near the shutter button.
Some models use the rear control dial instead.
Switch your camera to Manual (M), Shutter Priority (S or Tv), or Program (P) mode.
In Auto mode, you often can’t set shutter speed manually.
💡 Quick Tip:
Check your screen while rotating the dial. The numbers change instantly, helping you choose the perfect setting.
By knowing exactly where to locate and adjust shutter speed, you gain more control over motion, light, and creativity in your shots.
3. Use the Screen or Viewfinder to Check Exposure
When learning how to adjust shutter speed, your screen or viewfinder becomes your best guide. Both tools let you preview how light enters your camera. This quick check prevents overexposure or underexposure.
✅ Why use the screen or viewfinder?
Shows real-time brightness before you click.
Helps balance shutter speed with aperture and ISO.
Gives instant feedback on motion blur or sharpness.
🔍 Steps to follow:
Turn on Live View or look through the viewfinder.
Half-press the shutter button to preview exposure.
Adjust shutter speed up or down.
Faster speed → darker image, less blur.
Slower speed → brighter image, more motion trails.
Check the exposure bar or histogram for accuracy.
💡 Pro Tip:
Use the screen outdoors when you need clear visibility of brightness. In bright sunlight, the viewfinder gives better accuracy.
⚡ Key Takeaway:
Always confirm exposure using the screen or viewfinder when practicing how to adjust shutter speed. This habit ensures consistent, well-lit, and sharp images.
🔎 Adjusting Shutter Speed on Different Camera Brands

Learning how to adjust shutter speed depends on your camera brand. Each system has its own dials and settings. Here’s a quick guide:
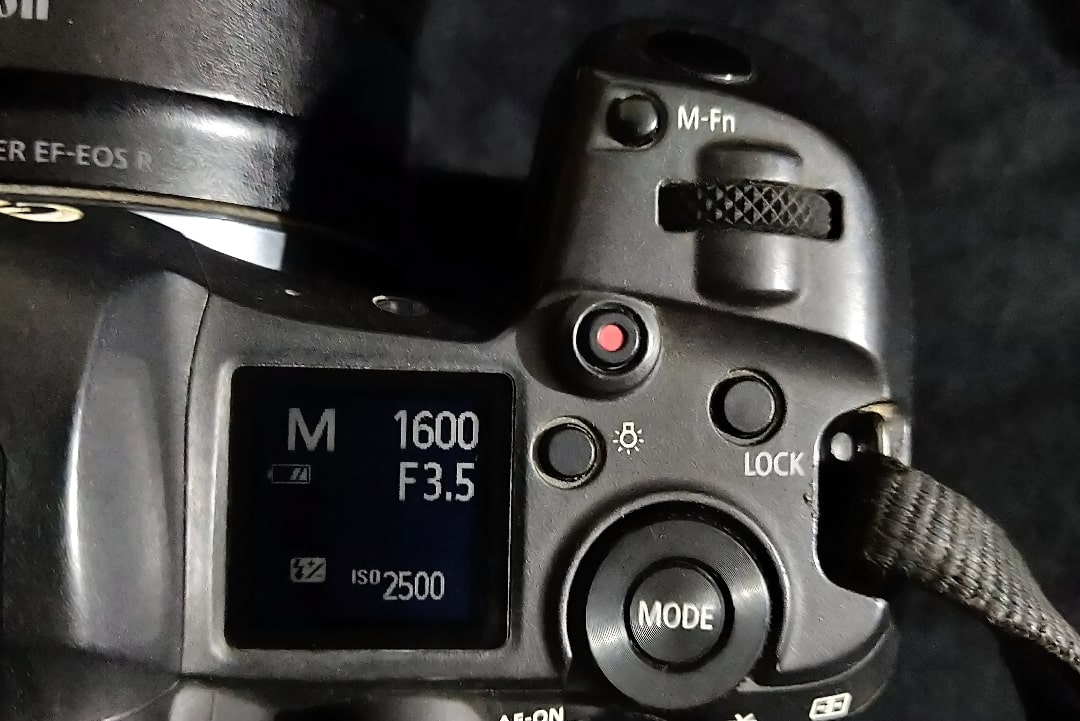
🔴 Canon Cameras
Turn the mode dial to M (Manual) or Tv (Shutter Priority).
Rotate the main dial near the shutter button.
Watch the display screen or viewfinder to confirm speed changes.
Use Tv mode for quick adjustments, M mode for full control.
👉 Tip: Canon labels shutter priority as “Tv”, meaning Time Value.
🟡 Nikon Cameras
Set the mode dial to M (Manual) or S (Shutter Priority).
Rotate the command dial, usually on the back or top.
Check the screen for live updates of shutter speed.
In S mode, the camera controls aperture while you set speed.
👉 Tip: Nikon uses “S” instead of Tv for shutter priority.
🔵 Sony Mirrorless Cameras
Switch the mode dial to S (Shutter Priority) or M (Manual).
Adjust using the rear control wheel or front dial, depending on model.
Look at the EVF or LCD to see speed changes instantly.
In S mode, Sony balances exposure with aperture and ISO.
👉 Tip: On Sony Alpha models, both front and rear dials adjust shutter speed quickly.
✅ Pro Advice: Always start at 1/125s for handheld shots. Go faster for moving subjects, slower for creative motion blur.
📊 Shutter Speed Adjustment Comparison
| Brand | Shutter Priority Mode | Manual Mode | Adjustment Dial | Display Check |
|---|---|---|---|---|
| Canon | Tv (Time Value) | M | Main dial near shutter | LCD / Viewfinder |
| Nikon | S (Shutter Priority) | M | Command dial (back/top) | LCD / Viewfinder |
| Sony | S (Shutter Priority) | M | Rear wheel / Front dial | EVF / LCD |
🧪 Experimenting with Shutter Speed: Practical Examples
| Shutter Speed | Use Case |
|---|---|
| 1/2000s | Bird in flight or fast sports |
| 1/500s | Portraits or street photography |
| 1/30s | Low-light hand-held shots |
| 1” (1 second) | Light trails, night shots |
| 30” (30 sec) | Astrophotography, long exposure |
Understanding how to adjust shutter speed is one of the fastest ways to improve your photography. Shutter speed controls how long your camera’s sensor is exposed to light. It also decides whether your subject looks frozen in action or blurred with motion.
Think of it like this:
Fast shutter speeds = freeze motion and create sharp, detailed photos.
Slow shutter speeds = capture movement, light trails, and dreamy effects.
The table above shows practical shutter speed examples for different photography situations.
👉 Pro Tip: Always check your lighting conditions. For fast-moving subjects like wildlife or sports, aim for 1/1000s or faster. For night skies, go for 10–30 seconds with a tripod.
📊 Shutter Speed Chart (Examples You Can Add as Table or Graphic)
If you’re still wondering how to adjust shutter speed for your own style, use this chart as a quick guide. It covers common shutter speed ranges, their use cases, and the results you can expect.
| Shutter Speed | Use Case | Result |
|---|---|---|
| 1/4000 – 1/1000 sec | Sports, birds in flight, fast cars | Freezes motion, crisp detail |
| 1/500 – 1/250 sec | Portraits, walking people, street shots | Sharp images, avoids blur |
| 1/125 – 1/60 sec | Everyday photography, events | Balanced, handheld safe |
| 1/30 – 1 sec | Night street scenes, motion blur | Light trails, movement effects |
| 1–30 sec (long exposure) | Waterfalls, astrophotography, star trails | Dreamy blur, bright low-light capture |
📌 Quick Advice:
Use 1/4000s – 1/1000s for freezing speed in sports or bird photography.
Use 1/500s – 1/250s for everyday portraits with sharp details.
Use 1/125s – 1/60s for handheld general photography.
Use 1/30s – 1s for creative blur in night shots.
Use 1–30s for long exposures like waterfalls and star trails.
👉 Bonus Insight: The right shutter speed depends on both light and subject. Always balance with aperture and ISO for the perfect exposure.
📦 Bonus Tips for Better Results
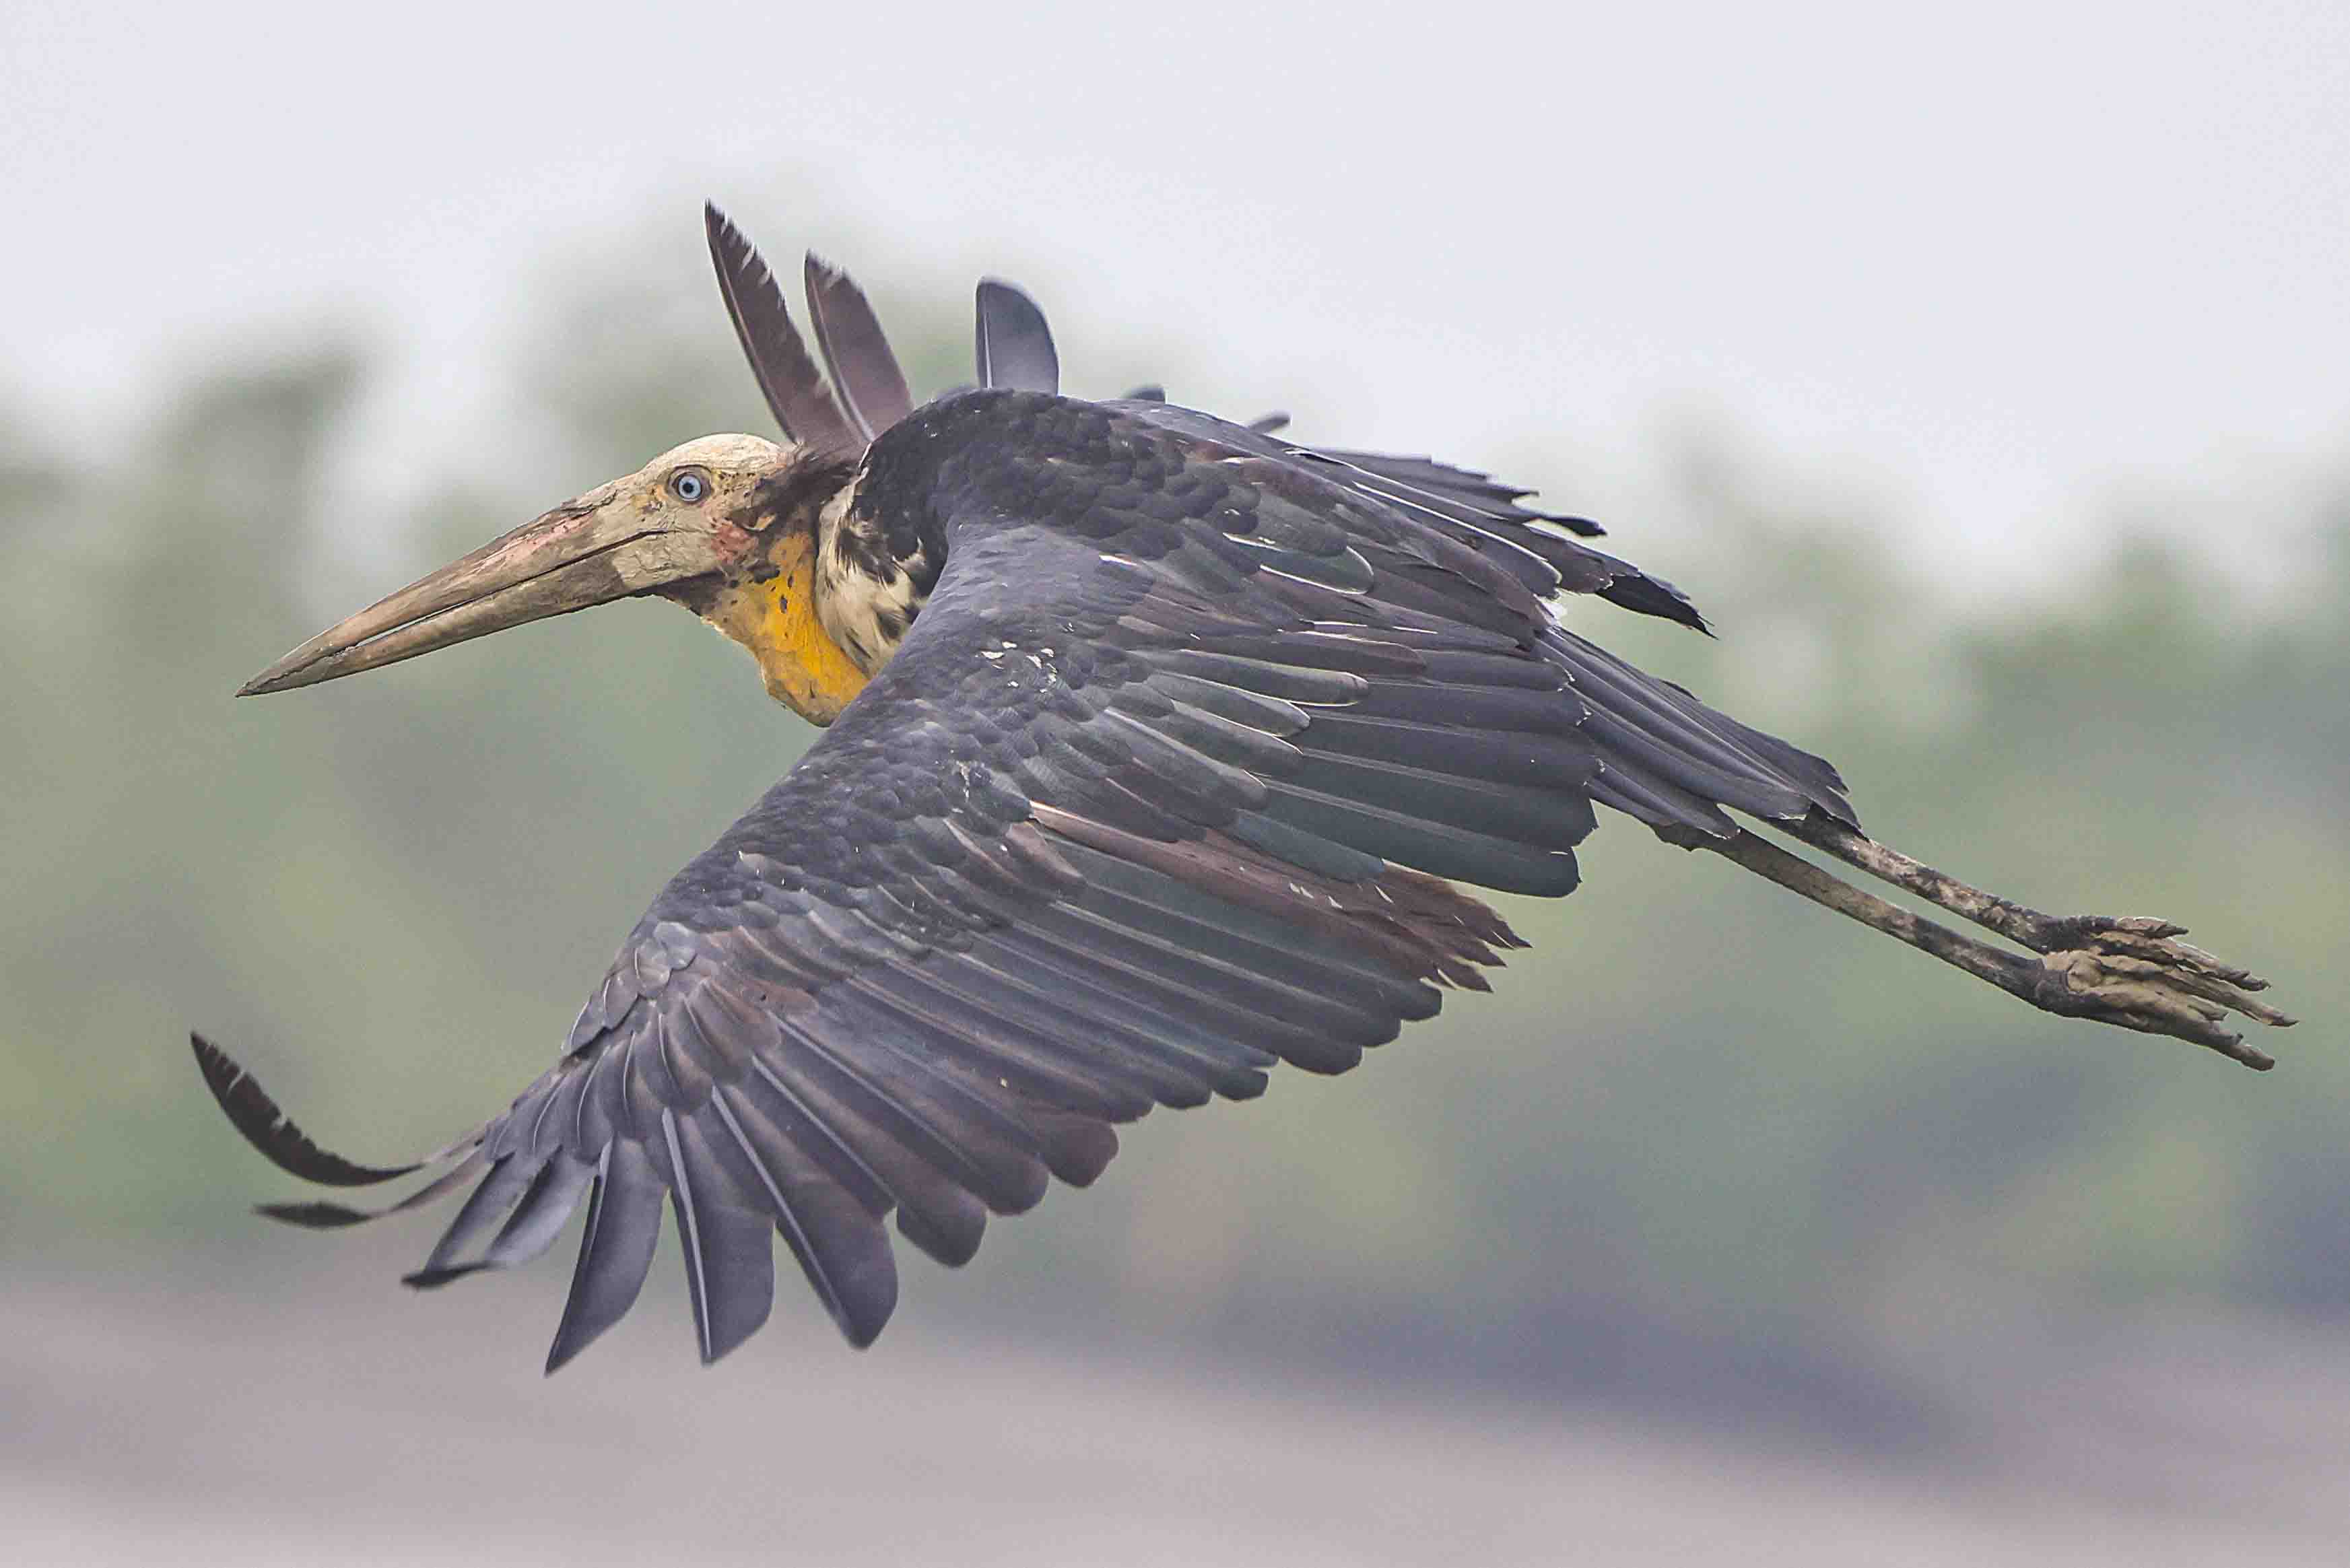
Flying Lesser Adjutant in Sundarban
Mastering how to adjust shutter speed takes more than knowing the basics. These practical tips will help you capture sharper, more creative images every time.
✅ Use a sturdy tripod – A tripod keeps your camera steady at slow shutter speeds. It eliminates unwanted blur and ensures sharp shots.
✅ Trigger the shutter remotely – Use a remote shutter release or set the camera timer. This reduces vibrations from pressing the shutter button.
✅ Balance ISO and aperture – Adjust ISO and aperture carefully to achieve correct exposure. A lower ISO reduces noise, while aperture controls depth of field.
✅ Check the histogram often – The LCD preview may mislead in bright sunlight. The histogram gives a reliable view of exposure levels.
✅ Experiment with light trails and motion blur – Try long exposures for night traffic or waterfalls. This helps you master how to adjust shutter speed creatively.
✅ Practice in different lighting conditions – Shoot indoors, outdoors, and during golden hour. Each scene teaches you new ways to handle shutter speed.
✅ Combine shutter speed with composition – A good photo is not only about exposure. Pair creative shutter choices with strong framing for impact.
✅ Keep notes on your settings – Write down the shutter speed, aperture, and ISO you used. Reviewing later improves your understanding of how to adjust shutter speed.
✨ Final Takeaway: The more you experiment, the more confident you’ll get. Grab your camera, play with shutter speeds, and turn ordinary scenes into unforgettable shots.
❓ FAQ Section
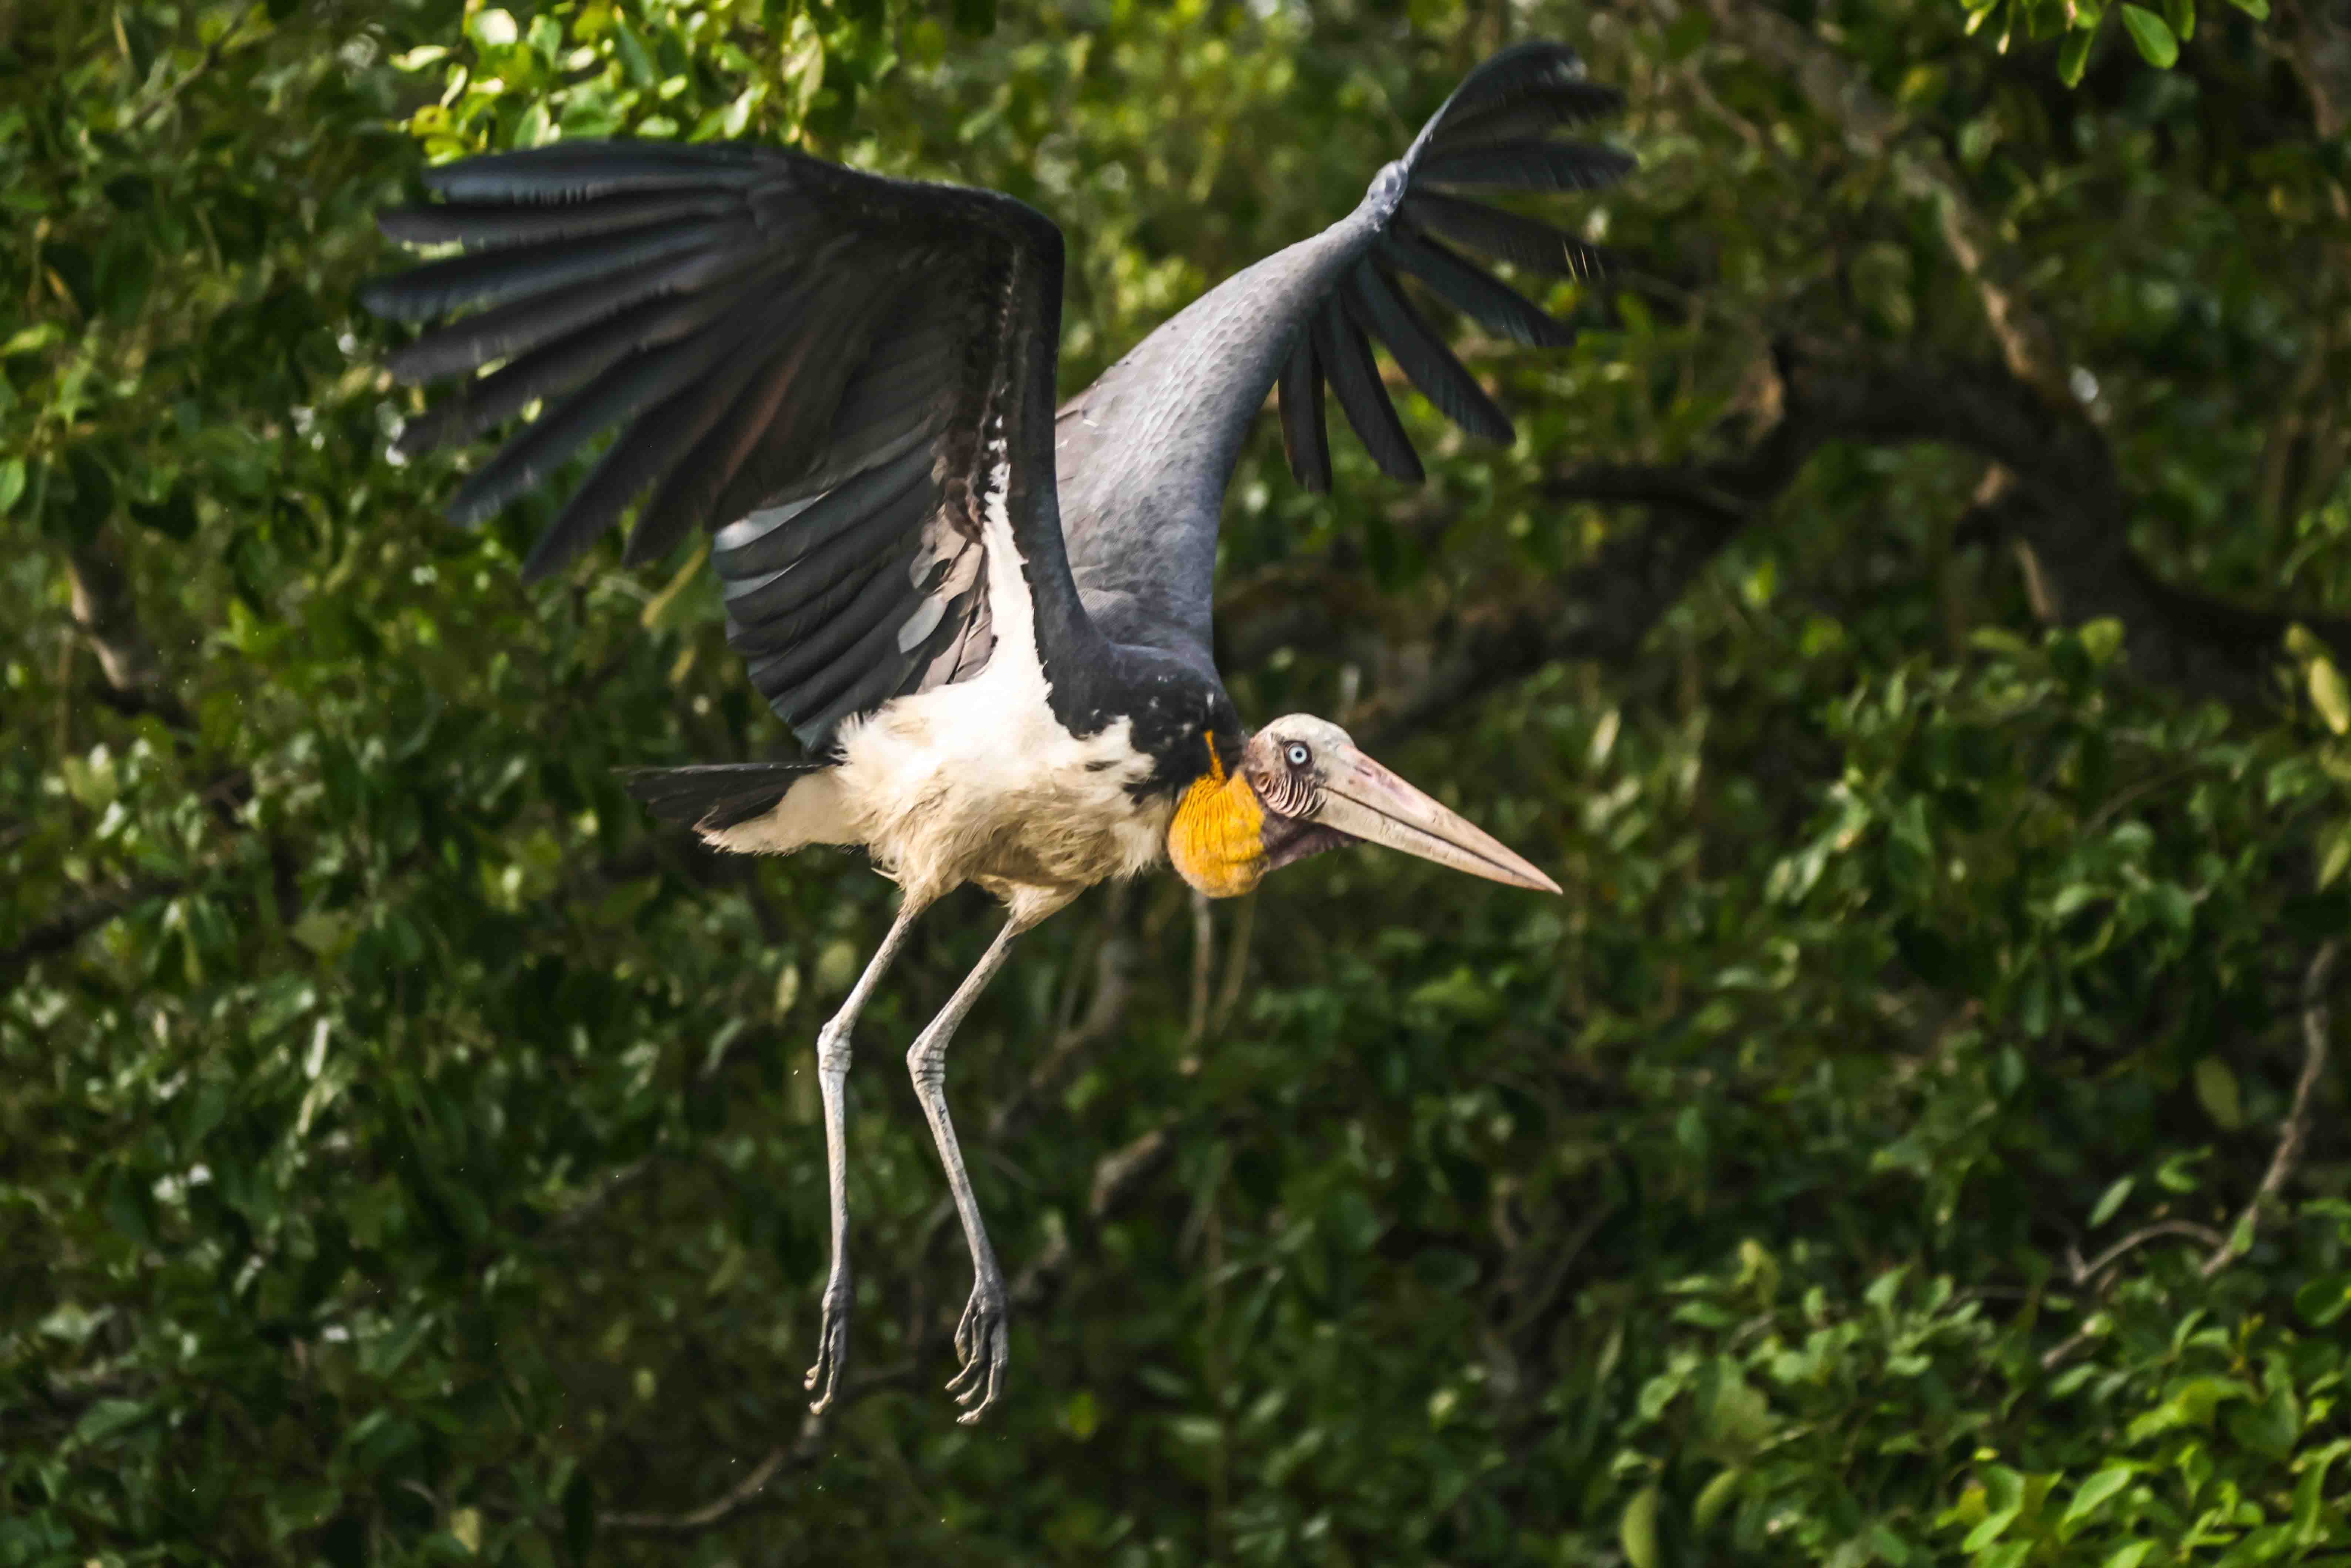
Lesser Adjutant Strok Flying in Sundarbans
1. What is shutter speed in photography?
Shutter speed is the time your camera’s shutter stays open to let light in. Learning how to adjust shutter speed helps you control motion blur and exposure.
2. How do I adjust shutter speed on my camera?
Turn your camera to manual (M) or shutter priority (S/Tv) mode. Then rotate the control dial to set your desired shutter speed. This is the most direct way to learn how to adjust shutter speed for different conditions.
3. What shutter speed is best for low light?
In low light, use a slower shutter speed like 1/30 or longer. Always use a tripod to avoid blur. Knowing how to adjust shutter speed properly makes night and indoor photography sharper.
4. What shutter speed is best for fast-moving subjects?
For sports, birds, or action shots, use a fast shutter speed such as 1/1000 or higher. Mastering how to adjust shutter speed ensures you freeze the subject with clarity.
5. How does shutter speed affect exposure?
A slower shutter speed lets in more light, while a faster speed lets in less. Understanding how to adjust shutter speed helps you balance exposure with ISO and aperture.
6. Can I adjust shutter speed on a smartphone?
Yes. Many smartphones offer manual or Pro modes where you can control shutter speed. Learning how to adjust shutter speed on mobile gives you more creative control.
7. What tools help when using slow shutter speeds?
A tripod and remote shutter release are essential. They prevent camera shake and improve results when you adjust shutter speed for long exposures.
8. Why is my photo blurry even after adjusting shutter speed?
Blurry photos often come from camera shake or incorrect settings. Always stabilize your camera, increase ISO if needed, and review your exposure when learning how to adjust shutter speed.
✅ Quick Summary
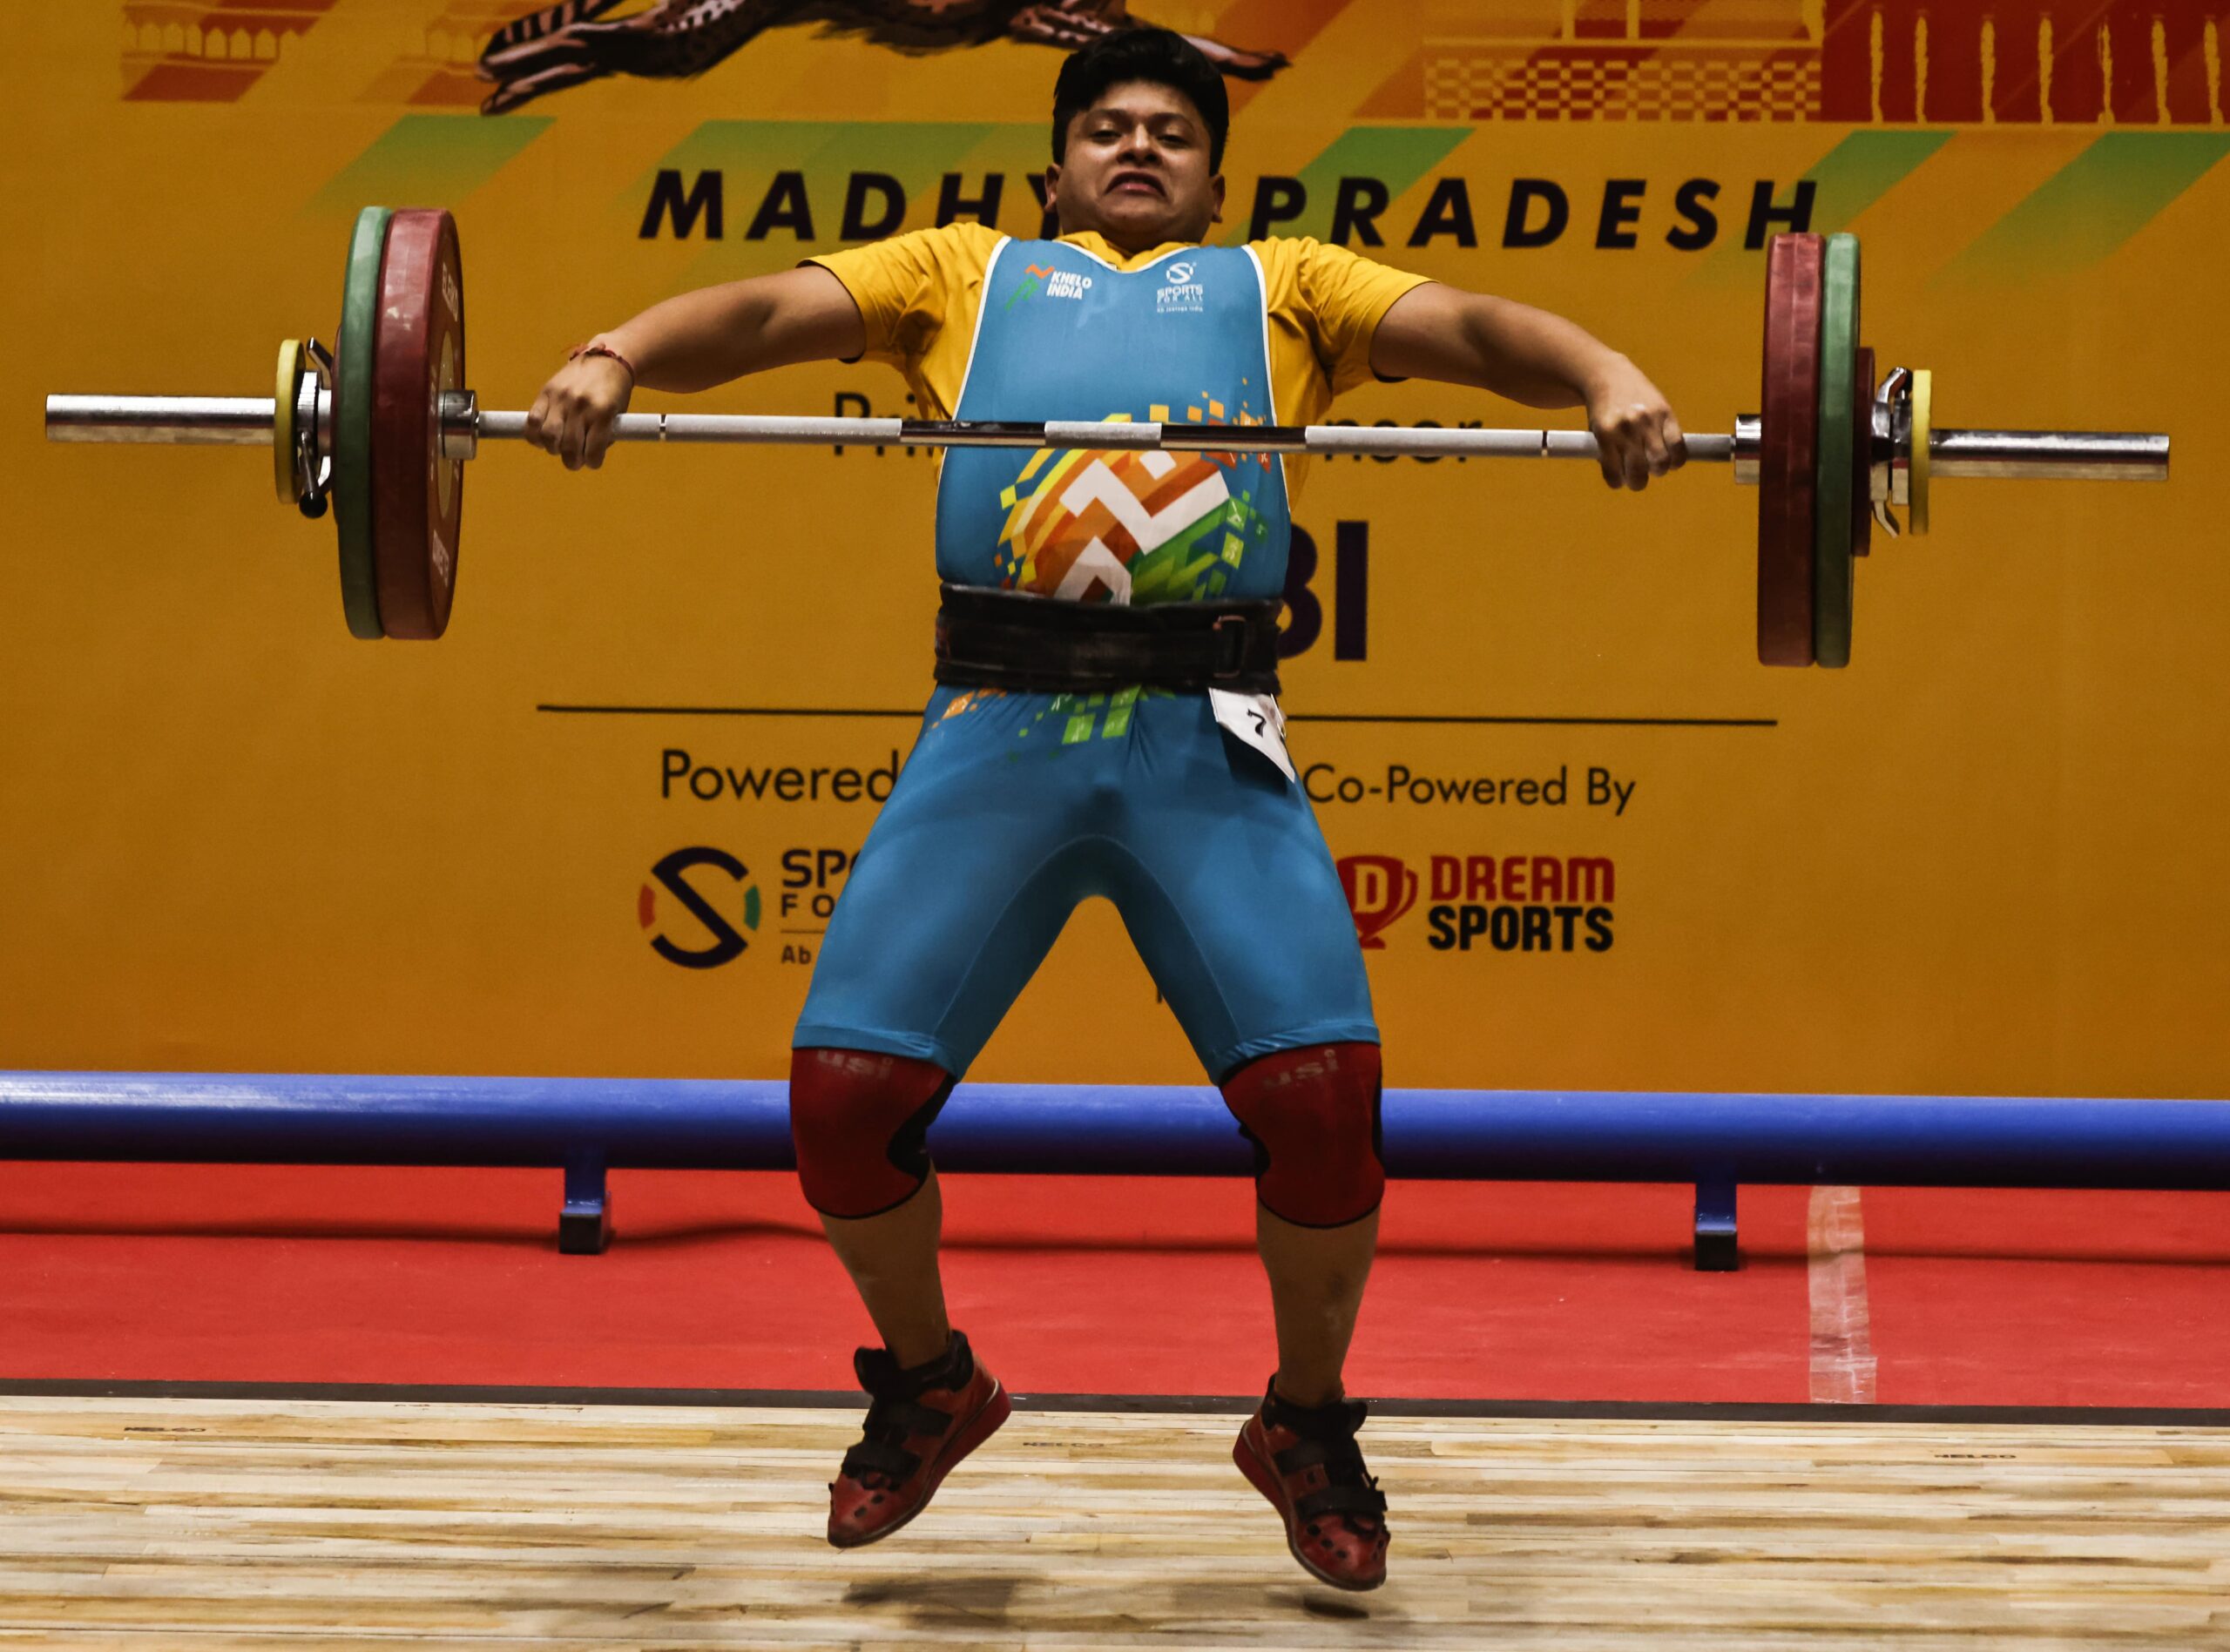
Weight Lifting in Khelo India 2023, Madhya Pradesh
Understanding how to adjust shutter speed is the key to controlling light, motion, and creative effects in photography. Here’s a quick guide to help you master it:
Shutter speed controls how long your camera’s sensor is exposed to light. Mastering how to adjust shutter speed gives you full control over motion and exposure.
Fast shutter speeds (like 1/1000s) freeze action. Perfect for sports, birds in flight, and wildlife photography.
Slow shutter speeds (like 1/30s or longer) create motion blur. Use them for waterfalls, night skies, and light trails.
Adjust shutter speed easily through Manual Mode (M) or Shutter Priority Mode (S/Tv). These modes let you take creative control instead of relying on auto settings.
Always balance shutter speed with ISO and aperture. Together, these three form the exposure triangle, ensuring well-lit and sharp photos.
Use a tripod for long exposures to avoid camera shake. Pair it with a remote shutter release for the best results.
Experiment in different lighting conditions. Learning how to adjust shutter speed outdoors, indoors, and at night helps you grow as a photographer.
✨ Final Word: Once you master how to adjust shutter speed, you unlock endless creative possibilities—from freezing a bird’s wings mid-flight to painting with light at night.
🎬 Conclusion
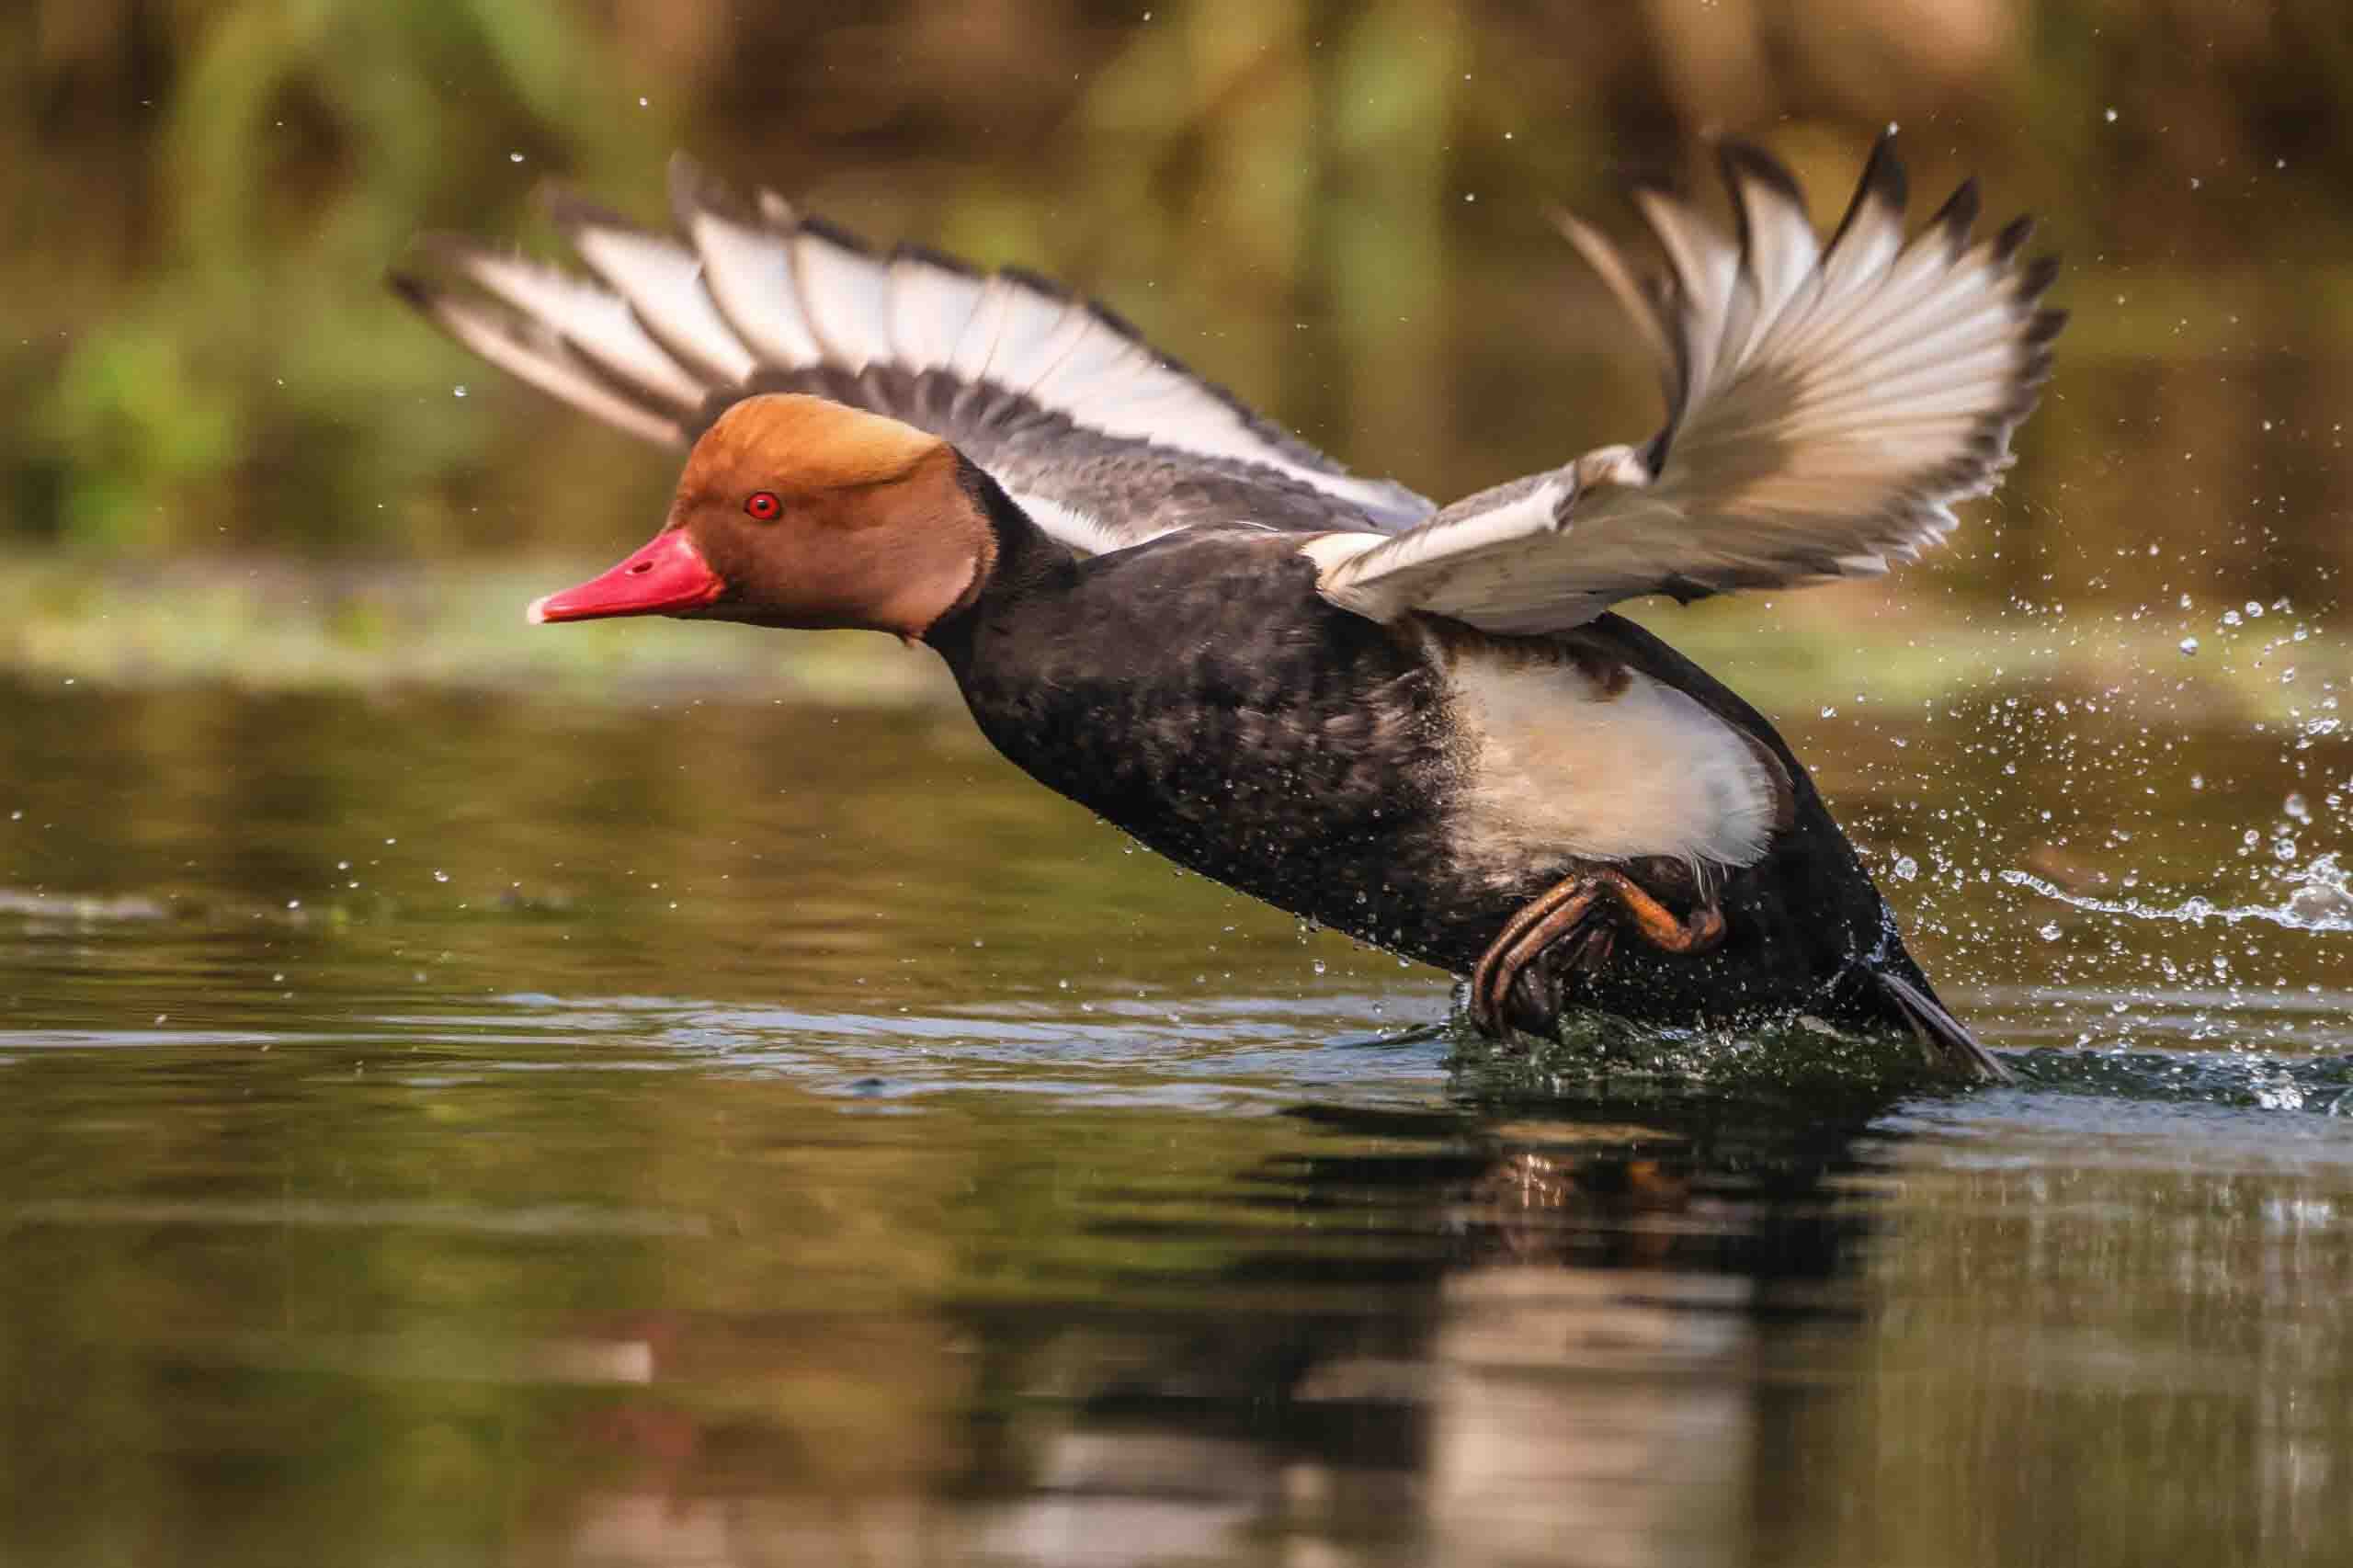
Red-crested Pochard (male)
Learning how to adjust shutter speed is one of the most powerful skills in photography. Shutter speed controls both light and motion, giving you creative freedom to capture sharp action shots or dreamy long exposures. Whether you shoot with Canon, Nikon, or Sony, the process is simple once you know where the dials are and how to balance settings.
📌 Key Takeaways:
Use fast shutter speeds for sports, wildlife, and action.
Use medium shutter speeds for portraits and everyday photography.
Use slow shutter speeds for night shots, motion blur, and long exposure creativity.
By practicing regularly, you will not only master shutter speed adjustment but also improve your overall photography skills. Combine shutter speed with the right aperture and ISO, and you’ll unlock the ability to shoot in any lighting condition.
👉 The more you experiment, the more you’ll discover your unique photography style. Mastering how to adjust shutter speed is the first step toward turning ordinary photos into unforgettable stories.
✨ Call to Action: Don’t wait! Grab your camera today, practice adjusting shutter speed, and share your stunning shots online. Join our community and inspire fellow photographers!
Recent Comments