

Macro photography is one of the most fascinating genres of photography, allowing you to explore a world often hidden from the naked eye. It reveals incredible details in tiny subjects like insects, flowers, textures, and everyday objects, transforming them into captivating works of art. For those just starting, macro photography for beginners is not only an exciting creative pursuit but also an excellent way to improve overall photography skills. By learning how to control depth of field, light, and focus at such a close range, you sharpen your understanding of composition and storytelling in ways that carry over to all types of photography. With the right approach, even a simple object can look extraordinary under a macro lens.

Tiger spotted Butterfly
Here’s a breakdown of the features and characteristics of macro lenses ideal for macro photography:
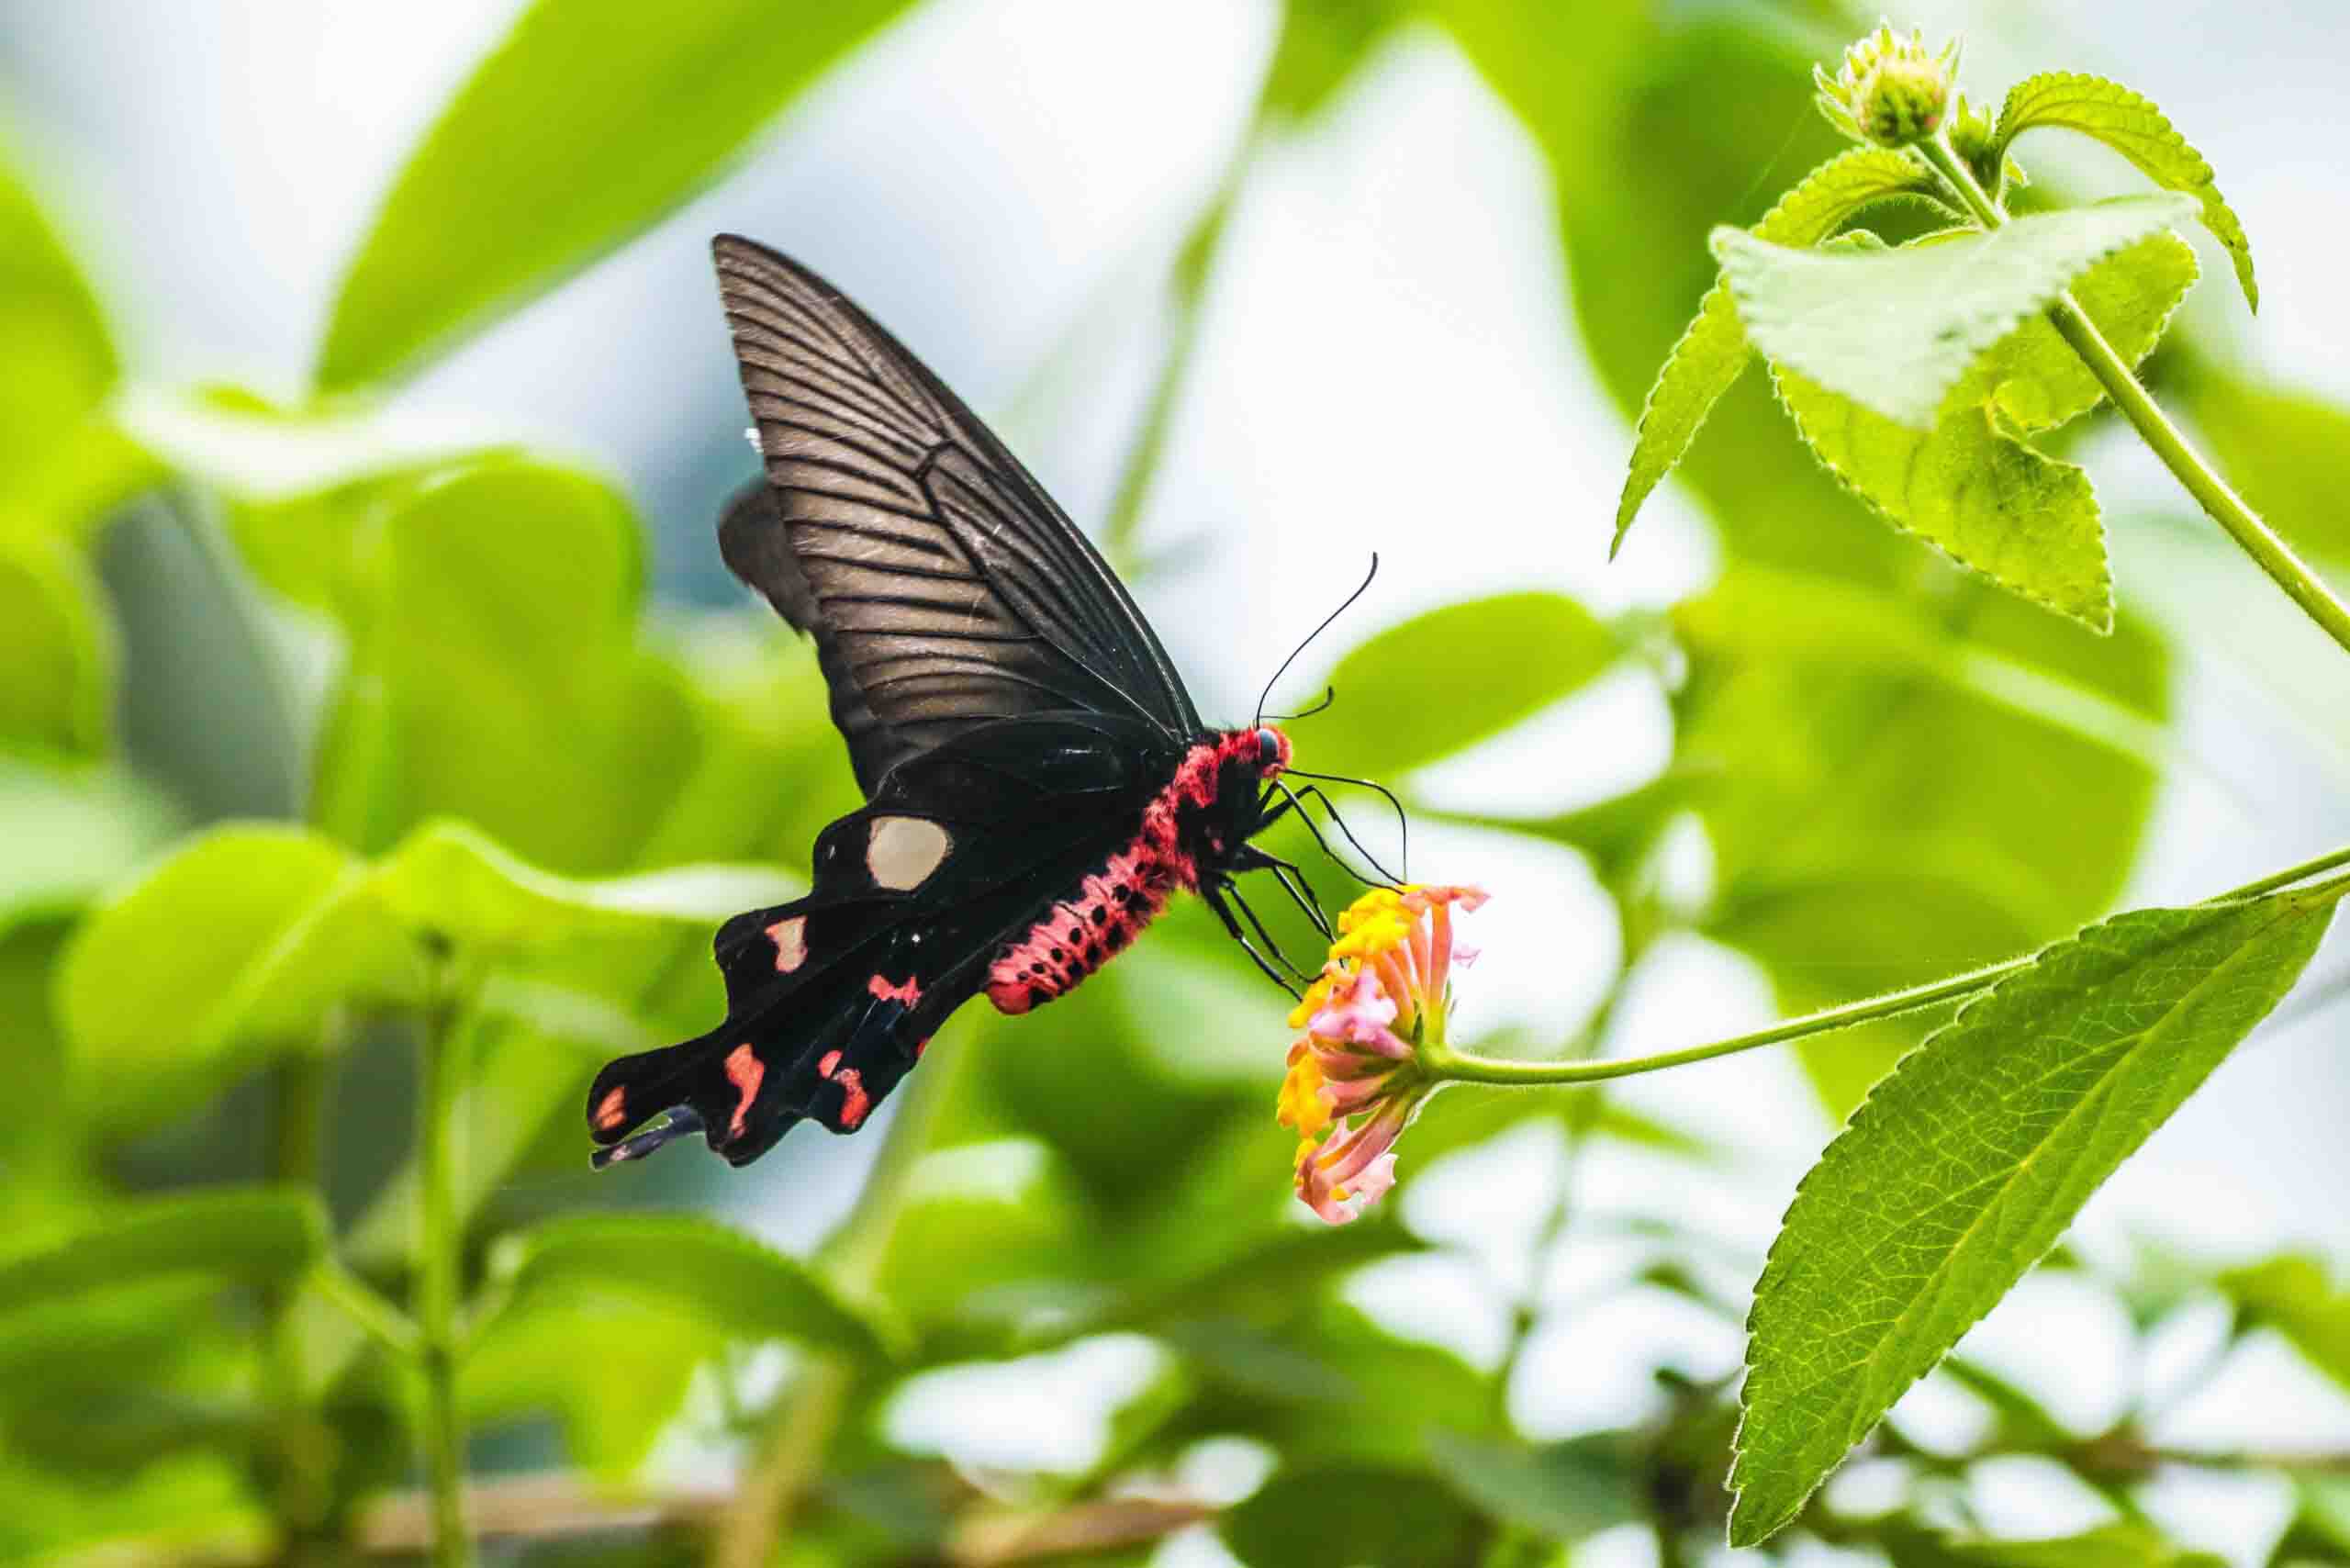
Crimson Rose Butterfly
- High Magnification: Macro lenses are engineered to achieve high magnification ratios, typically 1:1 or greater. This means the subject appears at least life-size on the camera’s image sensor, allowing photographers to capture intricate details not visible to the naked eye.
- Close Focusing Distance: Macro lenses have a short minimum focusing distance. This enables photographers to get physically close to the subject while maintaining focus. This proximity is crucial for capturing fine details without the need for additional accessories like extension tubes.
- Sharpness and Clarity: Macro lenses are optimized to deliver exceptional sharpness and clarity, ensuring that even the tiniest details of the subject are rendered with precision. This sharpness is maintained across the entire frame, allowing for stunning macro shots with uniform clarity.
- Flat Field of Focus: Macro lenses are designed to produce a flat field of focus, minimizing distortion and ensuring that details across the frame remain sharp and in focus. This characteristic is particularly important for capturing subjects with intricate textures or patterns.
*A true macro lens offers life-size magnification and reveals details invisible to the naked eye.
- Minimal Distortion and Aberrations: Macro lenses are engineered to minimize optical distortions such as chromatic aberration, spherical aberration, and barrel distortion. This ensures that the captured images are true to the subject’s appearance, with minimal color fringing or distortion.
- Optical Stabilization (Some Models): Some macro lenses feature built-in optical stabilization systems, this help reduce the effects of camera shake when shooting handheld. This feature can be particularly beneficial when working with high magnification ratios or in low-light conditions.
- Quality Build and Weather Sealing: Macro lenses are typically constructed with high-quality materials and precision engineering to withstand the demands of close-up photography. Many macro lenses also feature weather-sealed construction, protecting them from dust, moisture, and other environmental elements.
Overall, macro lenses are essential tools for photographers seeking to explore the intricate beauty of the macro world. Their specialized design and optical characteristics make them indispensable for capturing stunning close-up images with unparalleled detail and clarity.
Extension tubes are a budget-friendly and effective tool in macro photography for beginners. They fit between your camera body and lens, allowing you to focus much closer to your subject without investing in an expensive macro lens. For those just starting out, extension tubes offer an excellent way to explore the world of close-up photography and capture fine details of flowers, insects, and textures with impressive magnification.
Here’s how extension tubes work and why they’re useful:
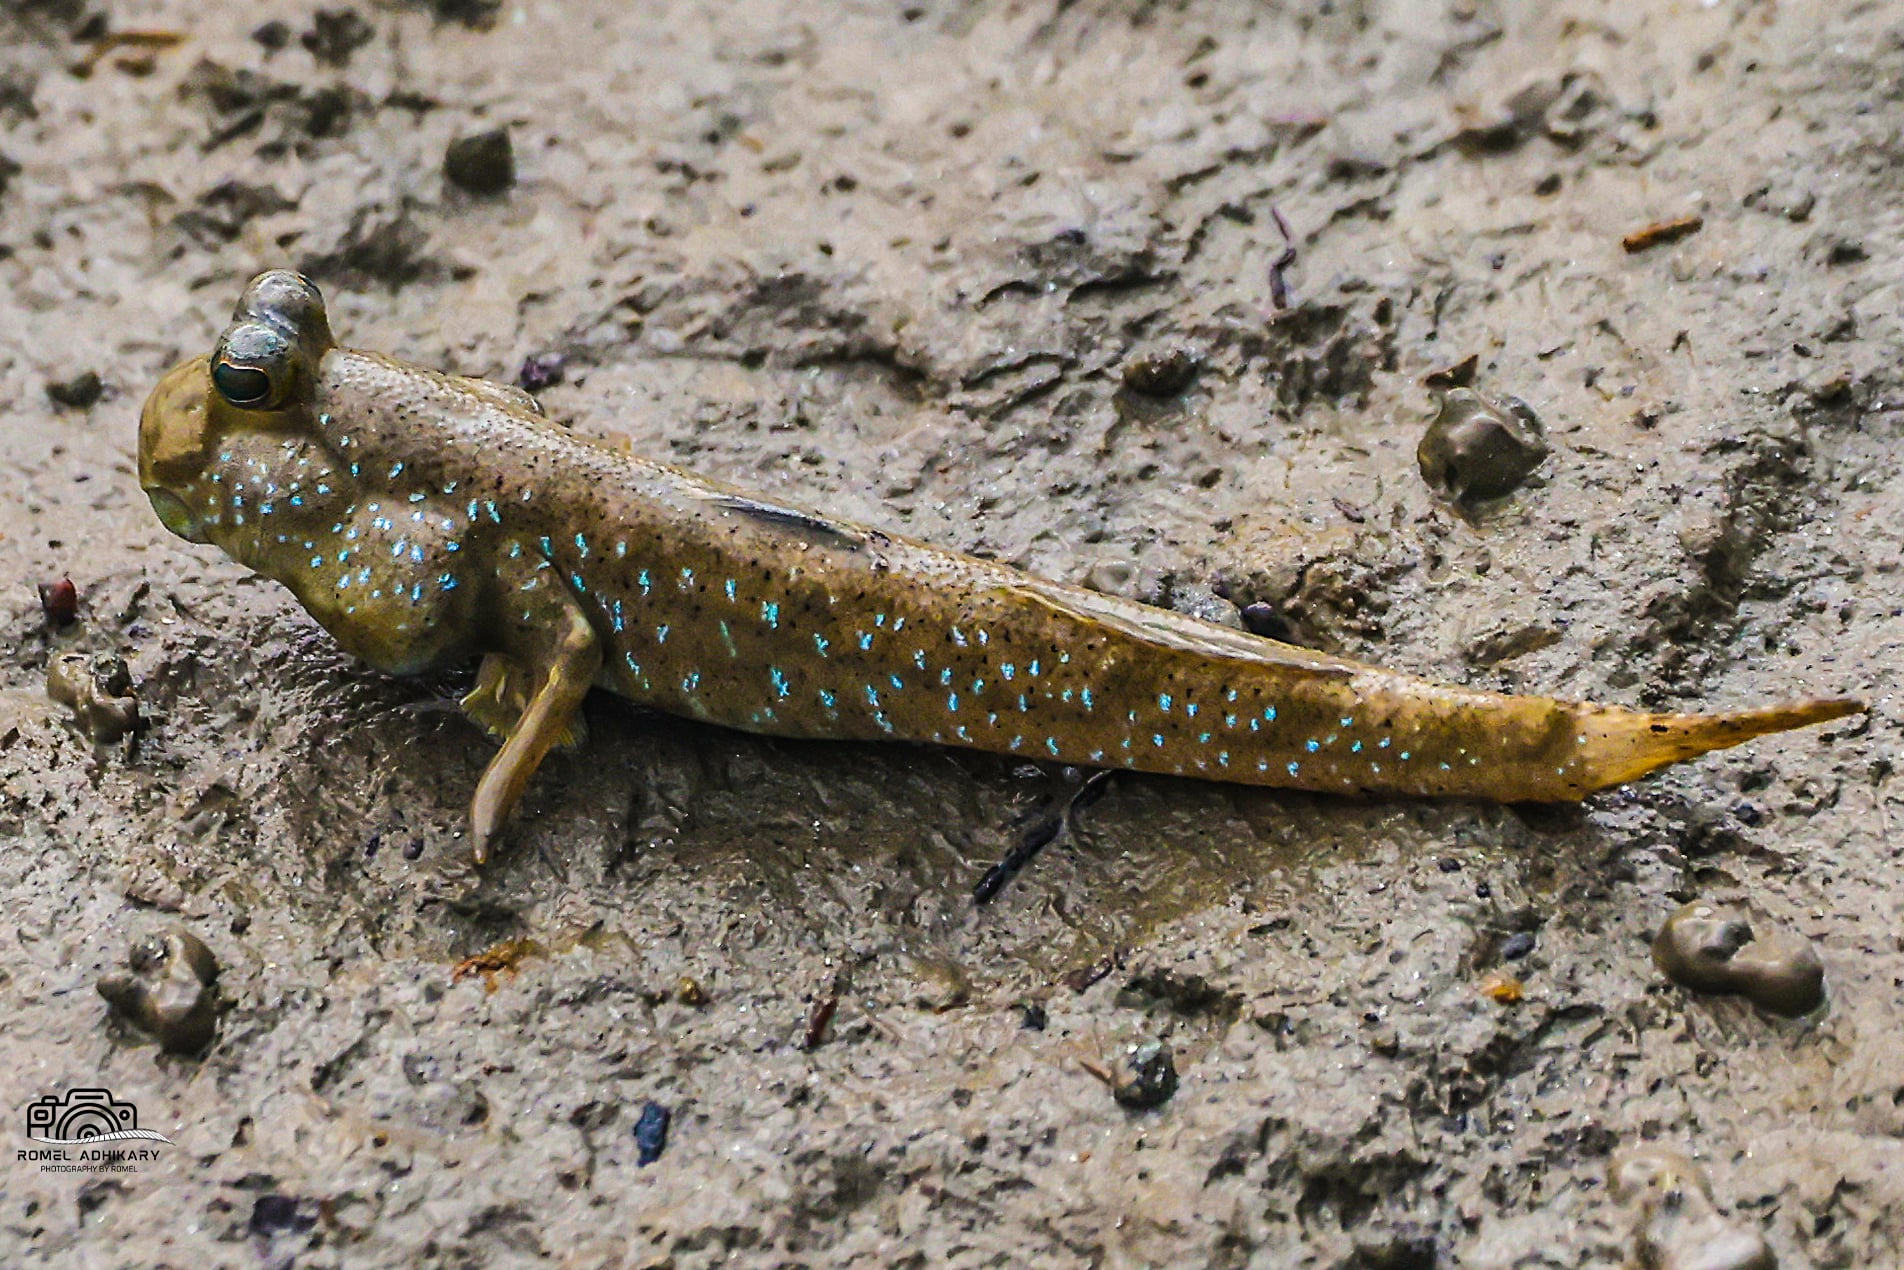
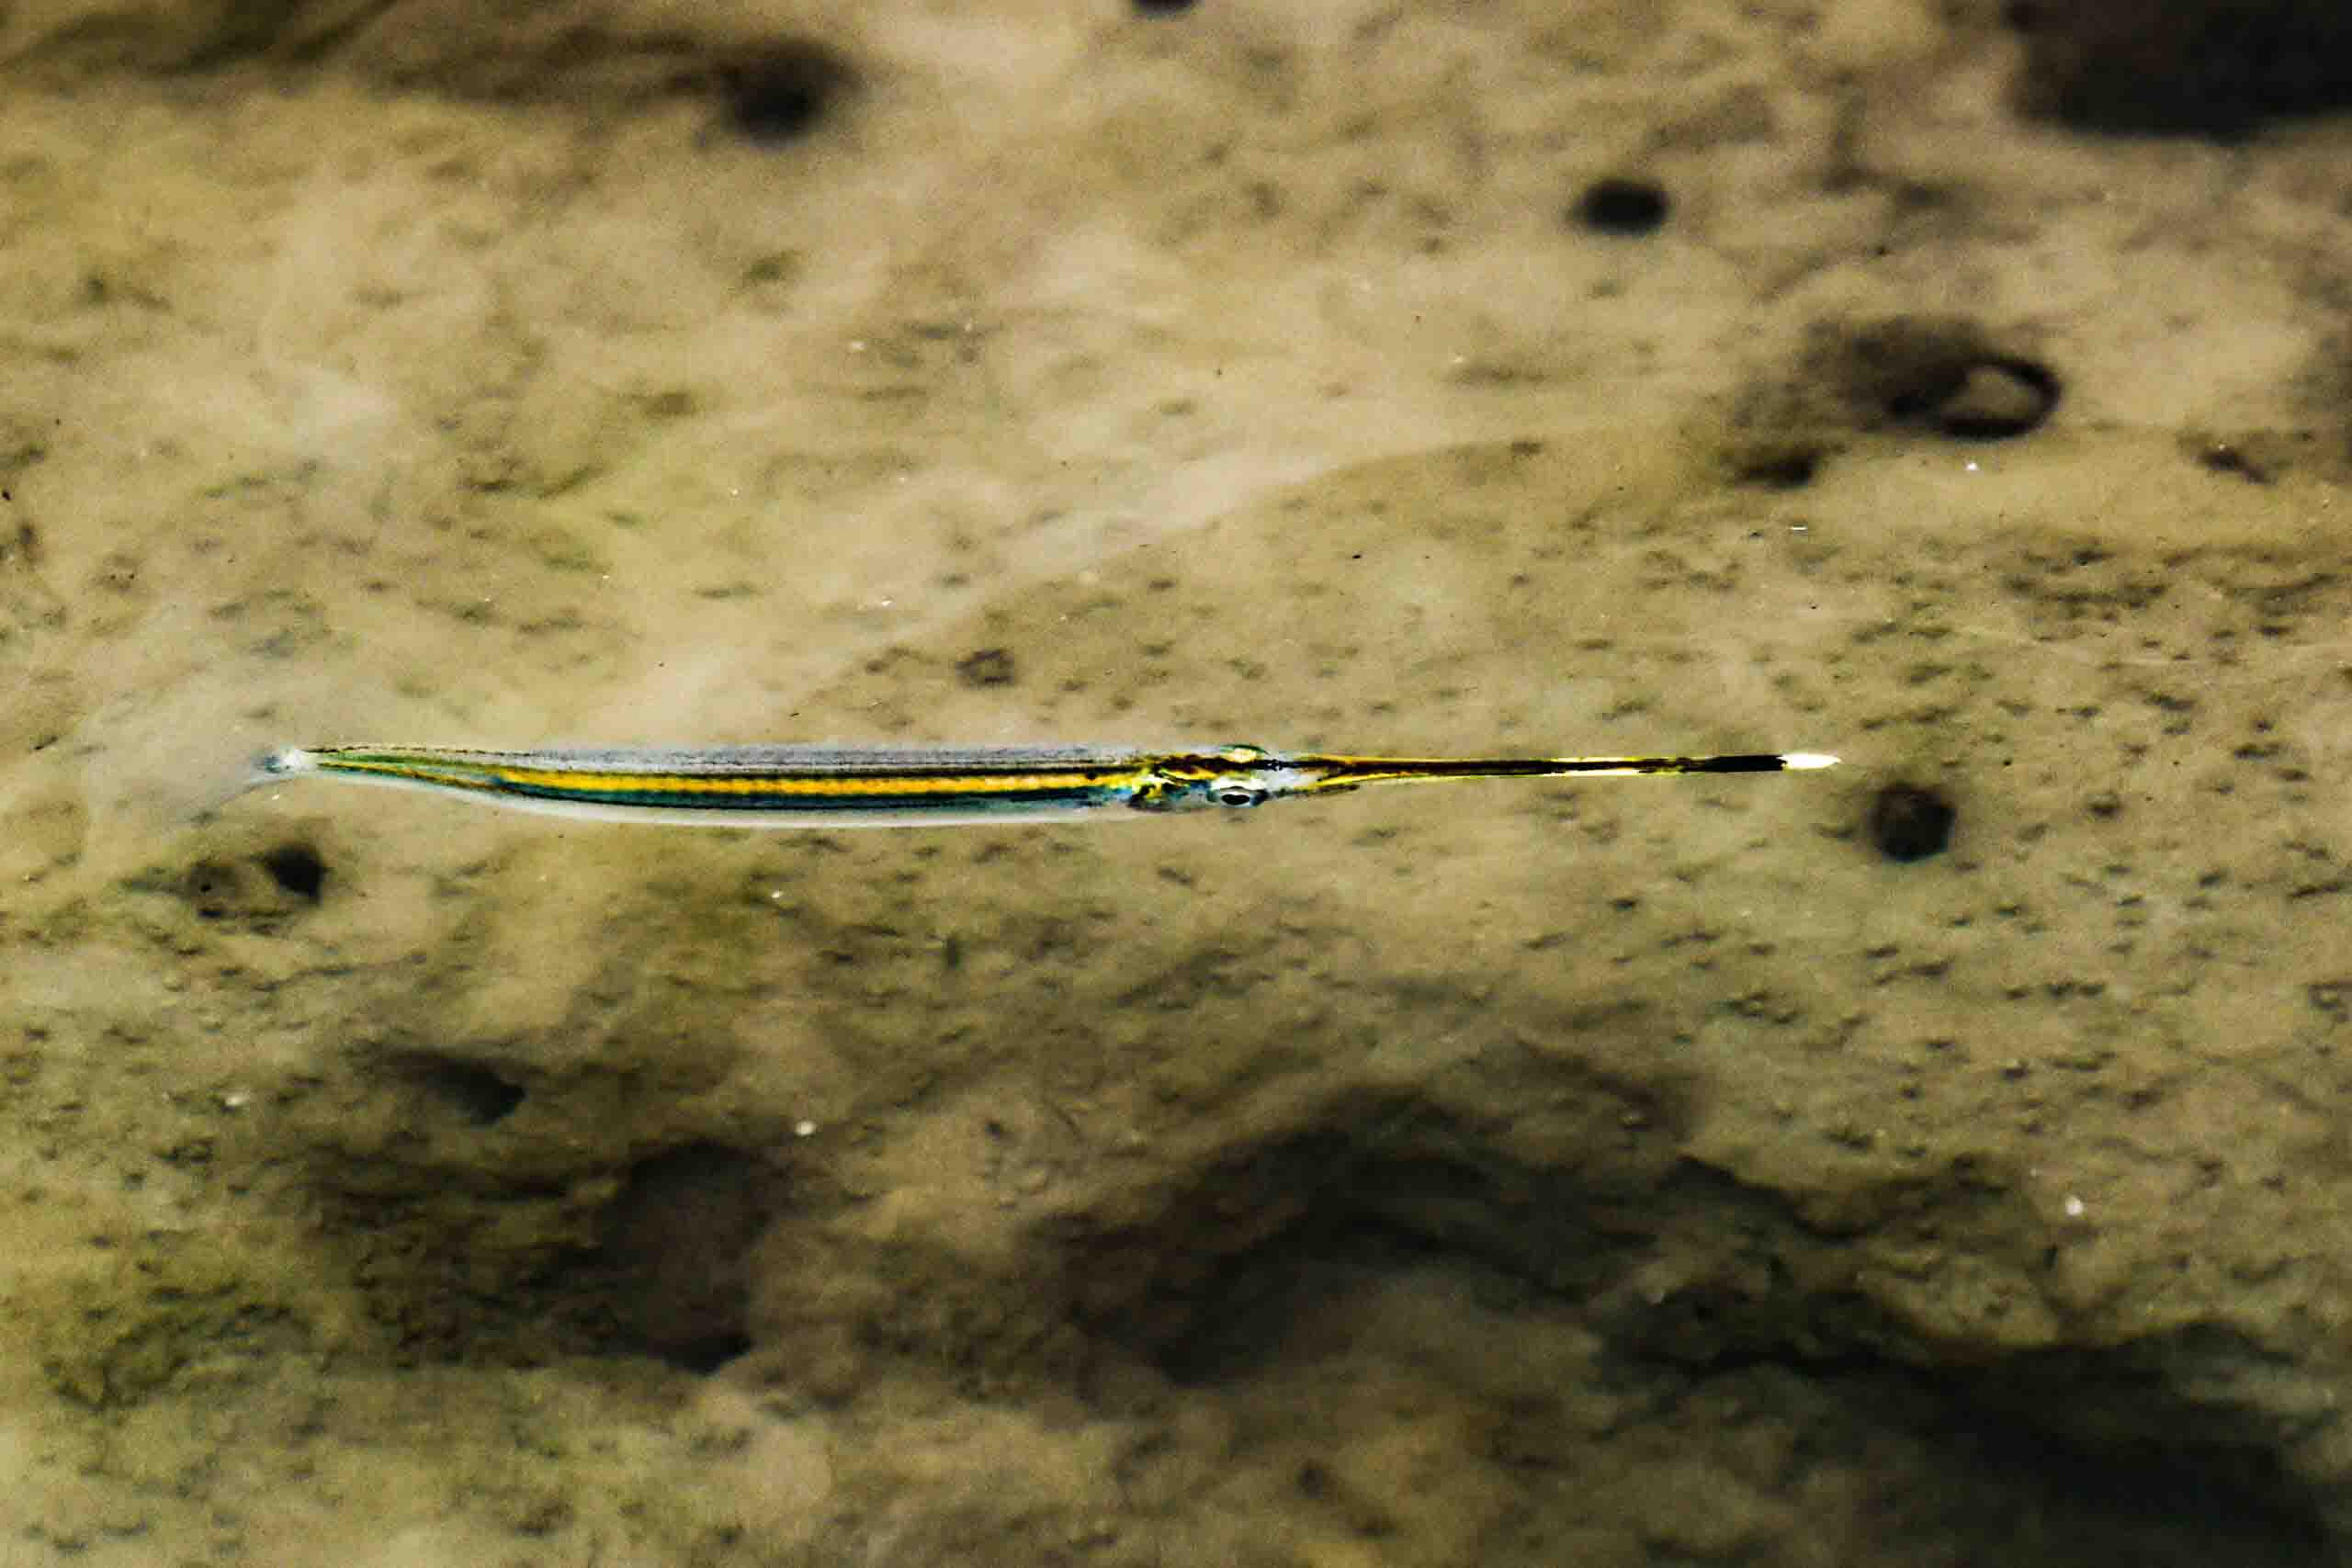
Blue-spotted Mudskipper in Sundarbans
- Increase lens-to-sensor distance: You insert the tube between the camera body and lens, which moves the lens farther from the sensor.
- Reduce minimum focusing distance: The lens can focus on subjects much closer than its normal limit.
- No optical elements: Extension tubes are hollow, so they don’t change image quality through added glass.
- Change magnification ratio: The closer focusing distance increases the subject size in the frame, making it easier to capture fine details.
Why they’re useful in macro photography
- Achieve higher magnification: You can get close-up shots without buying a dedicated macro lens.
- Lightweight and portable: Tubes are small and easy to carry compared to specialized lenses.
- Cost-effective: They offer macro capability at a fraction of the cost of a true macro lens.
- No optical degradation: Since there’s no glass inside, the lens’s sharpness stays intact.
- Flexible magnification control: Stack multiple tubes to increase magnification further.
- Compatible with existing lenses: They work with most prime and zoom lenses you already own.
Overall, extension tubes are valuable tools for macro photography enthusiasts looking to explore the world of close-up photography without investing in expensive macro lenses.
One budget-friendly technique in macro photography for beginners is using a reversing ring. This simple adapter allows you to mount a standard lens backward onto your camera, turning it into a powerful macro lens. While it may lack autofocus, reversing rings offer a creative and affordable way to explore extreme close-up shots, making them a great option for beginners experimenting with macro photography on a budget.

Hermit Crab
How Reversing Rings Work:
- Mounting: Reversing rings typically have a male filter thread on one side and a female mount on the other. The male thread attaches to the filter thread on the front of your lens, while the female mount connects to your camera body’s lens mount.
- Inversion: Once attached, the lens is effectively reversed. The front element of the lens, usually used for distant subjects, now faces the camera sensor. This effectively turns the lens into a powerful macro lens.
- Manual Control: In this setup, you’ll lose electronic communication between the lens and the camera body. This means you’ll have to adjust settings manually, including focus and aperture.
Considerations:
- Lens Compatibility: Reversing rings work with lenses that have filter threads. However, compatibility can vary based on the diameter of the threads. You may need step-up or step-down rings to match the sizes correctly.
- Aperture Control: Most modern lenses control aperture electronically, which won’t work when the lens is reversed. You’ll need lenses with manual aperture rings or lenses that allow you to set the aperture before detaching them from the camera body.
- Focus Control: With the lens reversed, focusing is achieved by physically moving the camera back and forth or by adjusting the lens’s focus ring. This can be challenging, especially when working with very narrow depth of field in macro photography.
- Image Quality: While reversing rings offer an inexpensive way to experiment with macro photography, they may not provide the same level of image quality as dedicated macro lenses. Image degradation and loss of sharpness can occur, particularly with lower-quality lenses.
- Protection: With the lens reversed, the front element is exposed, which can make it susceptible to damage from dust, moisture, and accidental knocks. Consider using lens hoods or other protective measures.
- Extension Tubes vs. Reversing Rings: Another option for macro photography is using extension tubes, which increase the distance between the lens and the camera body, allowing for closer focusing. Extension tubes maintain electronic communication between the lens and the camera body but can be more expensive than reversing rings.
Reversing rings offer an affordable entry point into macro photography, allowing photographers to explore extreme close-up shots without investing in dedicated macro lenses. However, they come with some limitations and considerations regarding compatibility, control, and image quality.
Here are some key factors to consider when selecting a tripod for macro photography for beginners:
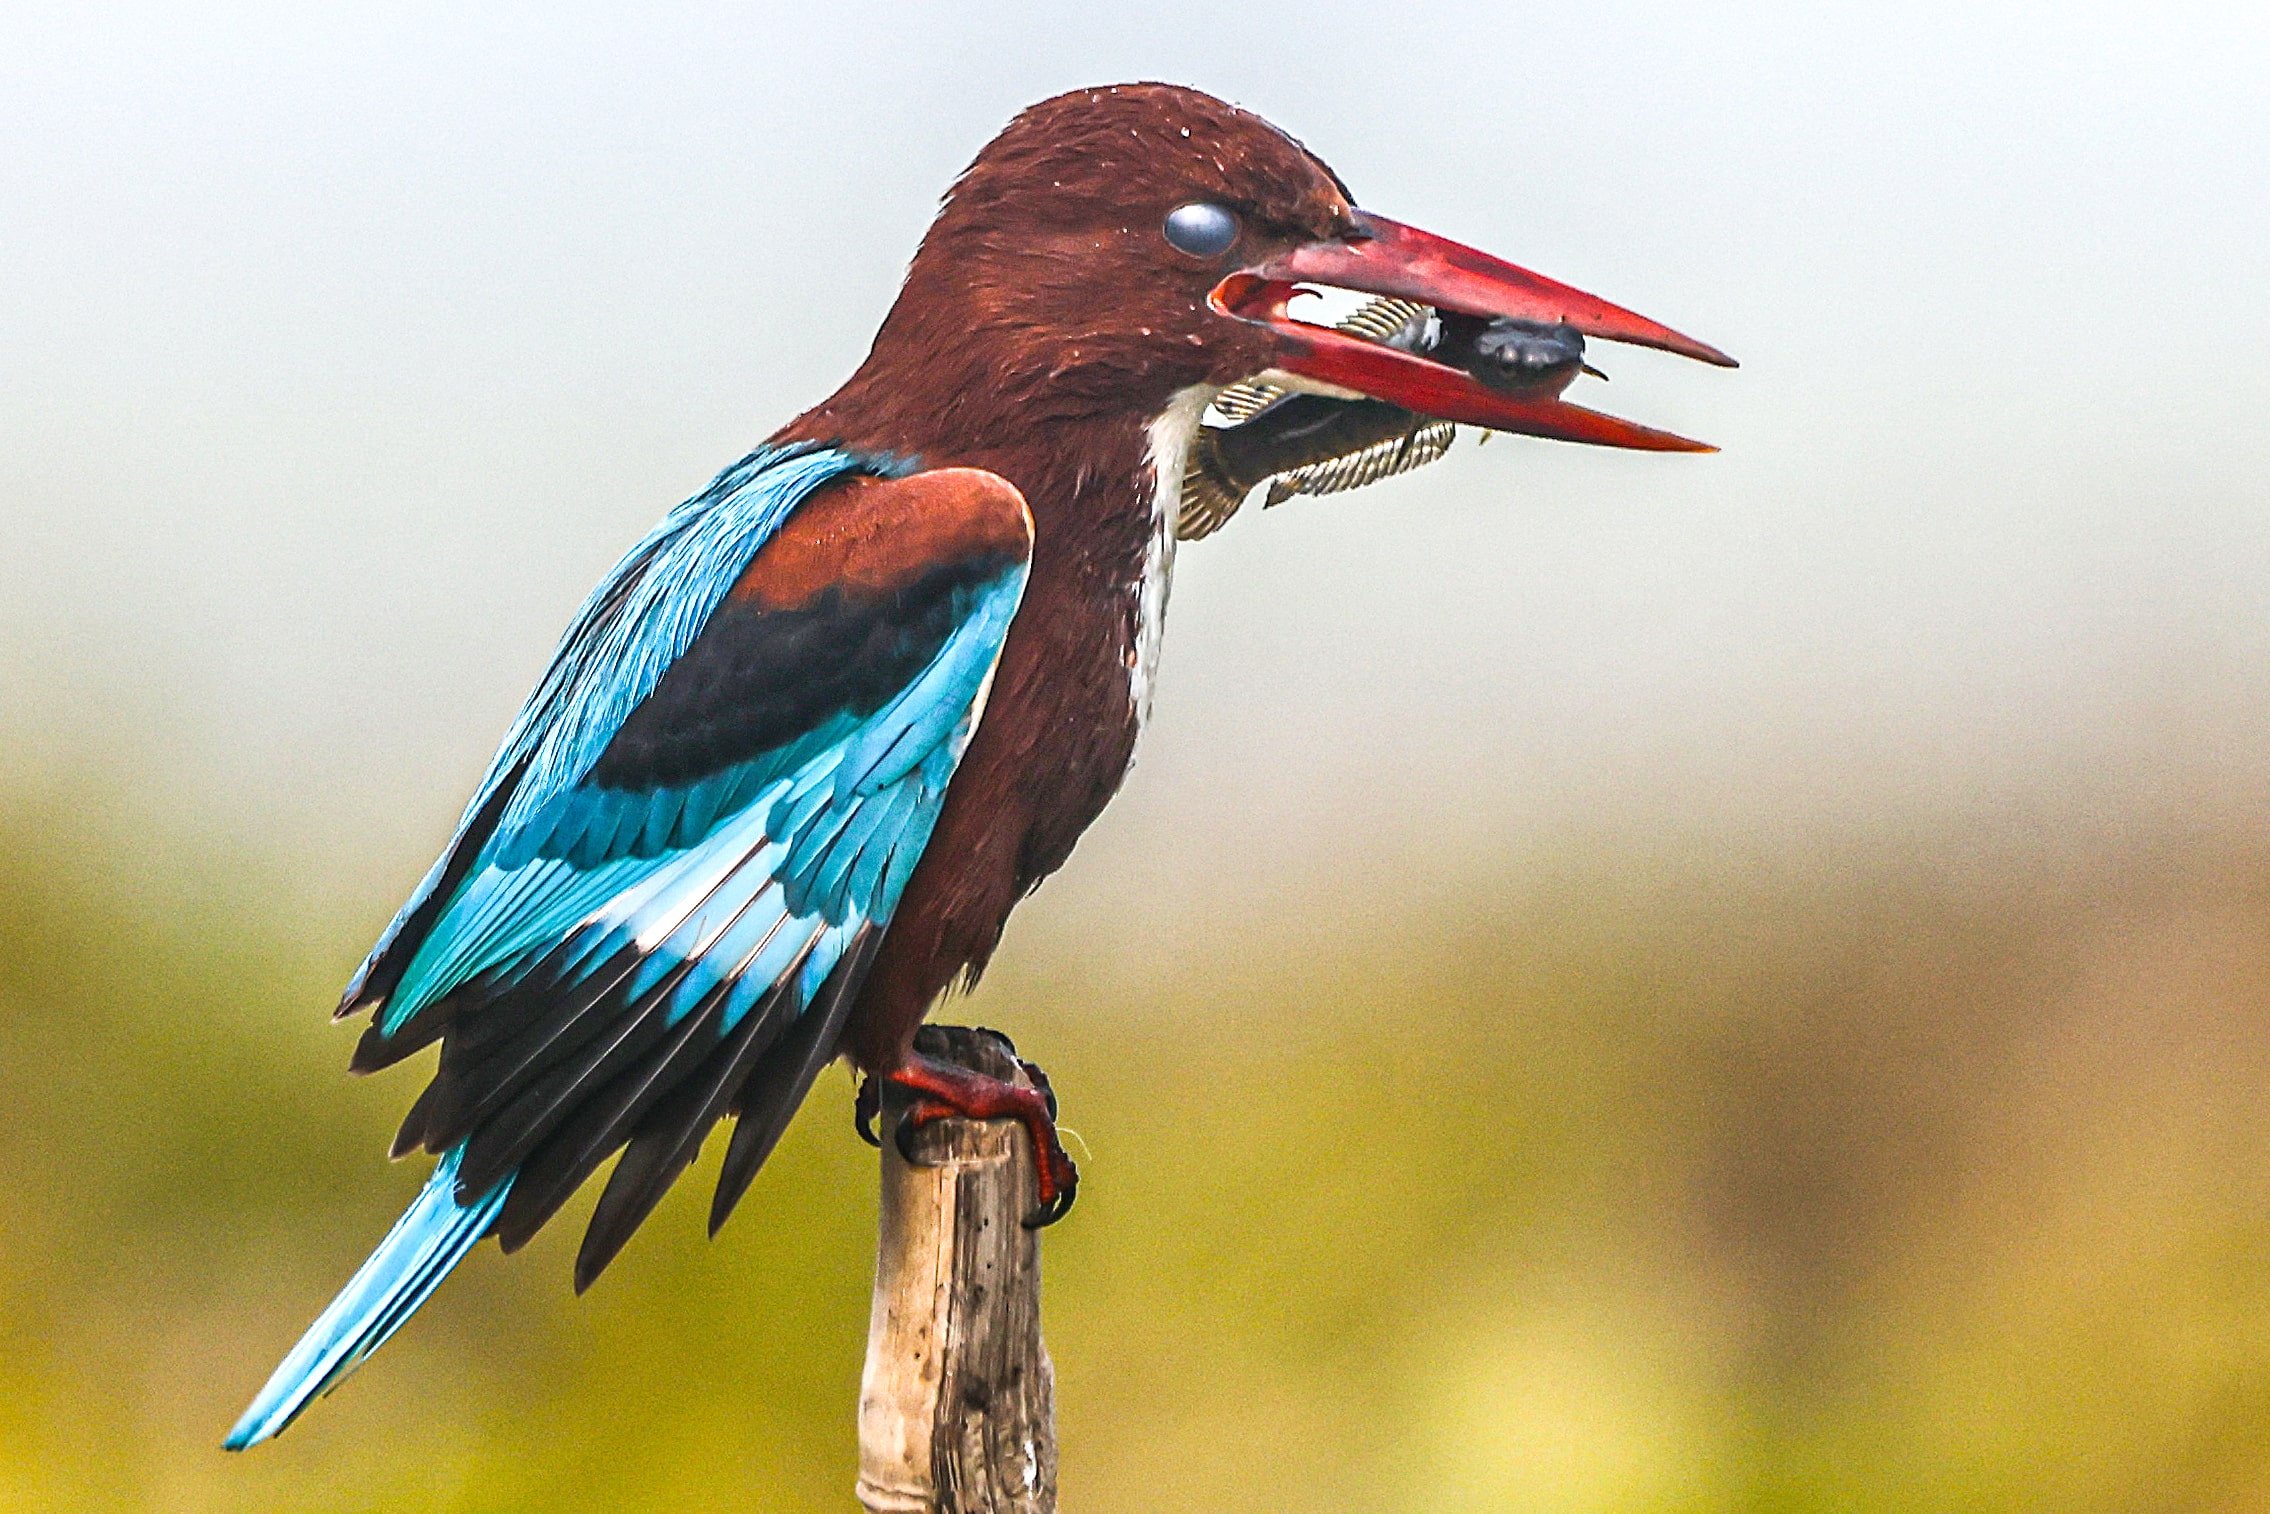
White-throated Kingfisher
Stability:
- Load Capacity: Ensure the tripod can support the weight of your camera and macro setup, including any additional accessories like macro rails or focusing racks.
- Sturdiness: Look for a tripod with sturdy legs and a stable center column to minimize vibrations, especially when shooting at high magnifications where even the slightest movement can affect image sharpness.
Flexibility and Adjustability:
- Height: Choose a tripod with adjustable height that allows you to position your camera at various angles and heights, crucial for achieving different perspectives in macro photography.
- Leg Angle Adjustment: Tripods with independently adjustable leg angles offer greater flexibility for shooting on uneven terrain or getting low-angle shots.
- Center Column: Some tripods feature a reversible or removable center column, which can enable shooting from ground level for unique macro perspectives.
Portability:
- Weight: Consider the weight of the tripod, especially if you plan on hiking or traveling to different locations for macro photography. Lightweight yet sturdy materials like carbon fiber are ideal for balancing portability and stability.
- Folded Size: Opt for a tripod that folds down to a compact size for easy transportation and storage without sacrificing stability or height when extended.
Special Features for Macro Photography:
- Macro Focusing Rails: While not technically part of the tripod, macro focusing rails or sliders can be attached between the tripod head and camera to facilitate precise focusing adjustments when shooting close-up subjects.
- Low-Level Shooting Abilities: Tripods that can be set up close to the ground or feature a center column that can be positioned horizontally are beneficial for capturing ground-level macro shots.
Compatibility and Accessories:
- Head Compatibility: Ensure the tripod is compatible with your choice of tripod head, whether it’s a ball head, pan-and-tilt head, or geared head. Ball heads are popular for their quick adjustment capabilities, but geared heads offer finer control for precise framing in macro photography.
- Accessory Mounts: Look for tripods with accessory mounts, such as attachment points for additional arms or brackets, which can be useful for mounting external lighting or reflectors when shooting macro subjects.
- Quick Release System: A quick-release plate system enables fast and secure attachment and detachment of your camera setup, essential for efficient workflow, especially when experimenting with different compositions in macro photography.
Using a remote shutter release is highly advantageous in macro photography for several reasons:

Giant Wood Spider (female)
Minimizing Camera Shake:
Vibration Reduction: In macro photography, even the slightest movement can result in blurred images due to the narrow depth of field. Using a remote shutter release eliminates the need to physically press the camera’s shutter button, reducing the risk of introducing camera shake.
Long Exposures: When shooting macro subjects in low light conditions or using long exposure times to capture intricate details, a remote shutter release helps maintain sharpness by preventing any movement caused by manually pressing the shutter button.
Precise Timing and Focus:
Focus Stacking: In macro photography, focus stacking is often employed to combine multiple images taken at different focal points into a single, sharp composite image. A remote shutter release allows for precise control over the timing of each shot, ensuring consistent focus throughout the stack.
Manual Focusing: When manually focusing on a macro subject, using a remote shutter release allows you to fine-tune the focus without disturbing the camera’s position, resulting in sharper images with optimal focus.
Comfort and Convenience:
- Hands-Free Operation: By triggering the shutter remotely, you can keep your hands off the camera, reducing the risk of accidentally bumping or shifting the composition, especially when shooting delicate macro subjects or in challenging shooting conditions.
- Flexible Shooting Positions: With a remote shutter release, you have the freedom to position yourself away from the camera, enabling creative shooting angles and perspectives that may not be feasible when physically pressing the shutter button.
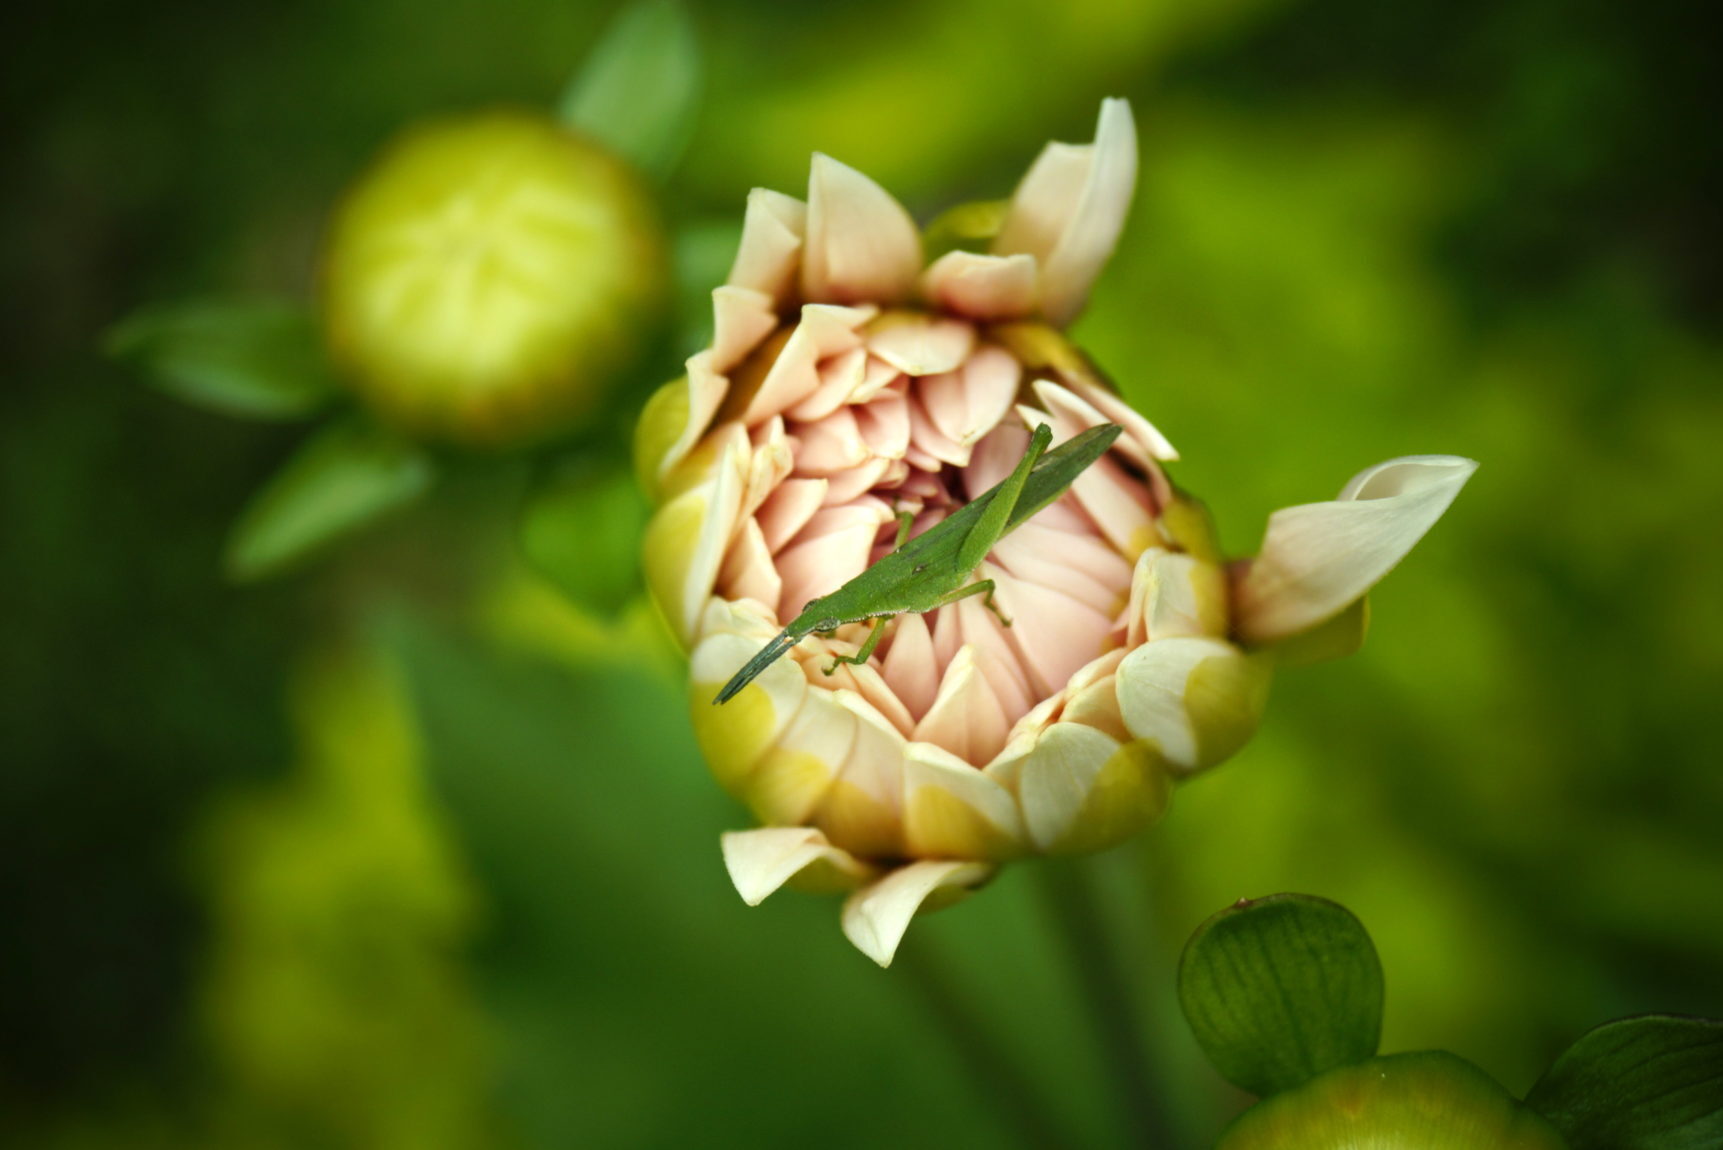
Bush Cricket on Flower
Macro Flash:
- Macro flashes are typically composed of one or more separate flash units that can be mounted on or around the lens of a camera.
- They provide direct, focused light onto the subject, which can help to illuminate small details and reduce shadows.
- Macro flashes are particularly useful for capturing subjects at close distances where natural light may not reach effectively.
- They offer versatility in terms of positioning and angle of light, allowing for creative control over lighting effects.
Ring Light:
- Ring lights are circular-shaped lights that attach directly to the camera lens, surrounding it.
- They provide even, diffused illumination around the subject, which can help to eliminate harsh shadows and create a flattering, soft lighting effect.
- Ring lights are commonly used in macro photography for their ability to evenly light the subject from all angles, reducing the chance of uneven lighting or hotspots.
- They are also popular in portrait photography and videography for creating a distinct catchlight in the eyes of the subject.
Considerations:
- Subject and Style: Depending on the specific subject and the style of macro photography you’re aiming for, one may be more suitable than the other. For example, if you’re capturing highly detailed subjects with intricate textures, a macro flash might offer more control over the lighting direction. If you’re going for a softer, more evenly lit look, a ring light could be preferable.
- Budget: Ring lights tend to be more affordable and widely available compared to dedicated macro flash units, so if budget is a concern, a ring light might be a more practical option.
- Portability: Macro flashes can be more cumbersome due to their separate units and mounting systems, while ring lights are often more compact and easier to transport.
- Power Source: Consider the power source required for each option. Some macro flashes rely on batteries, while others may be powered by the camera itself. Ring lights may need an external power source or batteries depending on the model.
Ultimately, the choice between a macro flash and a ring light depends on your specific needs, preferences, and shooting conditions. Experimenting with both can help you determine which lighting solution works best for your macro photography projects.

Red Mangrove Crab
Several factors influence the depth of field in macro photography:
- Aperture: Aperture size, measured in f-stops, is one of the primary factors affecting depth of field. A larger aperture (smaller f-number) results in a shallower depth of field, while a smaller aperture (larger f-number) increases depth of field. In macro photography, using a smaller aperture like f/8 or higher is common to increase the depth of field and keep more of the subject in focus.
- Distance to subject: The closer you are to your subject in macro photography, the shallower the depth of field becomes. This means even at smaller apertures, achieving a large depth of field can be difficult when photographing extremely close subjects.
- Focal length: Focal length also plays a role in determining depth of field. In macro photography, longer focal lengths tend to produce a shallower depth of field compared to shorter focal lengths when focusing on the same subject from the same distance. A longer focal length allows more working distance between the lens and the subject.
*In macro photography, depth of field becomes extremely shallow, so careful focus and aperture control are essential.
- Sensor size: The size of your camera’s sensor can affect depth of field. Smaller sensors, like those found in most consumer-level DSLRs and mirrorless cameras, inherently have a larger depth of field compared to larger sensors like those found in full-frame cameras. This means that achieving a shallow depth of field in macro photography may be more challenging with smaller sensors.
- Magnification: The magnification ratio, which is the ratio of the subject size on the sensor to the actual subject size, also affects depth of field. Higher magnification ratios result in shallower depth of field.
To increase the depth of field in macro photography and keep more of the subject in focus, photographers often use techniques such as focus stacking. This involves taking multiple images focused at different distances and then blending them together in post-processing to create a final image with extended depth of field. Additionally, careful consideration of lighting, composition, and focusing techniques can help maximize the depth of field in macro photography.

Common Kingfisher
Here are some tips for lighting in macro photography:
- Use Natural Light: Natural light can be your best friend in macro photography. Try shooting outdoors during the early morning or late afternoon when the sunlight is softer and more diffused. Overcast days can also provide excellent lighting conditions by reducing harsh shadows.
- Diffuse Harsh Light: If shooting in bright sunlight, use diffusers or reflectors to soften the light and reduce harsh shadows. You can use a white sheet, translucent umbrella, or specialized photography diffuser to scatter the light more evenly.
- Reflectors: Reflectors can be used to bounce light back onto your subject, filling in shadows and providing a more balanced lighting setup. You can use commercially available reflectors or improvise with white foam boards, aluminum foil, or even white clothing.
- Artificial Lighting: In situations where natural light is not available or sufficient, artificial lighting can be used effectively. Continuous LED lights or off-camera flashes provide consistent and controllable lighting for macro photography. Position the lights at different angles to create interesting shadows and highlights.
- Macro Ring Light: A macro ring light is a popular lighting accessory specifically designed for macro photography. It consists of a circular array of LED lights that attach directly to the front of the lens, providing even illumination around the subject. This type of lighting is particularly useful for reducing shadows and highlighting details in macro shots.
*Soft, diffused lighting reduces harsh shadows and highlights fine details for sharper, more natural close-ups.
- Use a Flash: On-camera or off-camera flashes can also be used to provide additional lighting for macro photography. When using a flash, be mindful of its intensity and angle to avoid overexposing the subject or creating harsh shadows. Diffusers or bounce cards can help soften the flash and create more flattering lighting.
- Experiment with Angles: Don’t be afraid to experiment with different lighting angles to find the most flattering and dramatic effects for your macro shots. Moving the light source around your subject can dramatically change the appearance of textures and shadows, so take the time to explore various options.
- Combine Multiple Light Sources: Sometimes, a combination of natural and artificial light sources can produce the best results in macro photography. By blending different types of lighting, you can achieve a more balanced and visually appealing final image.
Remember that the key to successful lighting in macro photography is experimentation and practice. Take the time to explore different techniques and lighting setups to discover what works best for your specific subjects and shooting conditions.
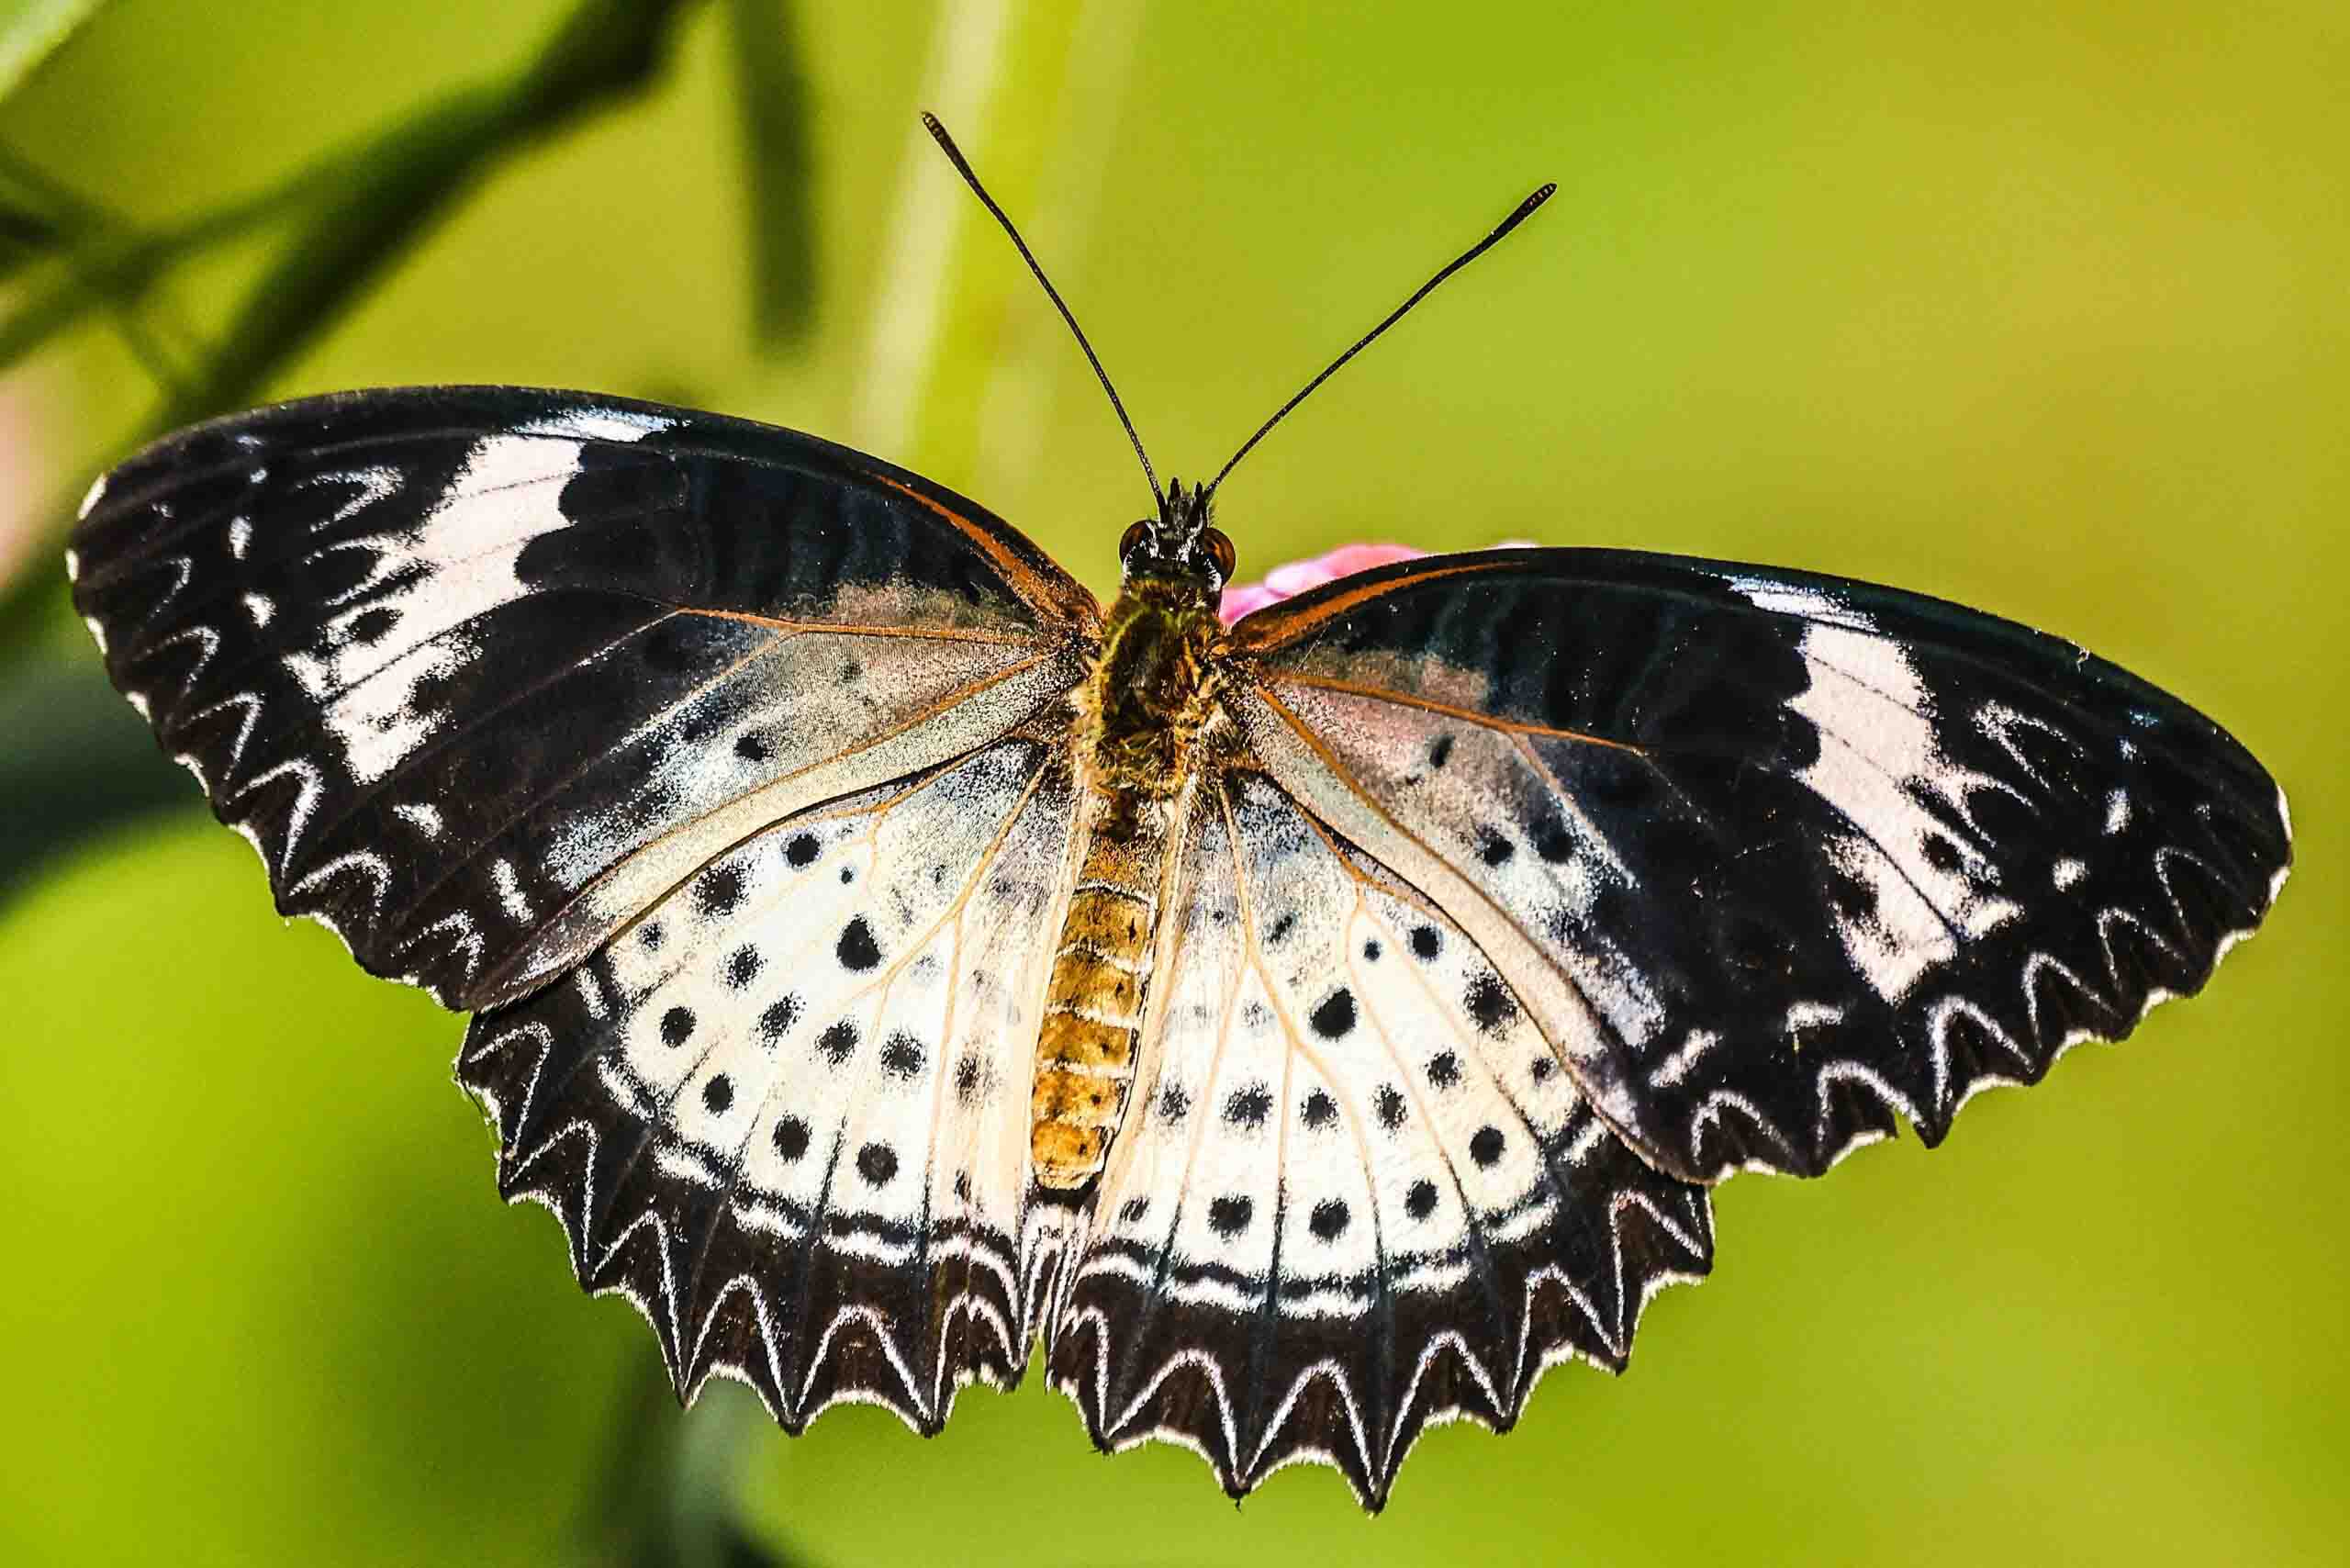
Leopard Lacewing Butterfly
Reflectors:
Reflectors bounce light onto your subject, helping to fill in shadows and create more even lighting. In macro photography, where controlling light can be particularly challenging due to the close proximity to the subject, reflectors can be incredibly useful.
- Types: Reflectors come in various types, including collapsible circular reflectors with different surfaces such as silver, gold, white, and translucent.
- Usage: Position the reflector opposite your light source, whether it’s natural sunlight or artificial light, to bounce light back onto your subject. By adjusting the angle and position of the reflector, you can control the intensity and direction of the reflected light.
Diffusers:
Diffusers scatter and soften harsh light, reducing contrast and minimizing glare and shadows. In macro photography, diffusers are often used to create a softer, more flattering light on small subjects.
- Types: Diffusers can be made of various materials, including fabric, plastic, or even translucent paper.
- Usage: Place the diffuser between your light source and the subject to soften and diffuse the light. This can be particularly useful when shooting in harsh sunlight or with artificial lighting setups. Diffusers can also be used in combination with reflectors to create more controlled and flattering lighting conditions.
Practical Tips:
- Experiment: Try different angles and positions for your reflectors and diffusers to see how they affect the lighting and mood of your images.
- Size Matters: Choose the size of your reflectors and diffusers based on the size of your subject and the area you’re shooting in. Larger reflectors and diffusers will provide softer, more even lighting but may be less practical in tight spaces.
- Multiple Sources: Consider using multiple reflectors and diffusers to achieve more complex lighting setups and add depth and dimension to your images.
- DIY Solutions: Reflectors and diffusers can be easily improvised using everyday materials such as white foam boards, aluminum foil, or sheer fabric.
By mastering the use of reflectors and diffusers in your macro photography, you can elevate the quality of your images and create stunning compositions with beautifully controlled lighting.
Mastering macro photography often means dealing with extremely shallow depth of field, and this is where focus stacking software becomes essential. By combining multiple images taken at different focus points, the software produces a single sharp, detailed photo from edge to edge, making even the tiniest subjects look stunning. Whether you’re capturing insects, flowers, or intricate textures, the right tools can turn an average close-up into a professional masterpiece. For those exploring macro photography for beginners, learning to use focus stacking not only enhances clarity but also opens creative possibilities that are impossible with a single shot.

Calotes versicolor Chameleon
Adobe Photoshop:
- Photoshop offers a built-in focus stacking feature as part of its automation tools.
- It aligns and blends multiple images automatically to create a composite image with extended depth of field.
- Suitable for users already familiar with Photoshop’s interface and workflow.
Helicon Focus:
- Helicon Focus is dedicated focus stacking software designed specifically for macro and micro photography.
- It offers various algorithms for stacking, including pyramid, depth map, and average.
- Provides advanced retouching tools for post-processing the stacked image.
- Available in different versions (Lite, Pro, and Premium) with varying features and pricing.
Zerene Stacker:
- Zerene Stacker is another popular choice among macro photographers.
- It offers several stacking methods, including DMap, PMax, and PyMax.
- Provides advanced retouching tools and batch processing capabilities.
- Offers a free trial version and various licensing options for different needs.
CombineZP:
- CombineZP is a free and open-source focus stacking software.
- It offers various stacking algorithms and tools for aligning and blending images.
- While it may lack some of the advanced features of commercial software, it’s a good option for beginners and hobbyists.
EnfuseGUI:
- EnfuseGUI is based on the Enfuse command-line tool and provides a graphical interface for focus stacking.
- It’s a free and open-source software that blends multiple exposures into a single image, including focus stacking.
- While not as feature-rich as some commercial options, it’s a lightweight and straightforward tool for basic focus stacking tasks.
When choosing focus stacking software, consider factors such as ease of use, available features, compatibility with your workflow, and budget. Experimenting with different software options can help you find the one that best suits your needs and preferences for macro photography.
Indeed, patience is a virtue in macro photography, and it manifests in several ways:

Tawny Coster Butterfly
- Subject Discovery: In macro photography, subjects are often small and easily overlooked. Patience allows you to carefully observe your surroundings, exploring tiny details that others might miss. By being patient and observant, you can discover fascinating subjects to photograph, such as intricate patterns on leaves, delicate flowers, or tiny insects.
- Waiting for the Right Moment: Macro photography often requires waiting for the perfect moment to capture your subject. Whether you’re waiting for a butterfly to land on a flower or for a bug to pause in its movement, patience is key. By waiting for the right moment, you can capture images with more dynamic compositions and interesting behavior.
- Achieving Focus: Achieving sharp focus in macro photography can be challenging due to the shallow depth of field. It often requires patience and precision to adjust the focus and capture the desired level of detail.
*Taking the time to carefully focus on your subject can make a significant difference in the quality of your final images.
- Dealing with External Factors: Macro photographers often encounter external factors that can disrupt their shooting process, such as wind, changing light conditions, or unexpected movements from the subject. Patience allows you to adapt to these challenges, whether it’s waiting for the wind to die down or adjusting your shooting angle to account for shifting light.
- Post-Processing: After capturing your images, patience is also needed during the post-processing stage. Taking the time to carefully edit and refine your photos can elevate them to the next level. It brings out details and colors that may not have been apparent initially.
By embracing patience in macro photography, you can cultivate a deeper appreciation for the intricacies of the natural world and create stunning images that capture its beauty in all its detail.
Macro photography for beginners isn’t just about capturing beauty — it’s also a way to promote conservation. Every tiny subject you photograph tells a story about the fragile ecosystems around us. A close-up of a bee pollinating, a spider weaving its web, or a butterfly resting on a leaf can raise awareness about biodiversity and habitat protection.

Gray Pansy
Through macro photography, you can document the unseen connections that sustain life. By sharing your images on social media, exhibitions, or blogs, you inspire others to appreciate the smaller species that play vital roles in nature. Each detailed shot becomes a visual reminder of how intricate and precious our environment truly is.
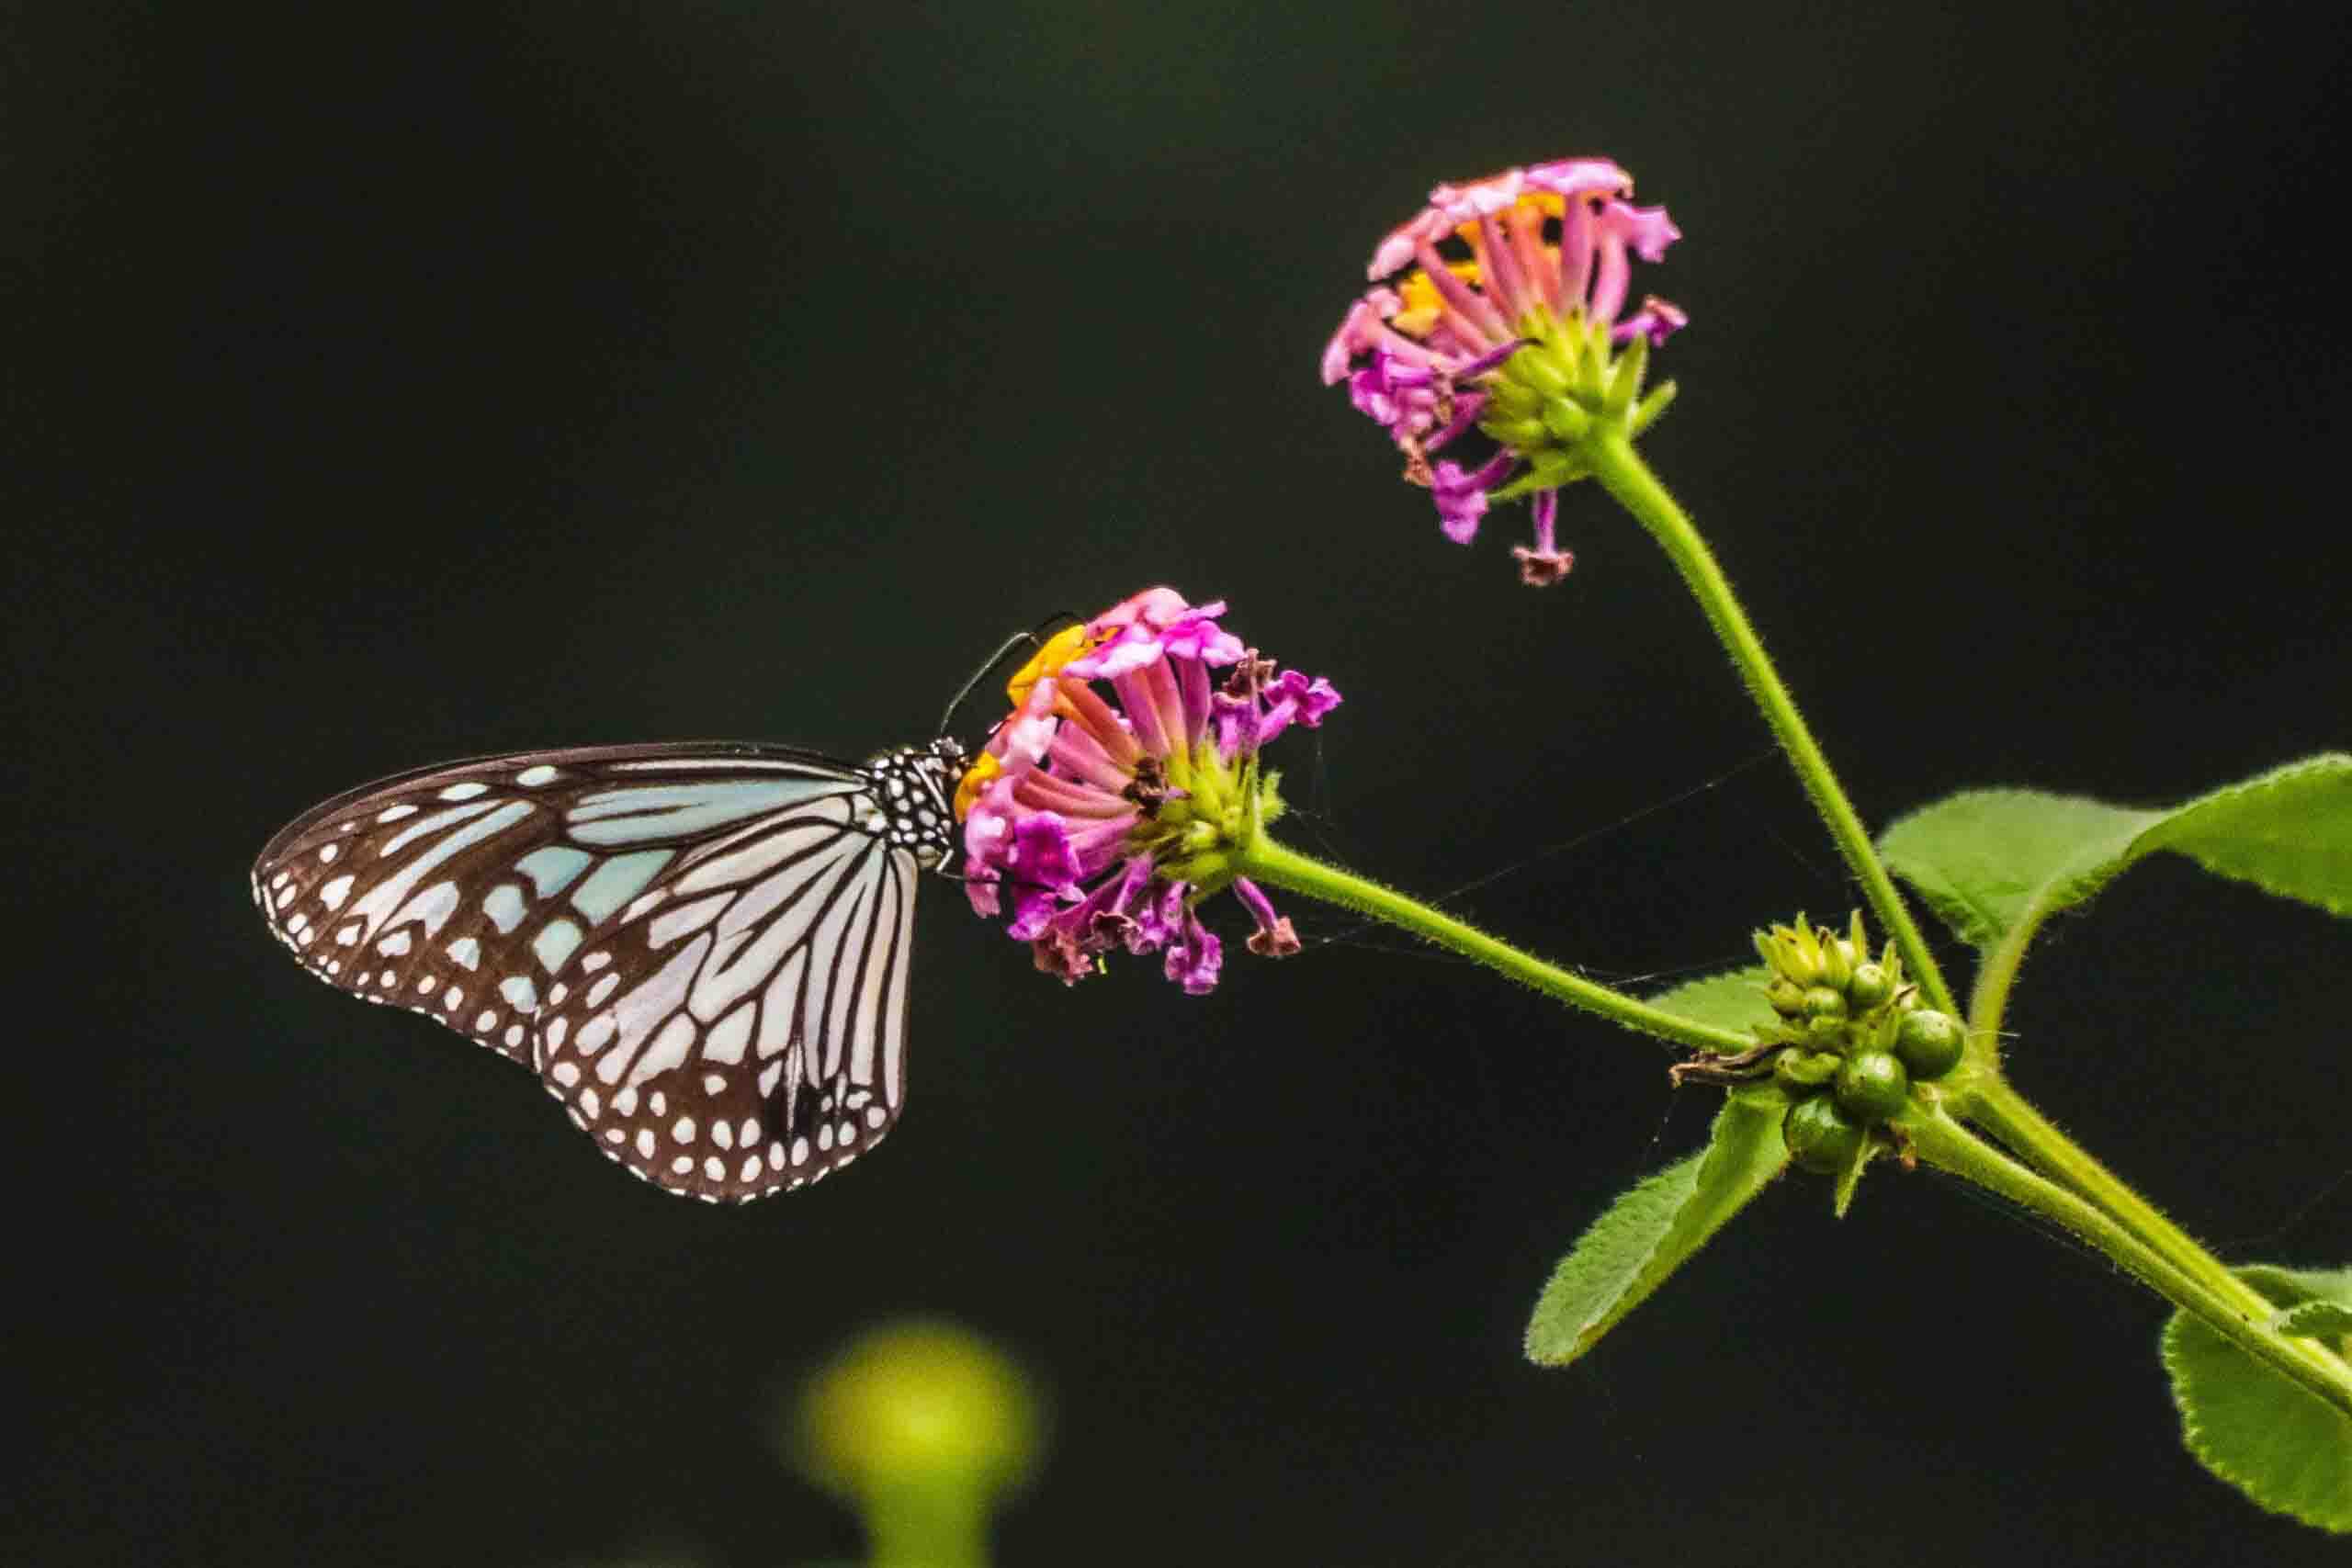
Blue Tiger Butterfly
As a macro photographer, your responsibility extends beyond art — it includes advocacy. Photograph ethically, avoid disturbing living subjects, and respect their surroundings. Let your photos highlight the importance of conservation and encourage others to protect the natural world.
👉 Use your passion for macro photography for beginners to inspire change. Capture, share, and protect the beauty of the micro world before it fades from sight.
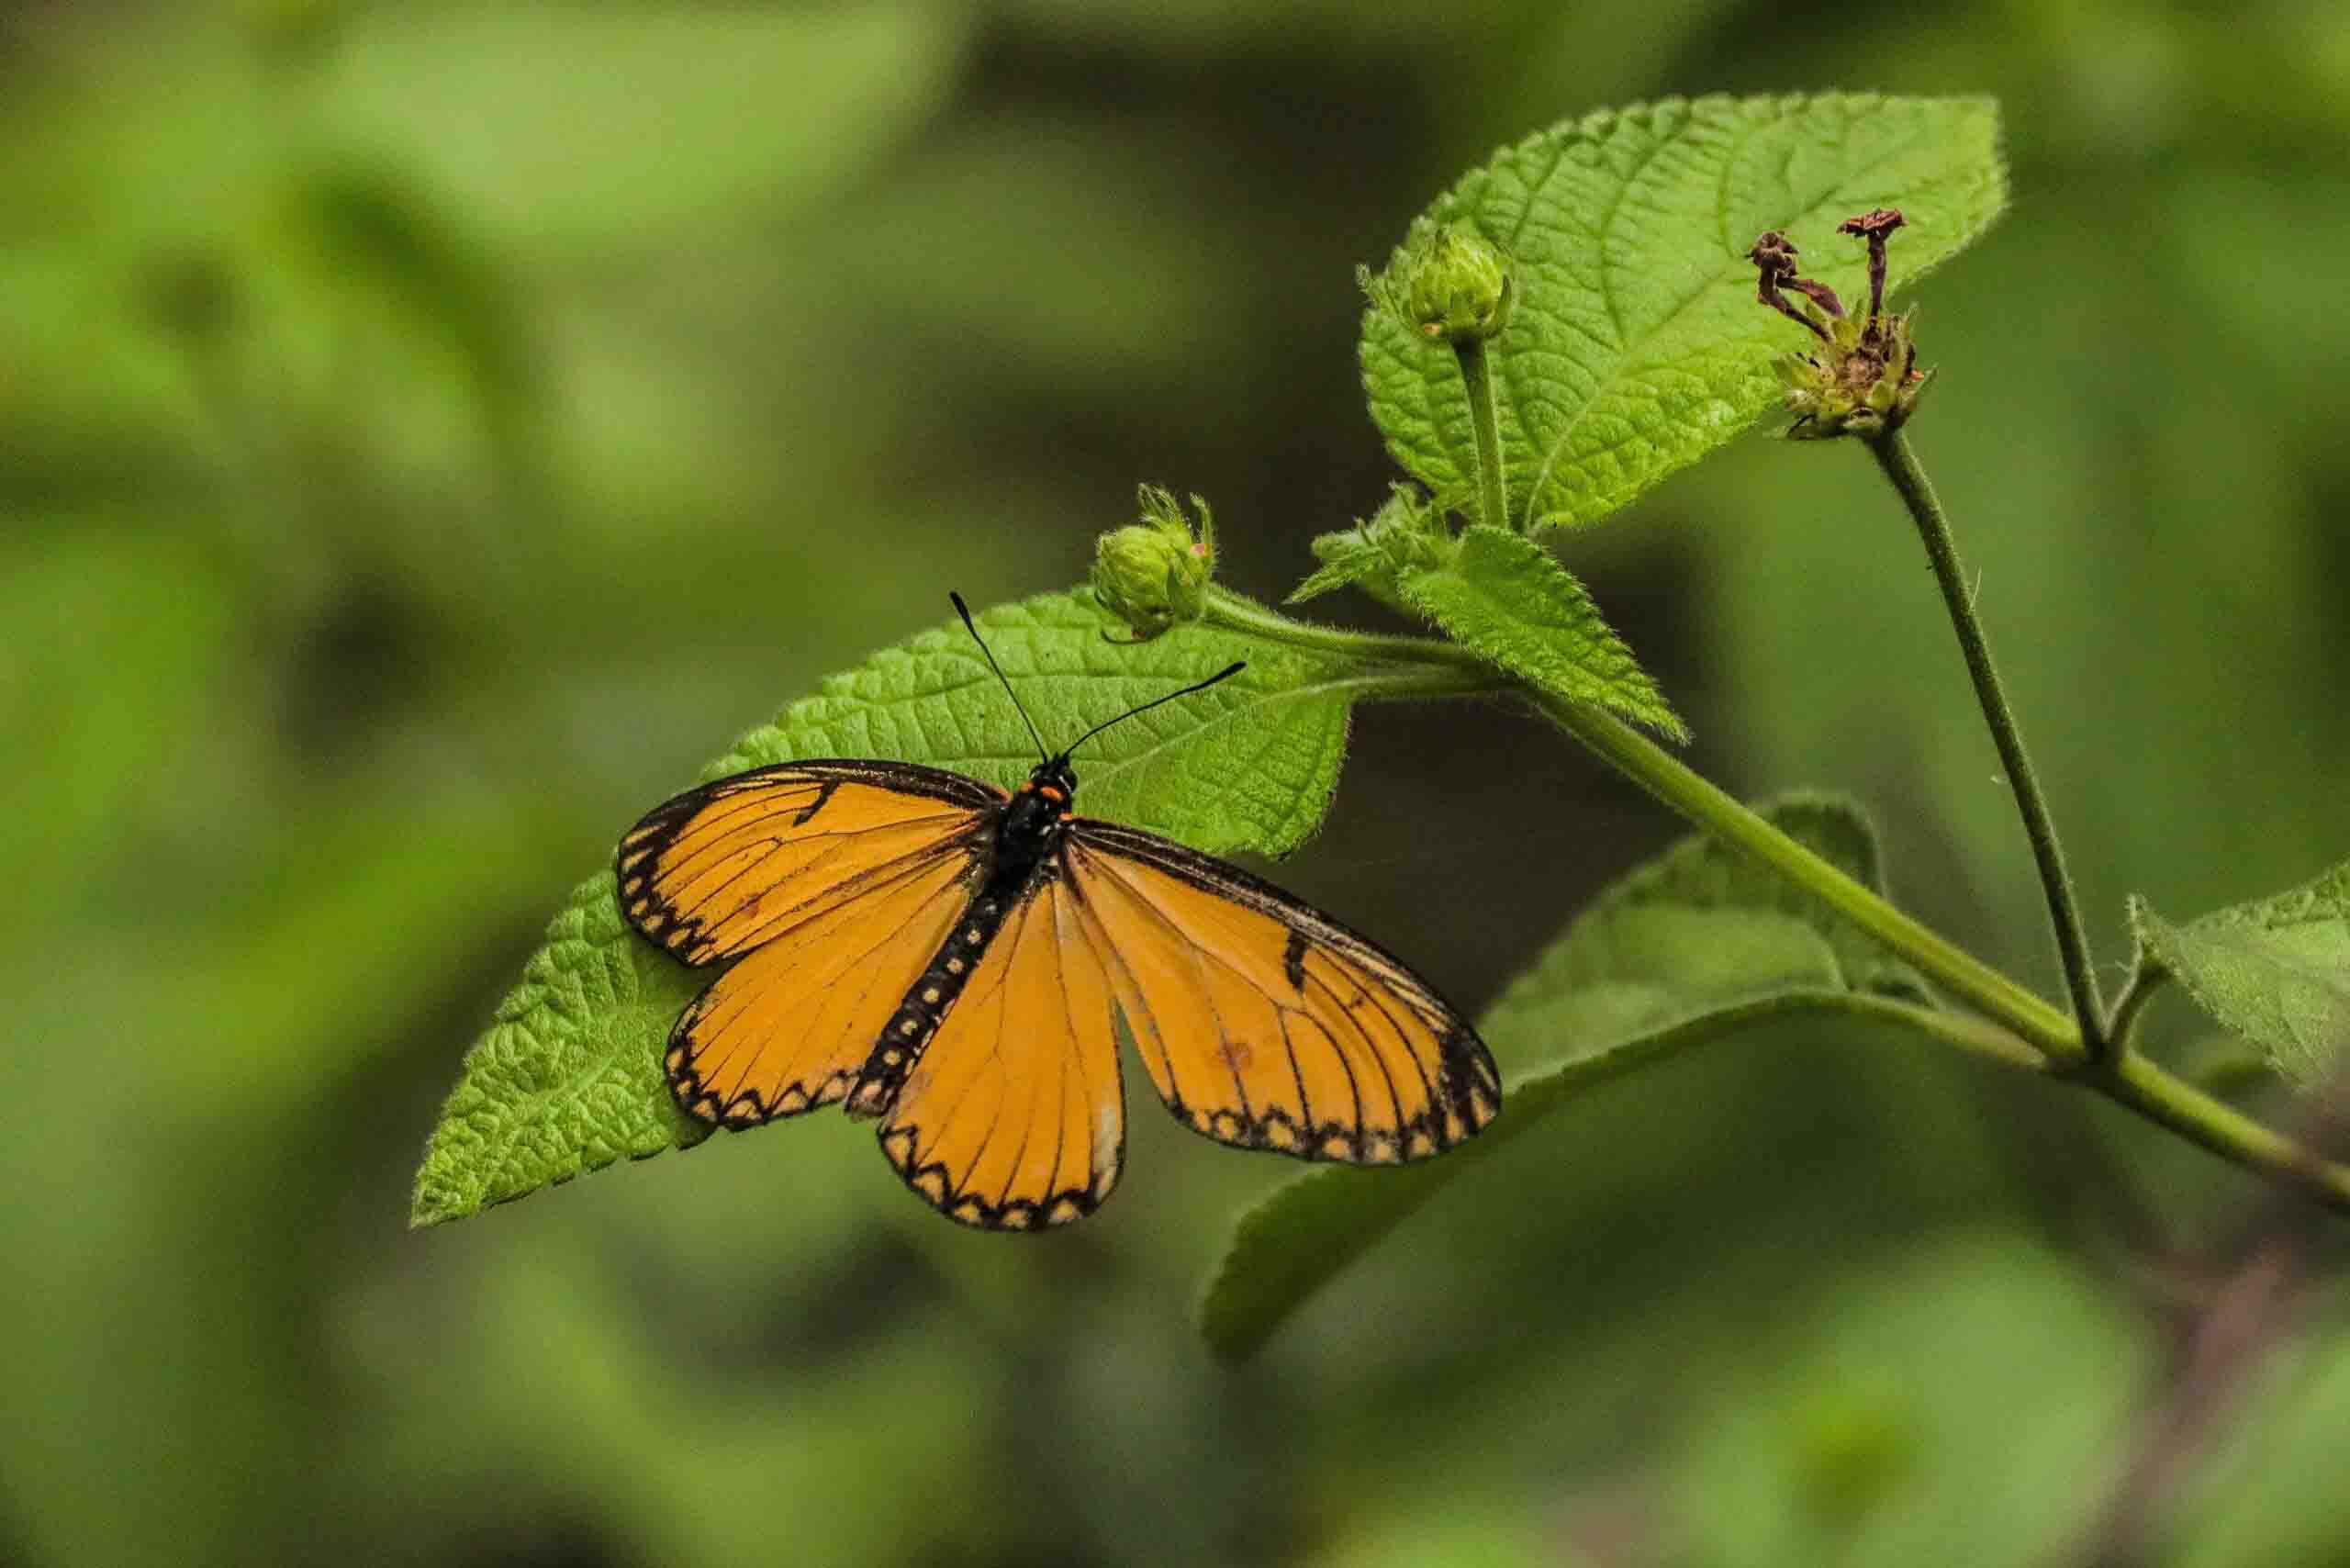
Yellow Coster
1. What is macro photography for beginners?
Macro photography for beginners is the art of capturing small subjects like insects, flowers, and textures in extreme close-up. It helps reveal fine details that the naked eye cannot see and is one of the best ways to learn focus, light, and composition.
2. What camera is best for macro photography beginners?
Beginners can start with any DSLR or mirrorless camera that supports interchangeable lenses. Popular options include entry-level Canon, Nikon, or Sony models paired with a macro lens or extension tubes. Even smartphones with macro modes are great starting tools.
3. Do I need a special lens for macro photography?
Yes, a dedicated macro lens makes it easier to capture sharp, life-size close-ups. However, beginners can also use extension tubes, reversing rings, or even budget-friendly clip-on smartphone lenses to start exploring macro photography.
4. Can I shoot macro photography with a smartphone?
Absolutely. Many smartphones now include a macro mode or allow clip-on macro lenses. While a dedicated camera offers more control, smartphones can still produce stunning macro shots for beginners.
5. What is the easiest subject for macro photography?
Flowers, leaves, and everyday objects are the easiest subjects for beginners in macro photography. They don’t move quickly like insects and give you more time to practice focusing, depth of field, and lighting.
6. How do I get sharp macro photos?
Use a tripod, steady lighting, and manual focus to keep your macro photos sharp. Beginners should also try a remote shutter release or timer to avoid camera shake. Shooting at smaller apertures like f/8 or f/11 increases depth of field and sharpness.
7. What lighting works best for macro photography?
Natural diffused light is ideal for beginners. For more control, try a ring light or a macro flash to reduce harsh shadows and highlight tiny details. Proper lighting is key to professional-looking close-up images.
8. Is a tripod necessary for macro photography beginners?
Yes. A tripod helps eliminate camera shake, especially at high magnification. It allows beginners to shoot with slower shutter speeds, smaller apertures, and precise compositions for consistently sharp macro images.
Macro photography for beginners is more than just learning settings and techniques. It’s about developing patience, precision, and a deeper connection with the tiny world around you. Every detail you capture — from a dewdrop on a leaf to the pattern of a butterfly’s wing — reveals beauty that often goes unseen.
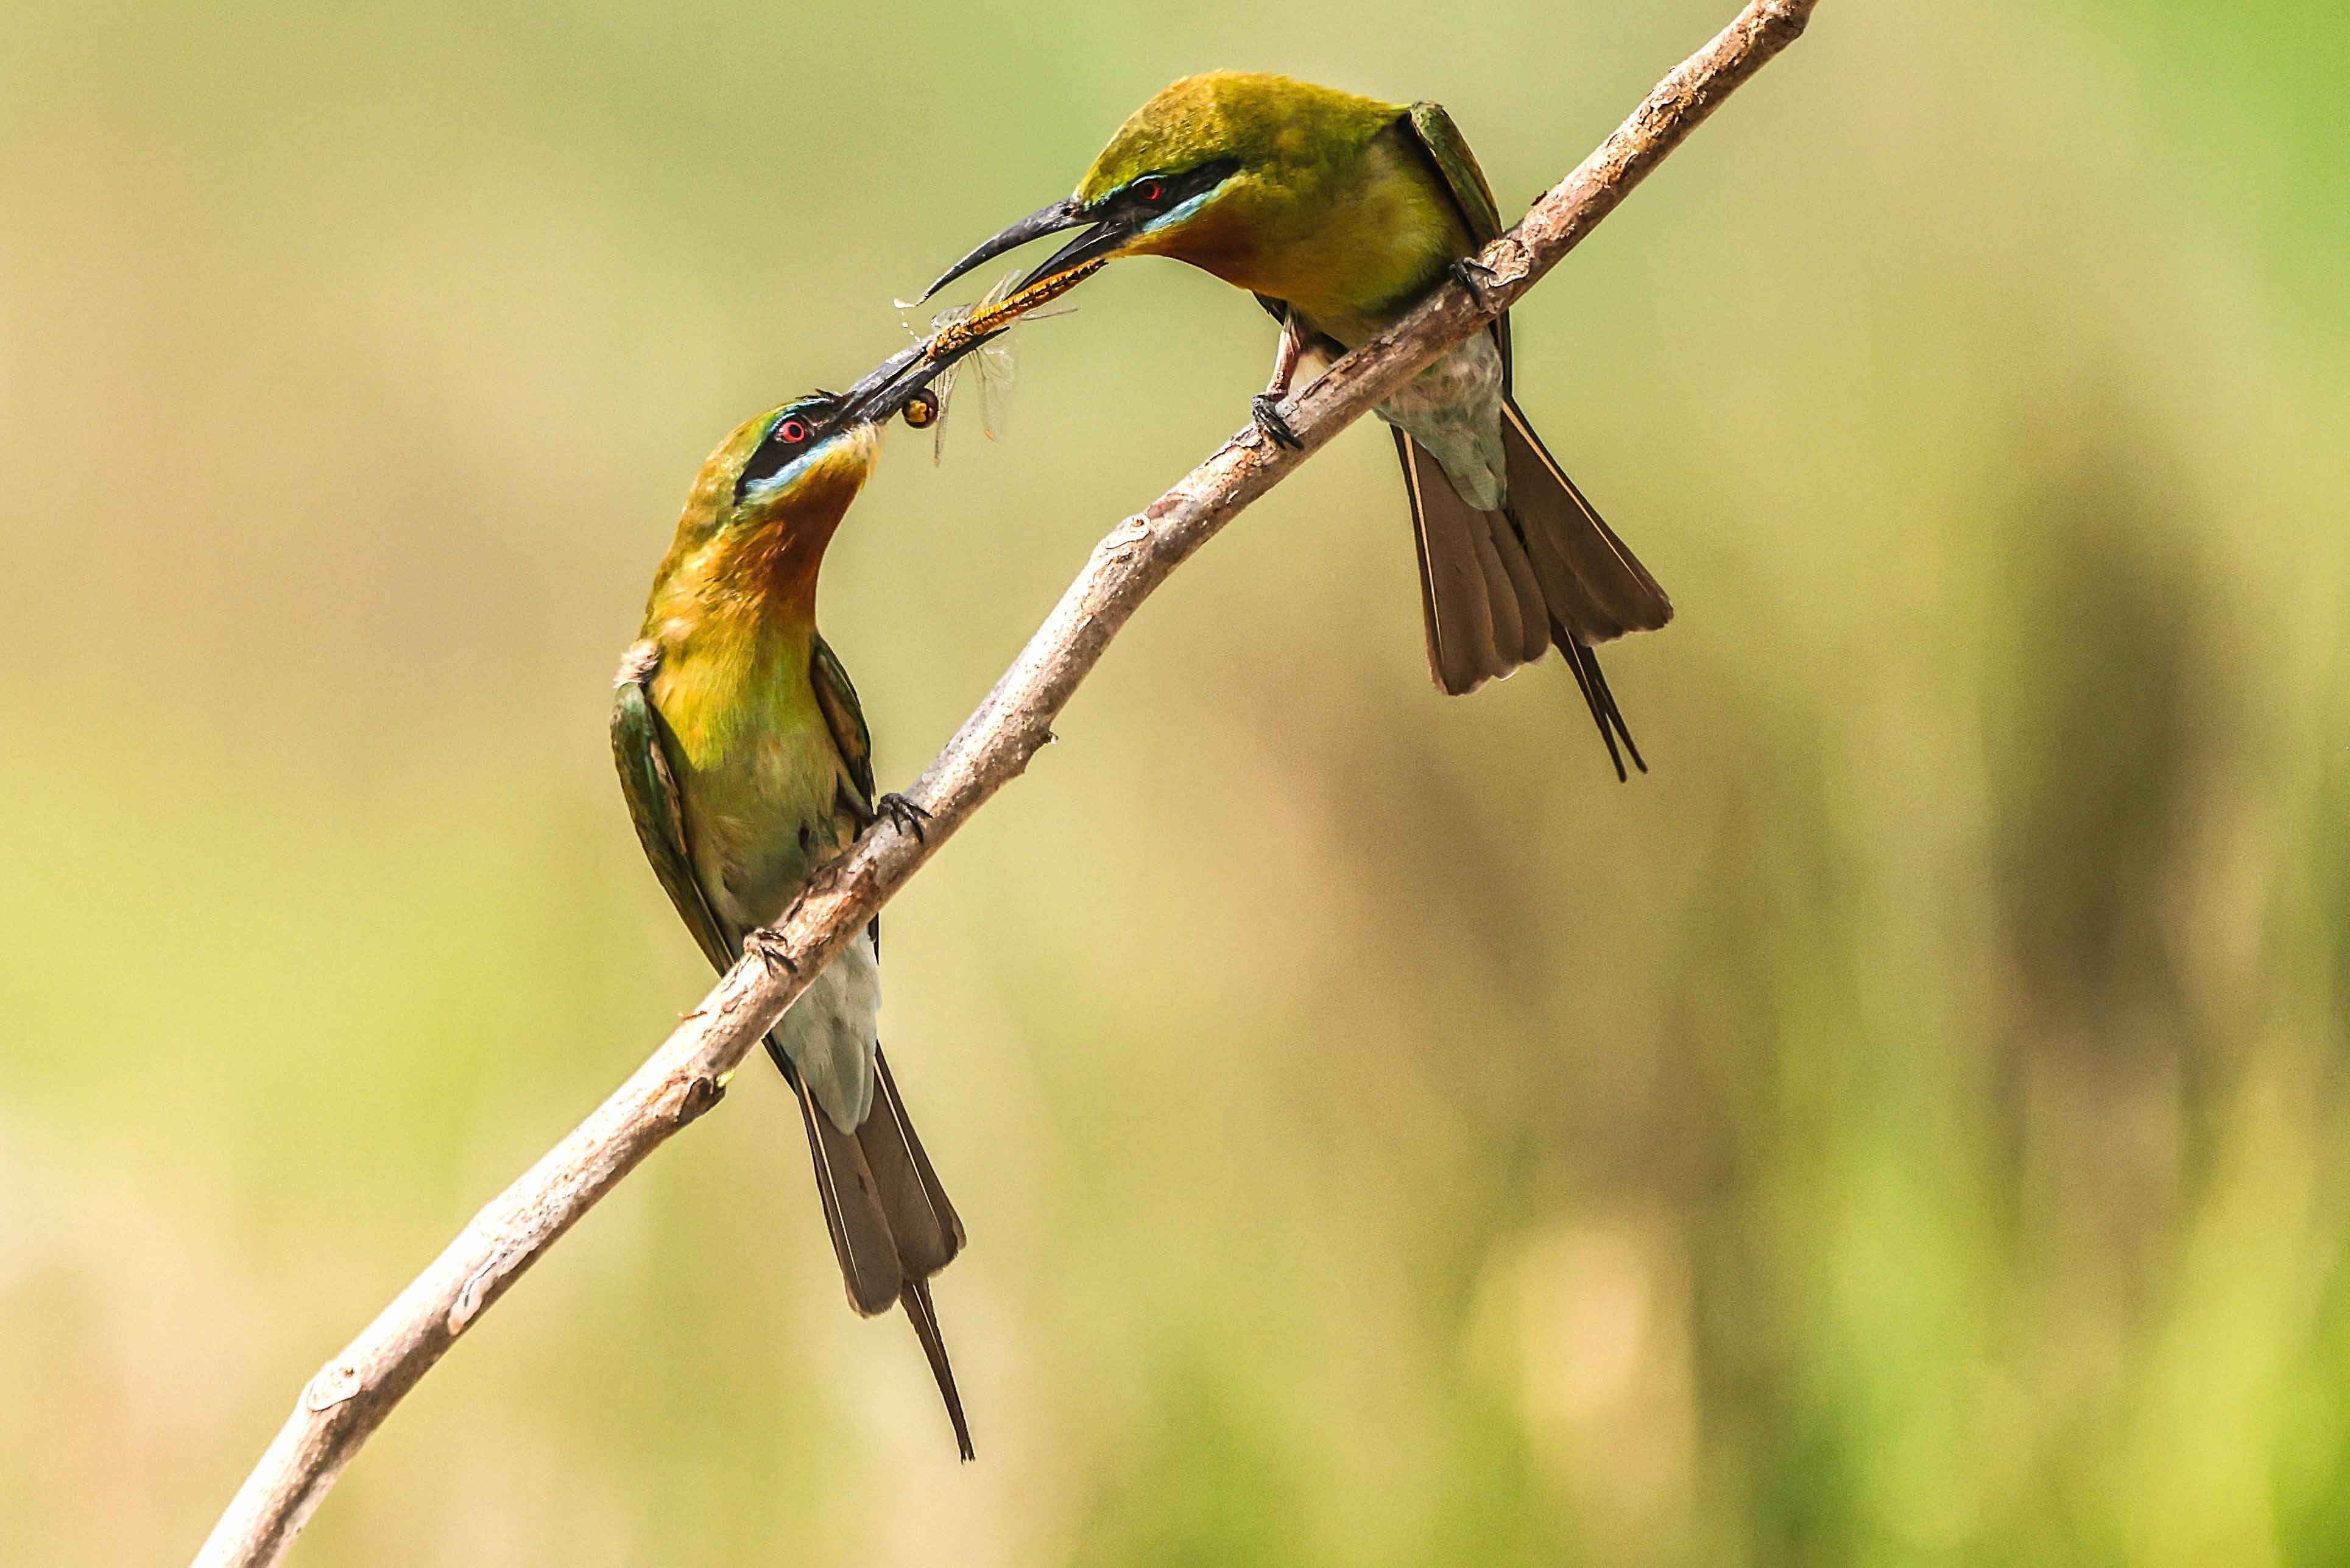
Blue-tailed Bee-eater
Recent Comments