

Wildlife photography for beginners is a thrilling and rewarding journey into the natural world through the lens of a camera. It allows you to capture breathtaking moments of animals in their natural habitats, from mighty predators in the wild to delicate creatures in your local park. Whether you’re aiming for majestic mammals, vibrant birds, or fascinating insects, this genre invites patience, precision, and passion.
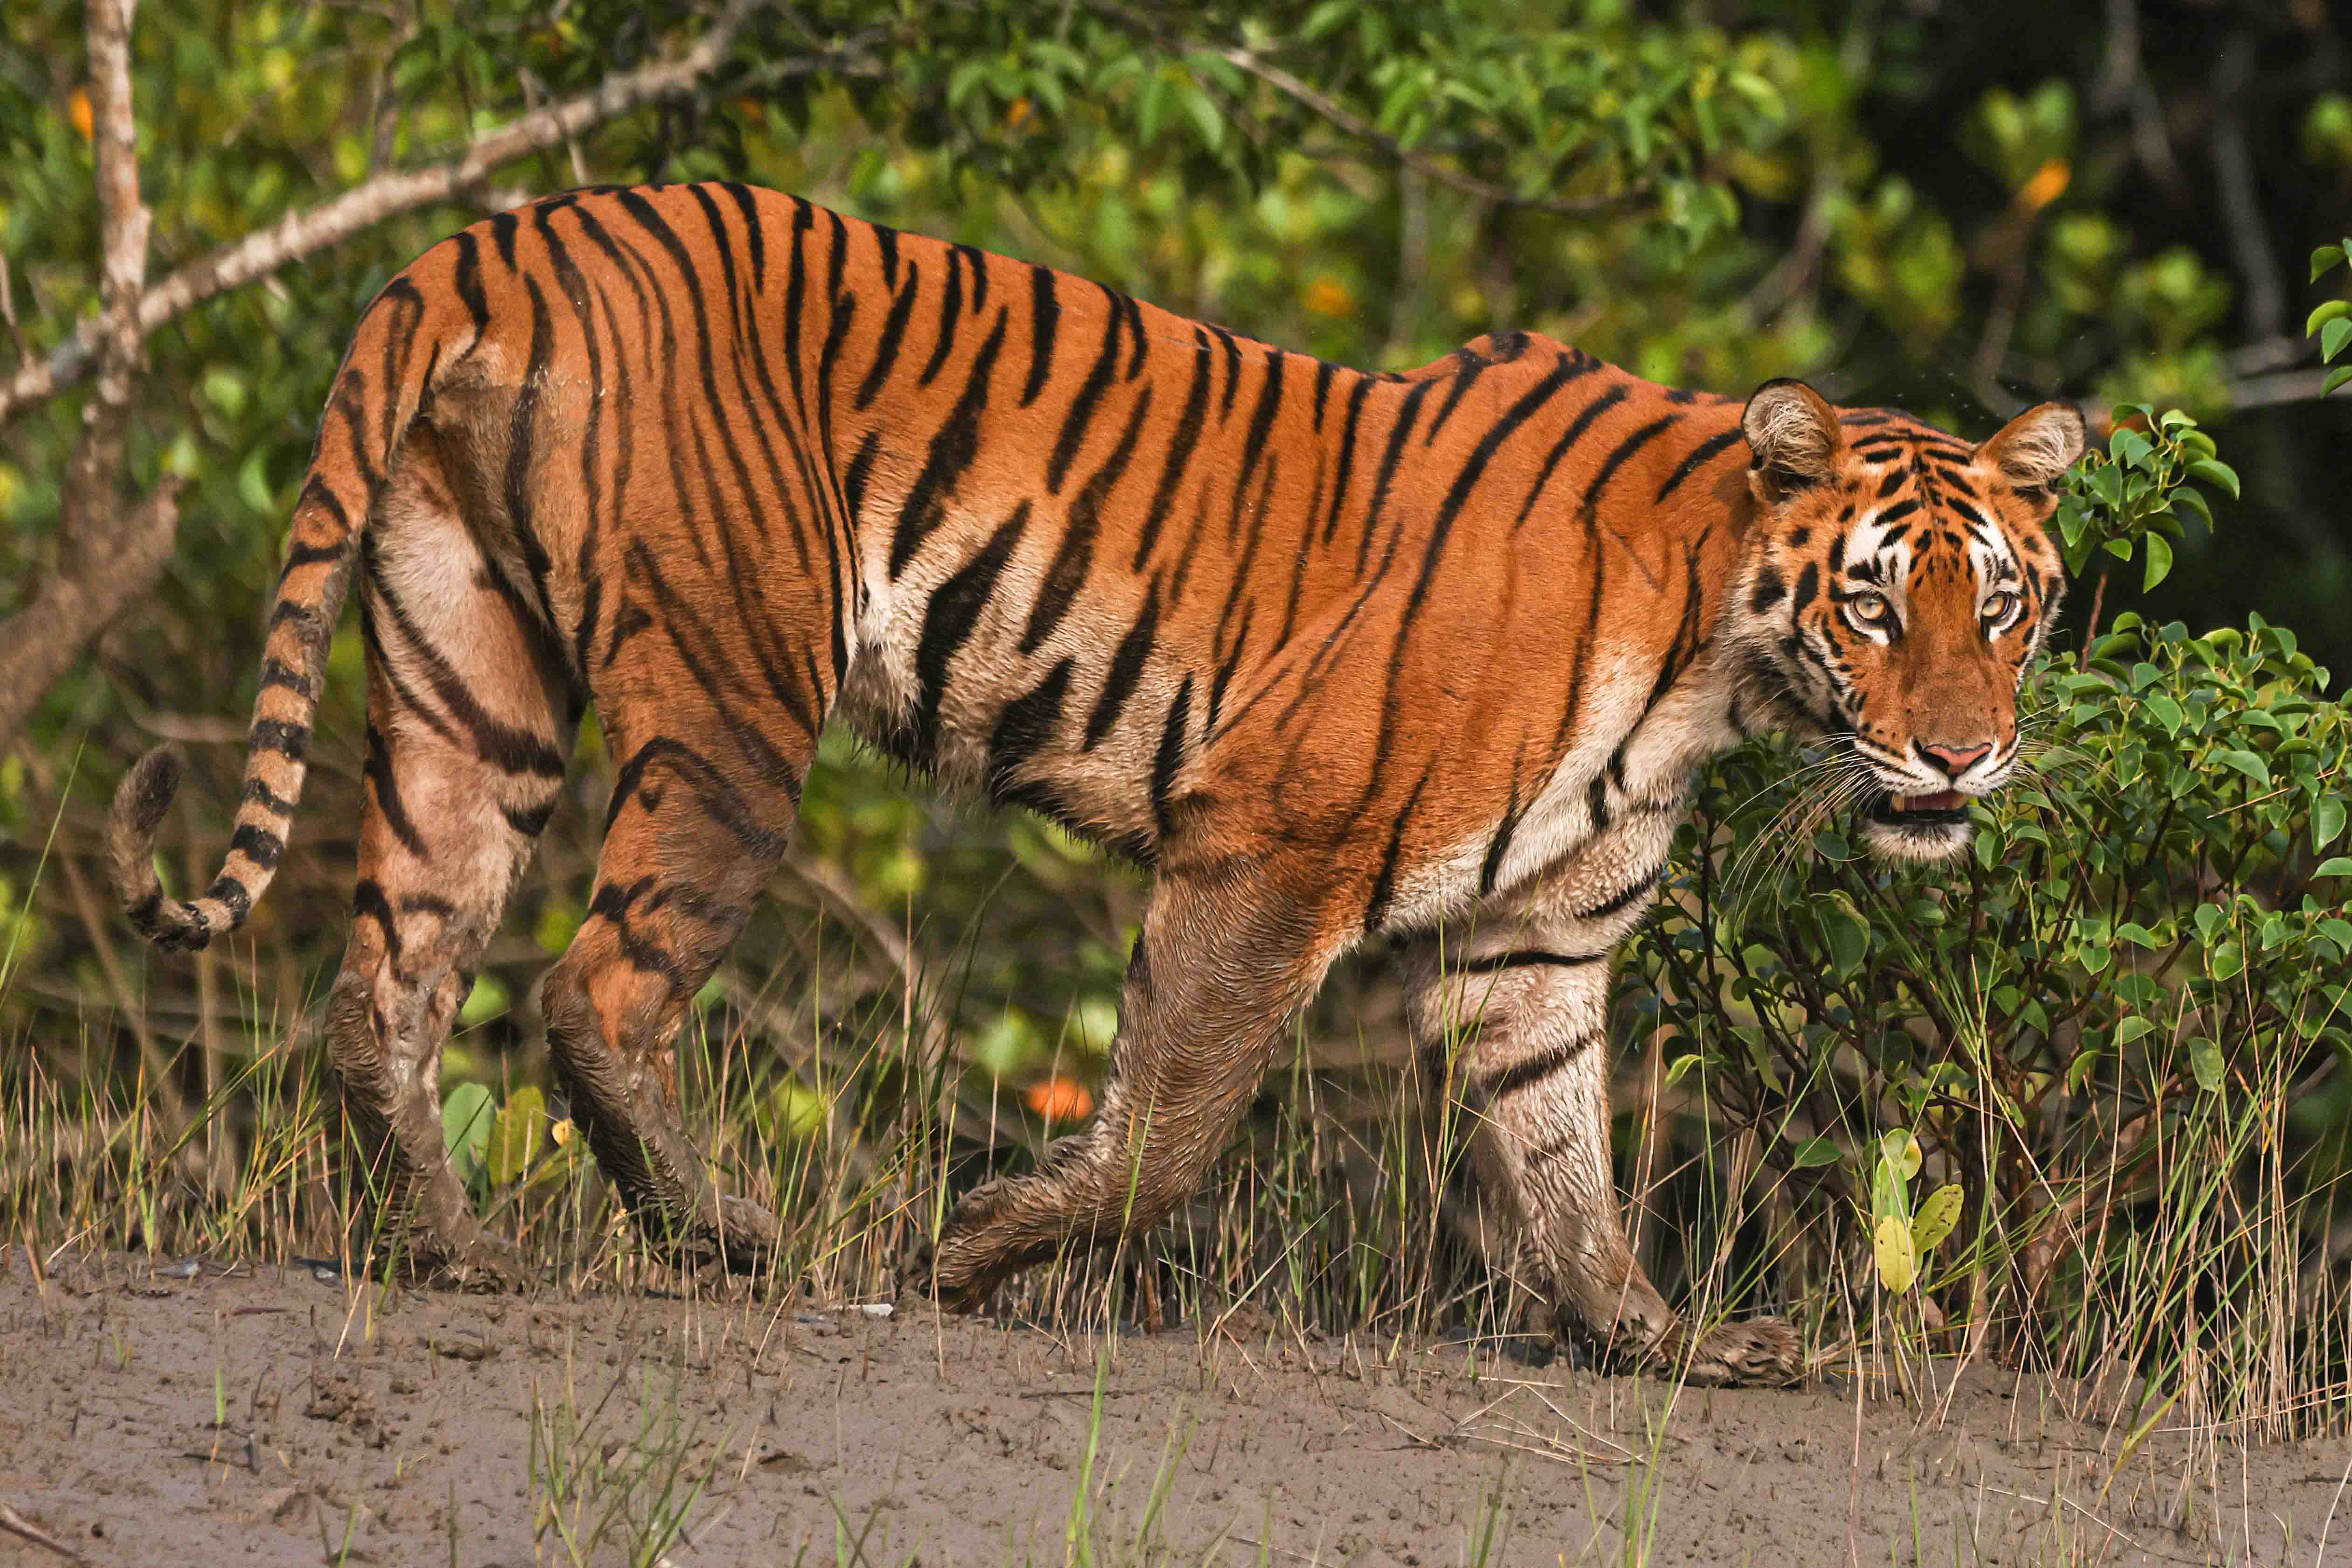
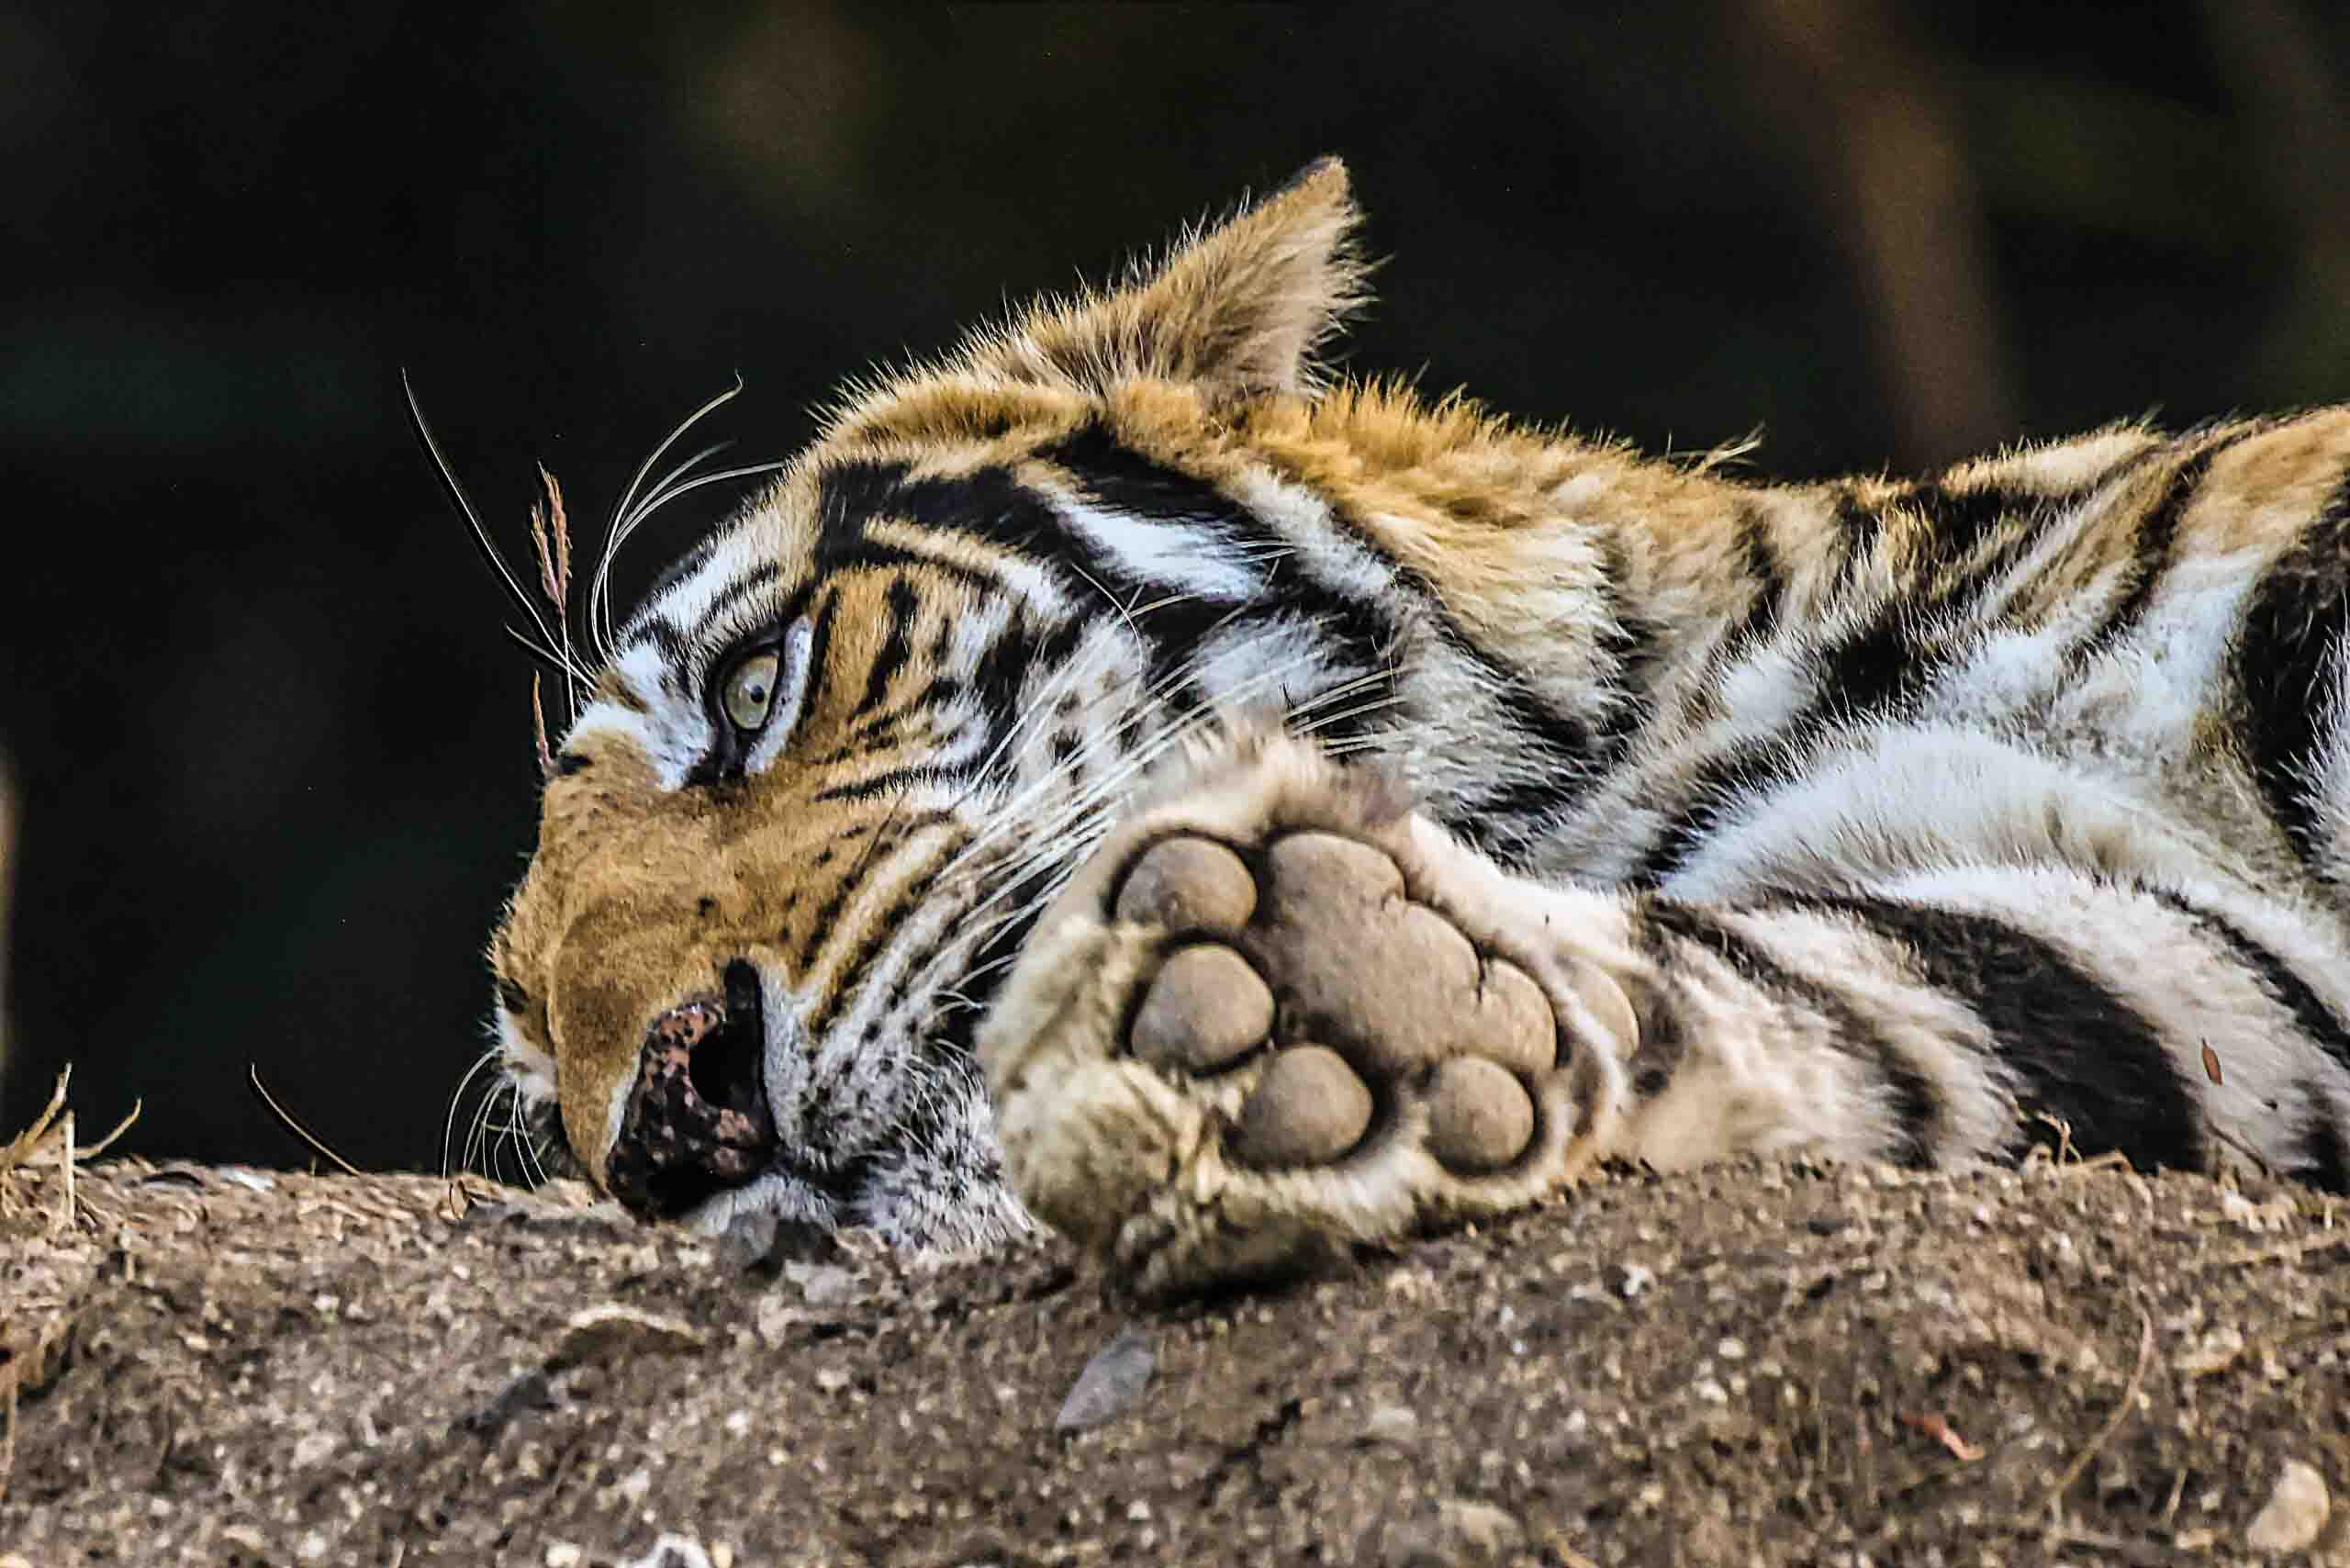
Royal Bengal Tiger
Wildlife photography broadly covers all kinds of wild animals, from tigers in dense jungles to elephants on the savanna. It’s about storytelling—documenting the behavior, beauty, and drama of creatures in the wild. For beginners, it’s essential to learn not just how to use a camera, but also how to understand animal behavior, move silently, and respect nature’s boundaries.
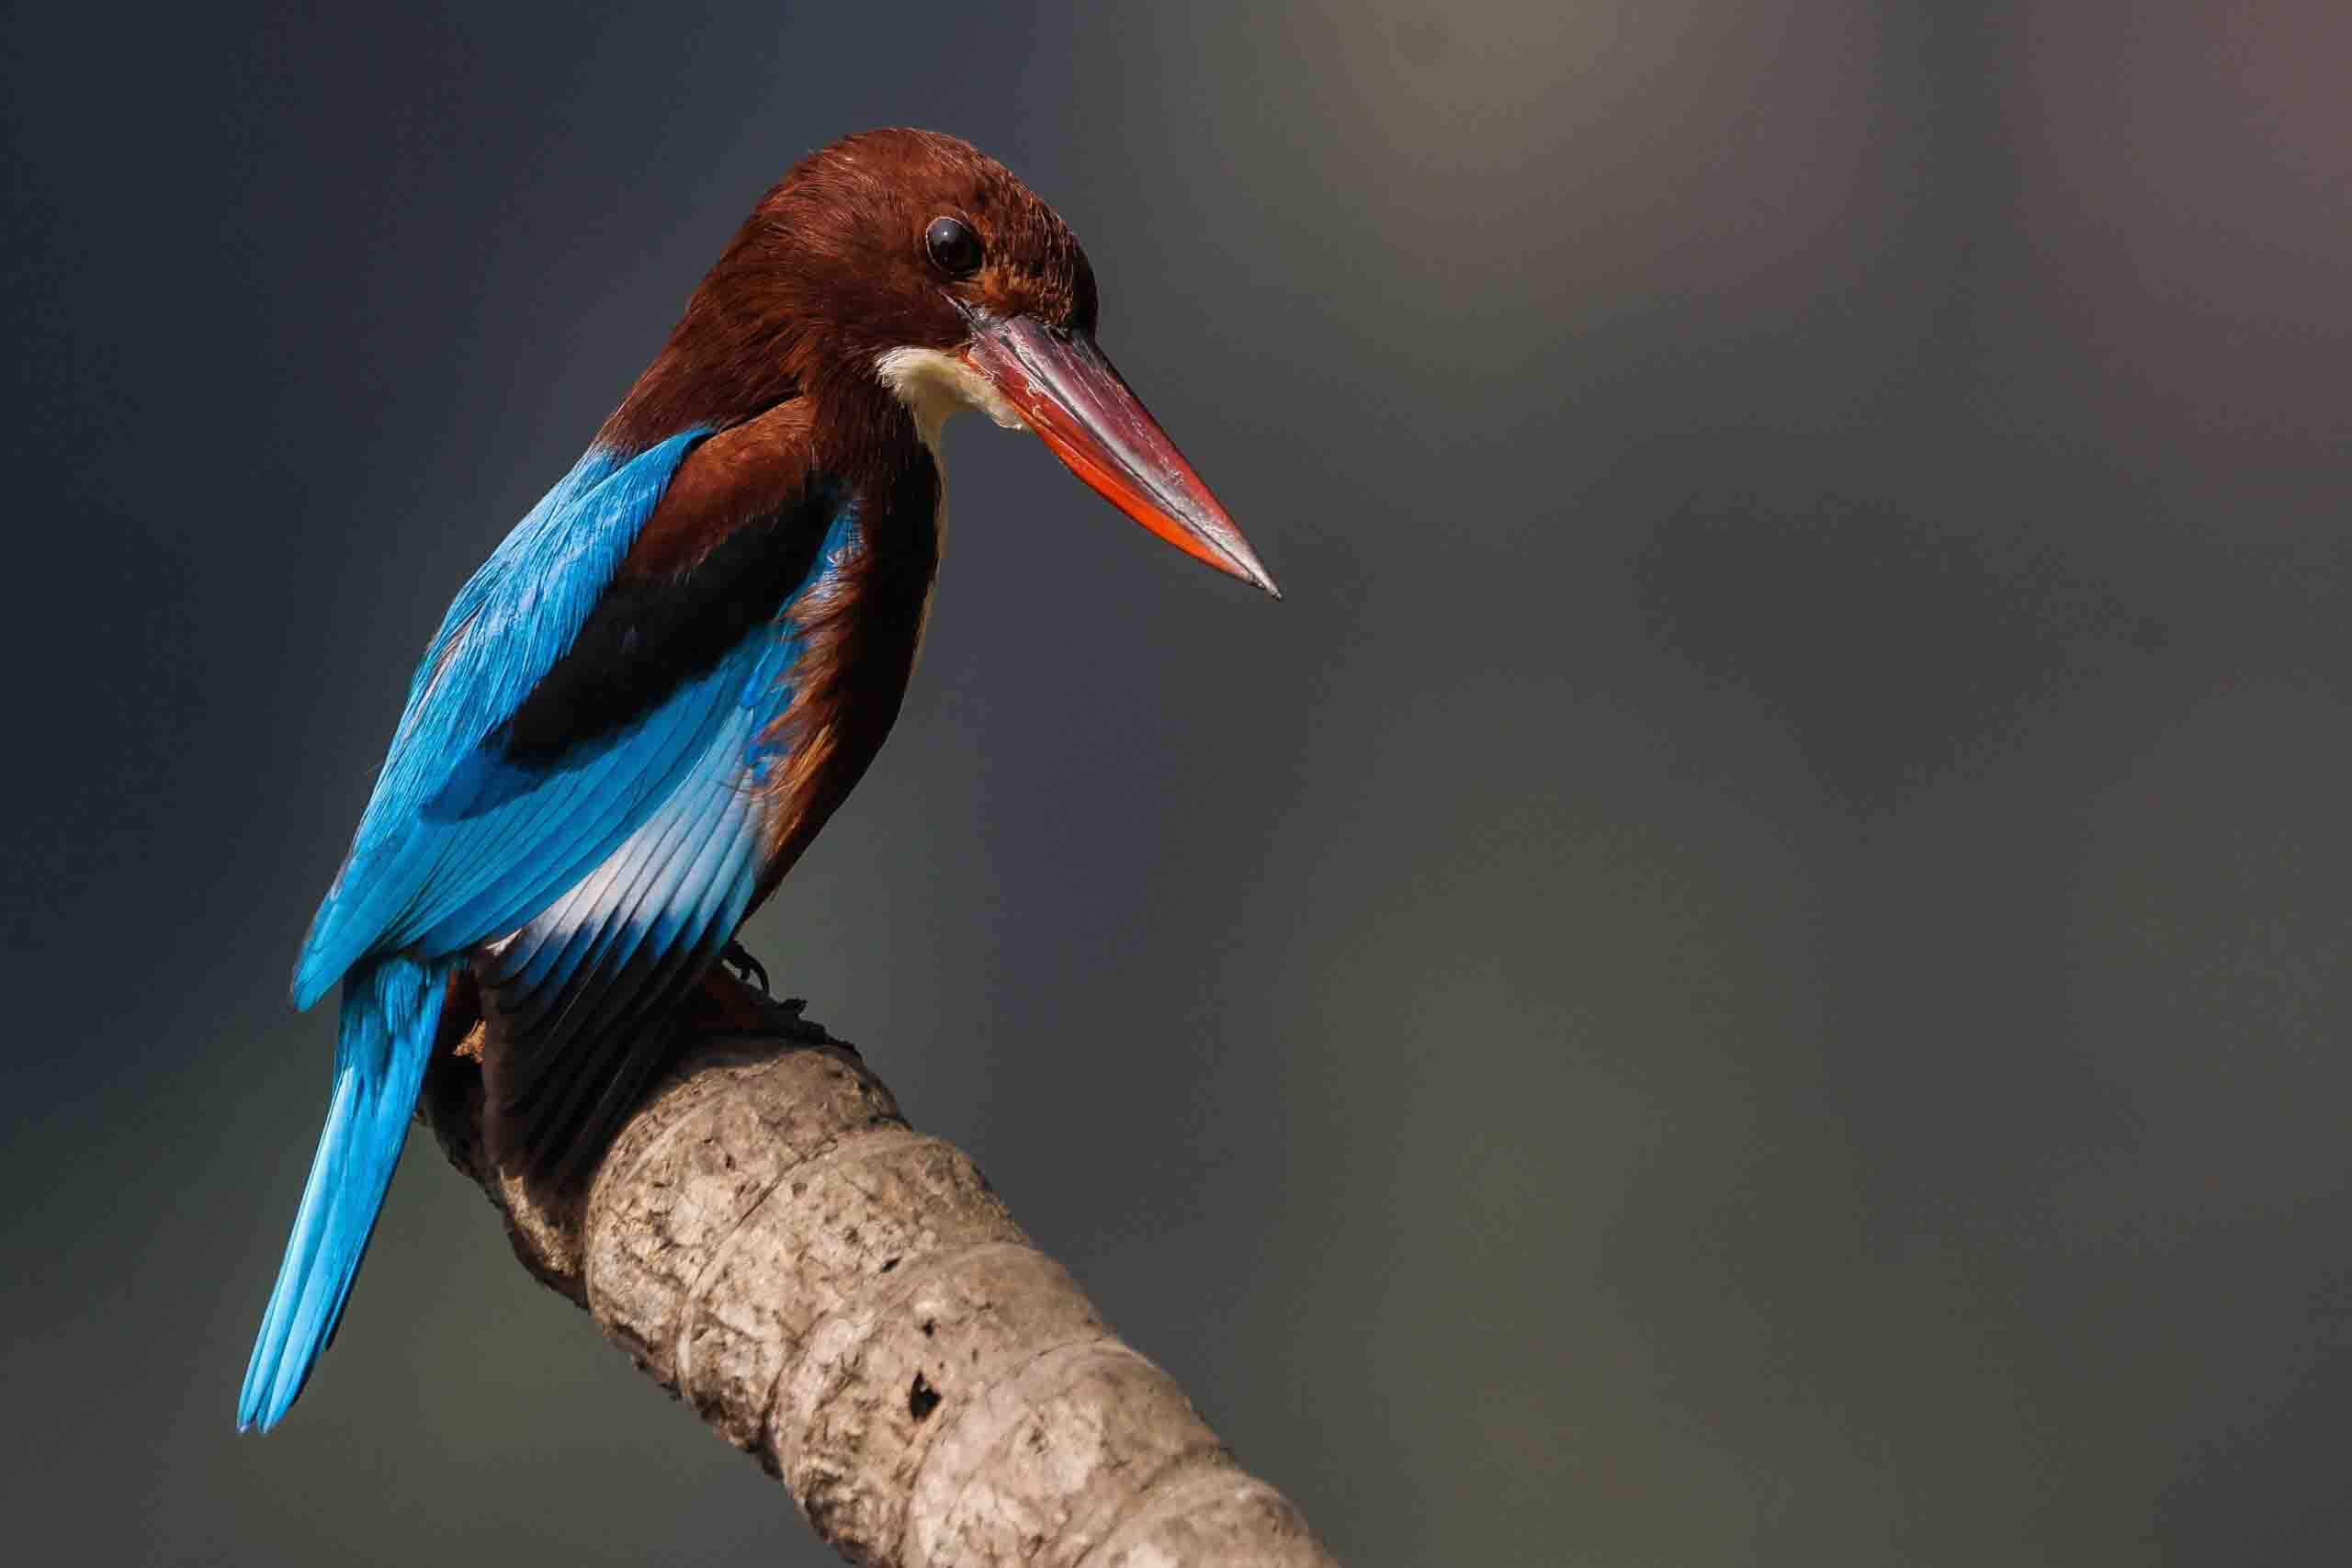
White-throated Kingfisher
Bird photography, a specialized branch of wildlife photography, focuses on capturing birds in flight, perching, feeding, or nesting. It demands quick reflexes, long lenses, and a keen eye for detail. Birds are often fast, shy, and unpredictable, making bird photography a challenging yet incredibly satisfying experience for newcomers to the wildlife genre.
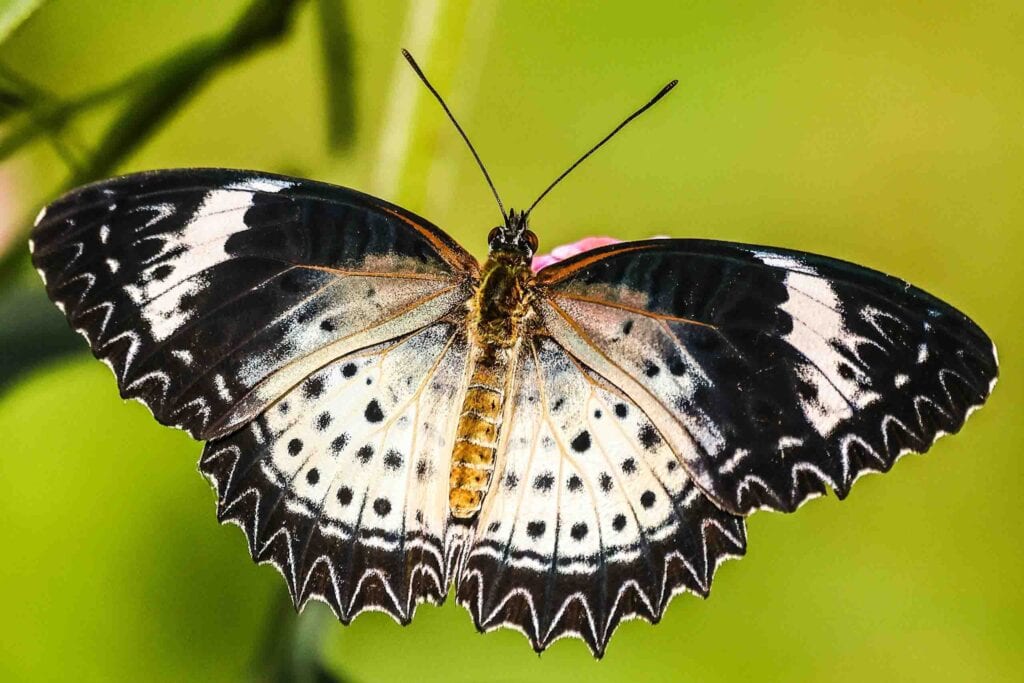
Leopard Lacewing
Macro photography, on the other hand, zooms into the miniature world of insects, reptiles, plants, and textures that often go unnoticed. This style opens up new perspectives, allowing you to explore fine details like the intricate wings of a dragonfly or the compound eyes of a spider. For beginners, macro photography teaches how to master focus, depth of field, and lighting at close range.
Whether you’re drawn to grand safaris, peaceful wetlands, or your backyard garden, wildlife photography for beginners offers endless opportunities to grow your skills and connect with nature. This guide will help you get started, step by step—from choosing the right gear to mastering the perfect shot.
Understanding the behaviors, habitats, and patterns of wildlife is crucial for successful wildlife photography. Here’s a general overview, but keep in mind that specific details will vary depending on the species you’re interested in capturing:
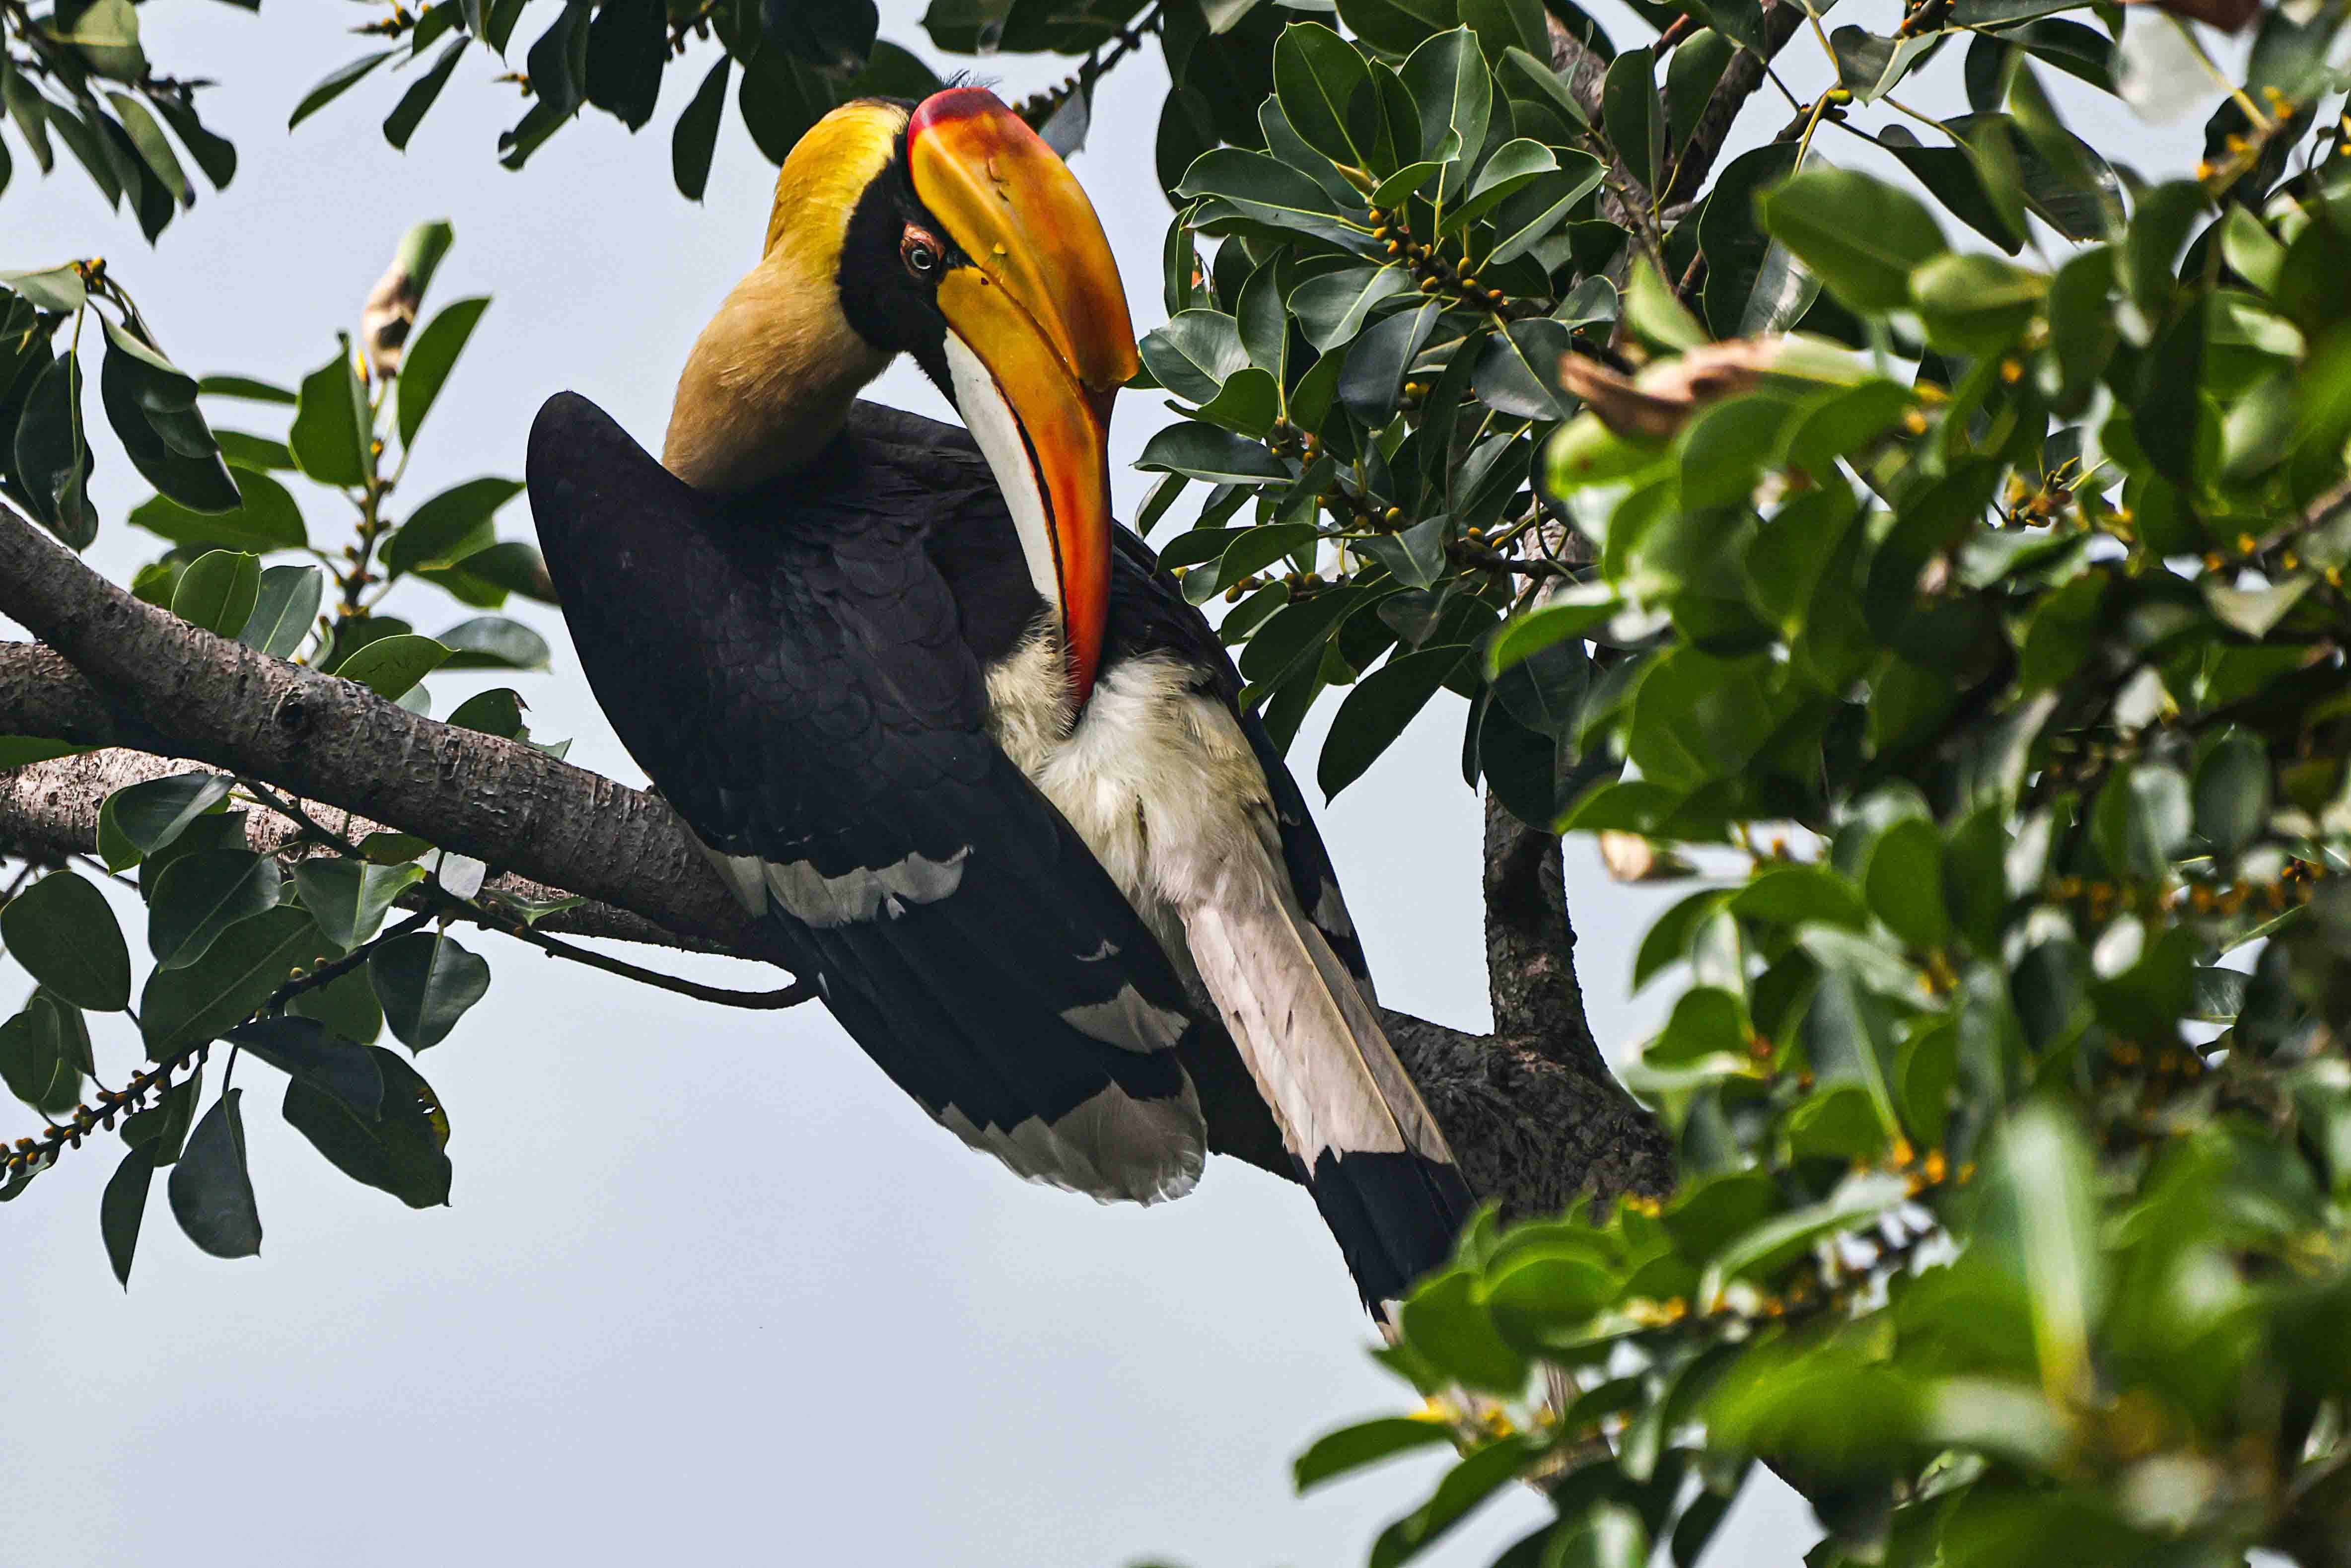
Great Indian Hornbill
Behaviors
- Feeding Habits: Different species exhibit various feeding behaviors. Some are nocturnal hunters, while others are diurnal grazers. Understanding when and how they feed can help you anticipate their movements.
- Mating Rituals: During breeding seasons, many animals engage in unique mating rituals. Learning about these behaviors can provide opportunities for capturing interesting and dynamic shots.
- Social Structures: Some species are solitary, while others live in groups or herds. Understanding social structures helps you predict the presence of multiple subjects in your frame.
Habitats
- Terrestrial Habitats: Different wildlife species inhabit diverse terrestrial environments such as forests, grasslands, deserts, and mountains. Research the specific flora and fauna associated with these habitats.
- Aquatic Habitats: Aquatic habitats include oceans, rivers, lakes, and wetlands. Know the behavior of marine life, waterfowl, and other species that live in or around water bodies.
- Adaptations: Learn how animals have adapted to their environments. This includes understanding their preferred shelter, nesting sites, and any specific features they utilize for survival.
Patterns and Movements
- Migration: Many species exhibit seasonal migration patterns. Knowing the timing and routes of migration can help you plan your photography sessions accordingly.
- Daily Rhythms: Animals often follow daily patterns related to feeding, resting, and avoiding predators. Understanding these rhythms can increase your chances of capturing them in action.
- Territorial Behavior: Some species are territorial, defending specific areas for feeding or breeding. Recognizing territorial behaviors can help you anticipate where to find certain subjects.
Adaptations to Weather
- Nocturnal vs. Diurnal: Some animals are active during the day (diurnal), while others are active at night (nocturnal). Knowing the activity patterns can influence the best times for photography.
- Seasonal Changes: Wildlife behavior often changes with the seasons. For instance, some species hibernate during winter, while others become more active in search of food.
Communication
- Vocalizations: Understanding the sounds animals make can help you locate them. Different calls may indicate mating, warning signals, or general communication.
- Body Language: Learn to interpret body language, as it can reveal a lot about an animal’s mood or intent. This is especially important when photographing potentially dangerous species.
Tracking and Signs
- Tracks and Scat: Familiarize yourself with the tracks and scat of the wildlife you’re interested in. These can be valuable indicators of recent activity in an area.
- Nesting Sites: Knowing where and when certain species build nests or dens can provide opportunities for capturing them during particular life stages.
Research Tools
- Field Guides: Consult field guides specific to the region and species you’re photographing.
- Wildlife Biologists: Reach out to wildlife biologists or local experts who can share their knowledge and insights.
- Nature Reserves and Parks: Explore wildlife-rich areas and nature reserves where you’re likely to encounter diverse species.
Patience and Observation
- Study in the Field: Spend time observing wildlife in their natural habitats. Patience is often rewarded with unique behavioral shots.
- Keep Records: Maintain a field journal to document your observations and patterns. This can help you refine your approach over time.
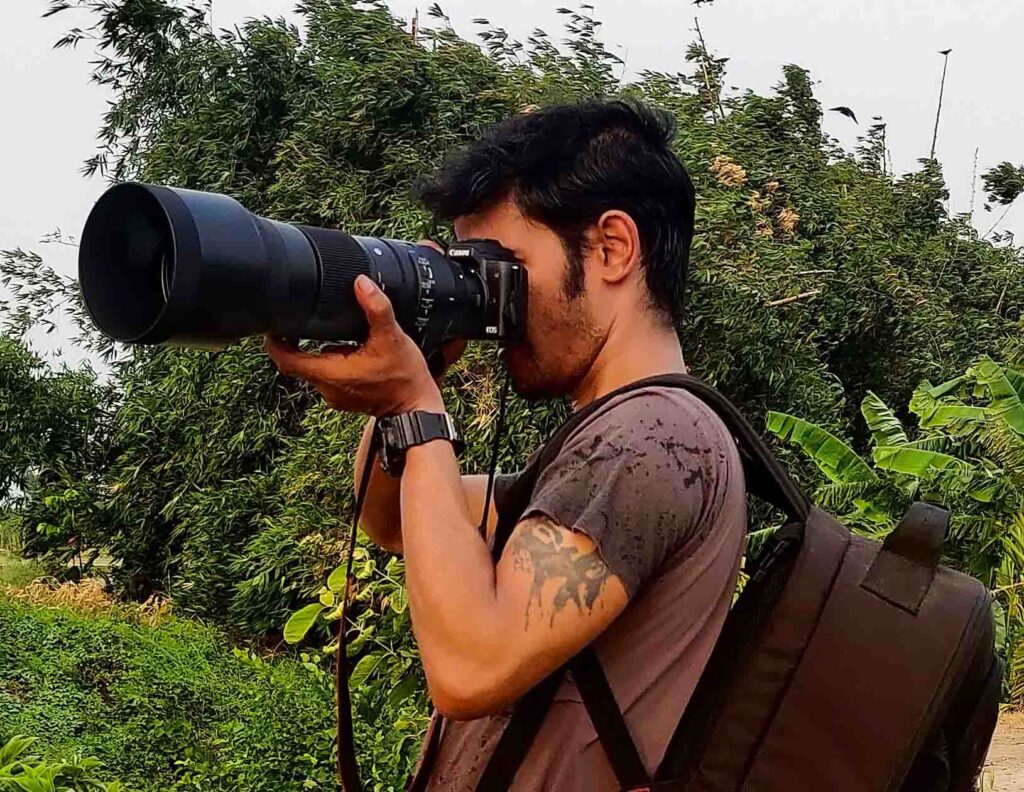
One of the most important steps in wildlife photography for beginners is selecting the right equipment. The right camera and lens can make a huge difference in capturing fast-moving animals, distant subjects, and detailed close-ups. As a beginner, you don’t need the most expensive gear—what matters is understanding what tools suit your style, subject, and shooting environment. Let’s explore the essential equipment that can help you get started on your wildlife photography journey with confidence.

Camera
- Digital Single-Lens Reflex (DSLR) or Mirrorless Camera: Choose a camera with a fast autofocus system, high frames per second (FPS) for continuous shooting, and good low-light performance. Full-frame sensors generally perform better in low-light conditions.
Lenses
- Telephoto Lens: A high-quality telephoto lens is crucial for wildlife photography, as it allows you to capture distant subjects. Lenses with focal lengths of 300mm, 400mm, or longer are common. Image stabilization can be beneficial for handheld shooting.
Macro Lens
- If you’re interested in photographing small wildlife or details, a macro lens can be useful.
Tripod
- A sturdy tripod is essential for stabilizing your camera and lens, especially when using longer focal lengths. Look for a tripod that is lightweight, easy to carry, and can handle the weight of your gear.
Camera Bag
- Choose a durable and comfortable camera bag to protect your equipment while providing easy access. Backpacks are popular for wildlife photographers, as they offer a hands-free carrying option.
Bean Bag or Gimble Head
- A bean bag can be a practical support for your camera when shooting from a vehicle or other surfaces. Alternatively, a gimbal head on a sturdy tripod is excellent for tracking moving wildlife smoothly.
Camera Rain Cover
- Weather can be unpredictable, so having a rain cover for your camera and lens will protect them from the elements.
Memory Cards and Storage
- Use high-capacity, fast memory cards to handle the large file sizes of wildlife images. Bring extra cards and an external hard drive for backup.
Camera Remote or Cable Release:
- Minimize camera shake during long exposures or when using a tripod by using a remote shutter release or cable release.
Binoculars
- Binoculars are helpful for scouting and locating wildlife before bringing out your camera. They can also be useful for observing behavior from a distance.
Lens Cleaning Kit
- Dust, dirt, and water droplets can affect image quality. Carry a lens cleaning kit to keep your equipment in top condition.
Wildlife photography often involves spending long hours outdoors, so consider factors like portability, durability, and weather resistance when choosing your equipment. Additionally, knowledge of animal behavior and patience are just as important as the gear you use.
For anyone starting out in wildlife photography for beginners, understanding lighting conditions is crucial to capturing striking and well-exposed images. Natural light changes constantly throughout the day, and knowing how to work with it—whether it’s golden hour glow or mid-day harshness—can transform an average shot into a masterpiece. Learning to observe and adapt to light in the wild is one of the most important skills a beginner wildlife photographer can develop. Here are some key considerations:
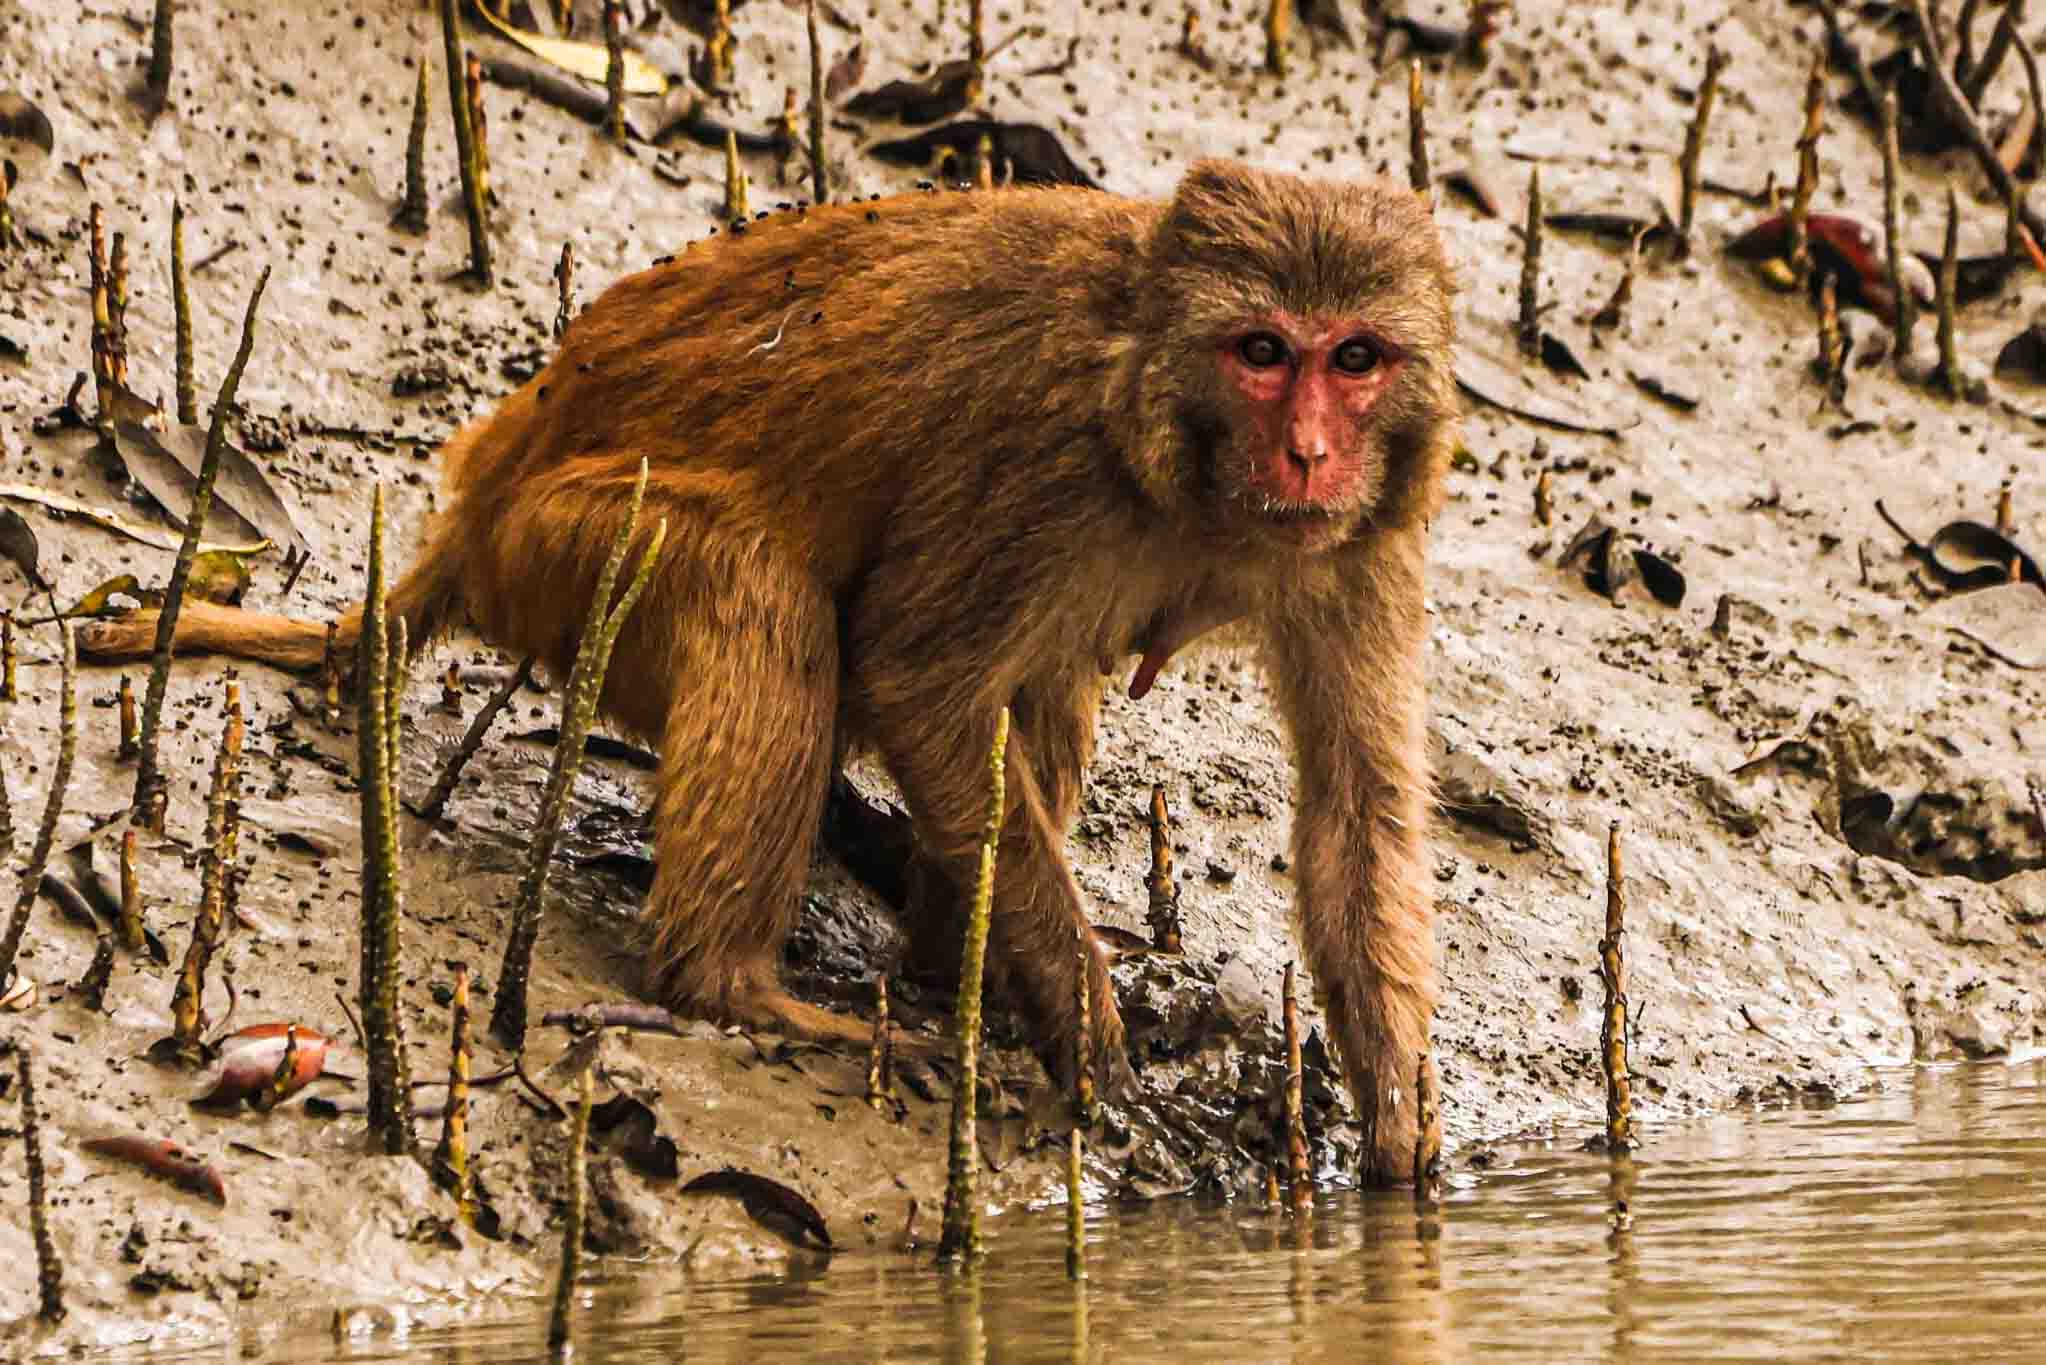
Rhesus Macaque (mangrove monkey)
Golden Hours
- Morning Golden Hour: The first hour after sunrise provides soft and warm light. It enhances colors and creates long shadows, adding depth to your images.
- Evening Golden Hour: The hour before sunset has a similar effect, providing a warm, soft glow. It’s often considered the best time for wildlife photography due to the angle of the sunlight.
Harsh Midday Sun
- Avoid Direct Sunlight: Harsh sunlight during midday can create strong shadows and blow out highlights. Animals may also be less active during these hours.
Overcast Days
- Even Lighting: Cloudy or overcast days provide diffuse and even lighting. This reduces harsh shadows and highlights, making it easier to capture details and textures in fur or feathers.
Backlighting
- Silhouettes and Rim Lighting: Backlighting can create stunning effects, such as silhouettes or rim lighting. It’s important to manage exposure to avoid underexposure of the subject.
Side Lighting
- Accentuating Texture: Side lighting, where the light comes from the side, can accentuate textures and details, creating a three-dimensional look.
Understanding the Angle of Light
- Low Angles: Lower angles of light, such as during sunrise and sunset, can enhance the texture and details in fur, feathers, or scales. It also provides a warm and pleasing color tone.
Adapting to Changing Conditions
- Be Flexible: Wildlife photographers need to adapt to changing lighting conditions. This may involve adjusting camera settings, using fill flash, or changing shooting locations.
Flash Usage
- Fill Flash: In certain situations, fill flash can be used to fill in shadows, especially when photographing animals in dense foliage or when there’s insufficient natural light.
Weather Conditions
- Rain and Fog: While challenging, shooting in rainy or foggy conditions can create unique and moody images. Protecting your gear is crucial in adverse weather.
Understanding White Balance
- Color Temperature: Pay attention to the color temperature of the light and adjust your camera’s white balance accordingly. This ensures accurate and natural colors in your photographs.
Remember, the key is to observe and adapt to the specific lighting conditions of each situation. Patience is often necessary in wildlife photography, waiting for the right moment when the light is most favourable.
Understanding camera settings is crucial in wildlife photography for beginners, as it directly affects how you capture motion, light, and detail in the wild. From freezing a bird mid-flight to creating soft background blur behind a tiger, mastering settings like shutter speed, aperture, and ISO will elevate your images. Learning to adjust these settings based on lighting and subject movement is the first step toward creating compelling wildlife photographs. Here are some general guidelines for camera settings in wildlife photography:

Brahmany Kite
Shutter Speed
- Use a fast shutter speed to freeze the motion of the wildlife. This is crucial for capturing sharp images, especially when dealing with fast-moving subjects.
- Set your shutter speed to at least 1/500 or faster, depending on the size and speed of the animal.
Aperture (f-stop)
- Use a wide aperture (low f-stop) to achieve a shallow depth of field, which can help isolate the subject from the background and emphasize it in the frame.
- However, consider the balance between depth of field and the amount of light entering the camera. Adjust the aperture based on the available light conditions.
ISO Sensitivity
- Keep the ISO as low as possible to maintain image quality and reduce noise. Start with the lowest ISO setting (e.g., ISO 100 or 200) and increase it only if necessary to maintain a fast shutter speed in low-light conditions.
Focus Mode
Use continuous or AI Servo autofocus mode to track moving subjects. This allows the camera to continuously adjust focus as the subject moves within the frame.
Utilize the camera’s focus points to ensure that the focus is on the subject’s eyes, which adds a sense of connection and intimacy to the image.
Burst Mode (Continuous Shooting)
Set your camera to continuous shooting mode to capture a series of images in rapid succession. This is helpful for capturing a sequence of the animal’s behavior or ensuring you get a sharp shot in dynamic situations.
Metering Mode
- Use evaluative or matrix metering for general wildlife scenes. This mode considers the entire frame for exposure calculations.
- In challenging lighting conditions, you may need to use exposure compensation to adjust for overexposure or underexposure.
White Balance
- Set the white balance based on the lighting conditions. Consider using the auto white balance setting or manually selecting a specific white balance preset.
Lens Choice
- Select a lens appropriate for the type of wildlife you’re photographing. Telephoto lenses with focal lengths of 300mm or longer are commonly used for wildlife photography to bring distant subjects closer.
Stabilization
- If your lens or camera has image stabilization, consider using it to minimize the impact of camera shake, especially when shooting at slower shutter speeds.
- Always be prepared to adjust these settings based on the specific conditions you encounter. Wildlife photography often involves adapting to the unpredictable nature of the subjects and the environment.
One of the most powerful tips in wildlife photography for beginners is to always focus on the eyes. The eyes convey emotion, alertness, and life, instantly connecting viewers to the subject. A sharply focused eye brings your wildlife photo to life, even if other elements are slightly blurred. For beginners, mastering eye focus is the first step toward creating impactful and professional-looking wildlife images. Here are some tips to help you focus on the eyes in wildlife photography:

Crested Serpent Eagle
Use a Single Autofocus Point
- Set your camera to use a single autofocus point rather than multiple points. This allows you to precisely choose the focus point, ensuring the eyes are sharp and in focus.
Continuous Autofocus (AI Servo/AF-C)
- Wildlife is often in motion, so use the continuous autofocus mode on your camera (AI Servo for Canon, AF-C for Nikon) to track and maintain focus on a moving subject.
Pre-focus on the Eyes
- If your subject is relatively stationary, pre-focus on the eyes before the perfect moment. This helps you anticipate the action and ensures the eyes are sharp when the ideal moment arrives.
Wide Aperture for Shallow Depth of Field
- Use a wide aperture (low f-number) to achieve a shallow depth of field. This can help isolate the eyes from the background, making them stand out prominently in the image.
Composition Matters in Wildlife Photography
- Pay attention to the composition of your shot. Position the eyes in a way that adheres to the rule of thirds or other compositional guidelines. This draws attention to the eyes and enhances the overall aesthetics of the photo.
Shoot at Eye Level
- Whenever possible, get down to the eye level of your subject. This not only provides a more intimate perspective but also ensures that the focus is on the eyes rather than other parts of the body.
Patience is Key
- Wildlife photography often requires patience. Wait for the right moment when the animal turns its head or looks directly at you. This can result in a more engaging and powerful image.
Focus on the Nearest Eye
- When photographing animals with both eyes visible, focus on the eye that is closest to the camera. This helps maintain a natural look and ensures that at least one eye is sharply in focus.
Use Back-Button Focus
- Assign autofocus to a back-button on your camera, separating focusing from the shutter release. This allows you to lock focus when you’ve achieved the desired sharpness on the eyes.
Post-Processing Enhancement
- In post-processing, you can further enhance the eyes by adjusting contrast, sharpness, and adding a subtle catchlight. However, it’s important not to overdo it to maintain a natural look.
Remember, the eyes are not just about sharpness but also about conveying emotion and a connection with the viewer. By focusing on the eyes, you can tell a more compelling story through your wildlife photographs.
In wildlife photography for beginners, two of the most valuable traits are persistence and patience. Capturing the perfect moment in nature doesn’t happen instantly—it requires waiting quietly for the right light, the right angle, and the right action. Animals move unpredictably, and many of the best shots come after hours of stillness and observation. For beginners, embracing this slow, deliberate approach is essential to developing both skill and intuition in the wild. Here’s why persistence and patience are essential in wildlife photography:
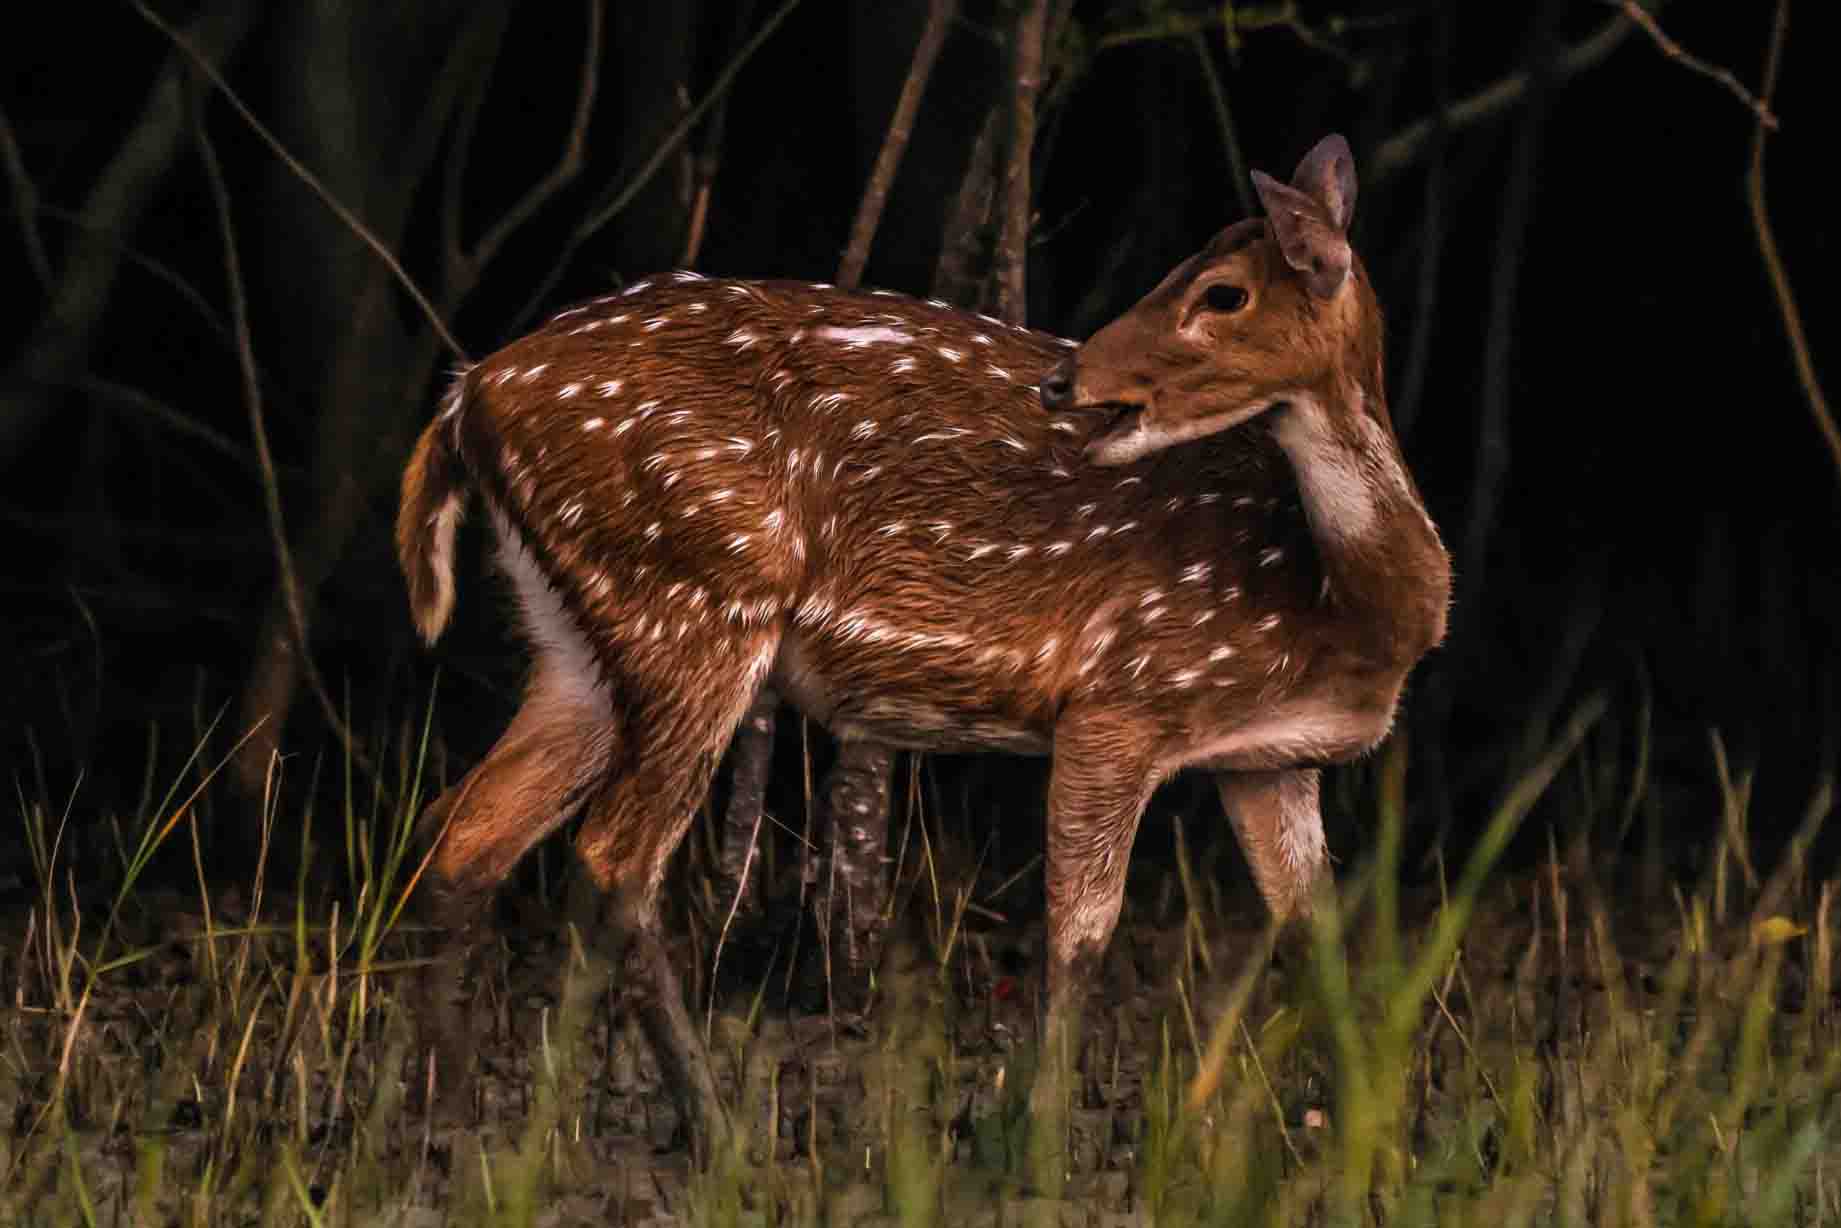
Spotted Deer
Unpredictable Nature of Wildlife
- Wildlife is inherently unpredictable, and animals don’t follow a script. They may not appear when you expect them to, and their behavior can change rapidly. Patience is key to waiting for the right moment when the animal exhibits interesting or natural behavior.
Environmental Factors
- Weather conditions, lighting, and the overall environment play significant roles in wildlife photography. Waiting for the perfect lighting or for the weather to cooperate requires patience. Persistence is essential in returning to a location multiple times to get the shot under optimal conditions.
Building Trust
- Some wildlife may be skittish around humans, and it takes time to build trust. Patiently observing animals from a distance and allowing them to become accustomed to your presence increases the likelihood of capturing more natural and unobtrusive shots.
Learning and Adapting
- Wildlife photographers often face challenges and unexpected situations. Persistence is crucial for learning from each experience, adapting techniques, and improving over time. Whether it’s adjusting camera settings, refining compositions, or understanding new habitats, the process requires ongoing dedication.
Long Waiting Periods
- Wildlife photographers might spend long hours, days, or even weeks waiting for the right moment. This level of commitment requires both persistence and patience. It’s not uncommon for photographers to invest a considerable amount of time just to capture a few exceptional shots.
Limited Opportunities
- Some species of wildlife are rare or elusive, making opportunities to photograph them infrequent. To capture these unique moments, photographers must persistently seek out these opportunities and be patient when waiting for the right chance.
Persistence and patience are the foundation of successful wildlife photography. The ability to wait for the right moment, understand animal behavior, and adapt to ever-changing conditions are essential elements for capturing stunning and meaningful images of the natural world.
One of the most essential tips in wildlife photography for beginners is learning how to stay unnoticed in nature. Using camouflage and blending techniques allows you to get closer to your subject without disturbing it. By wearing earth-toned clothing, using natural cover, or setting up hides, beginners can observe and photograph wildlife in its most authentic behavior. Mastering the art of blending in increases your chances of capturing intimate and powerful wildlife moments.
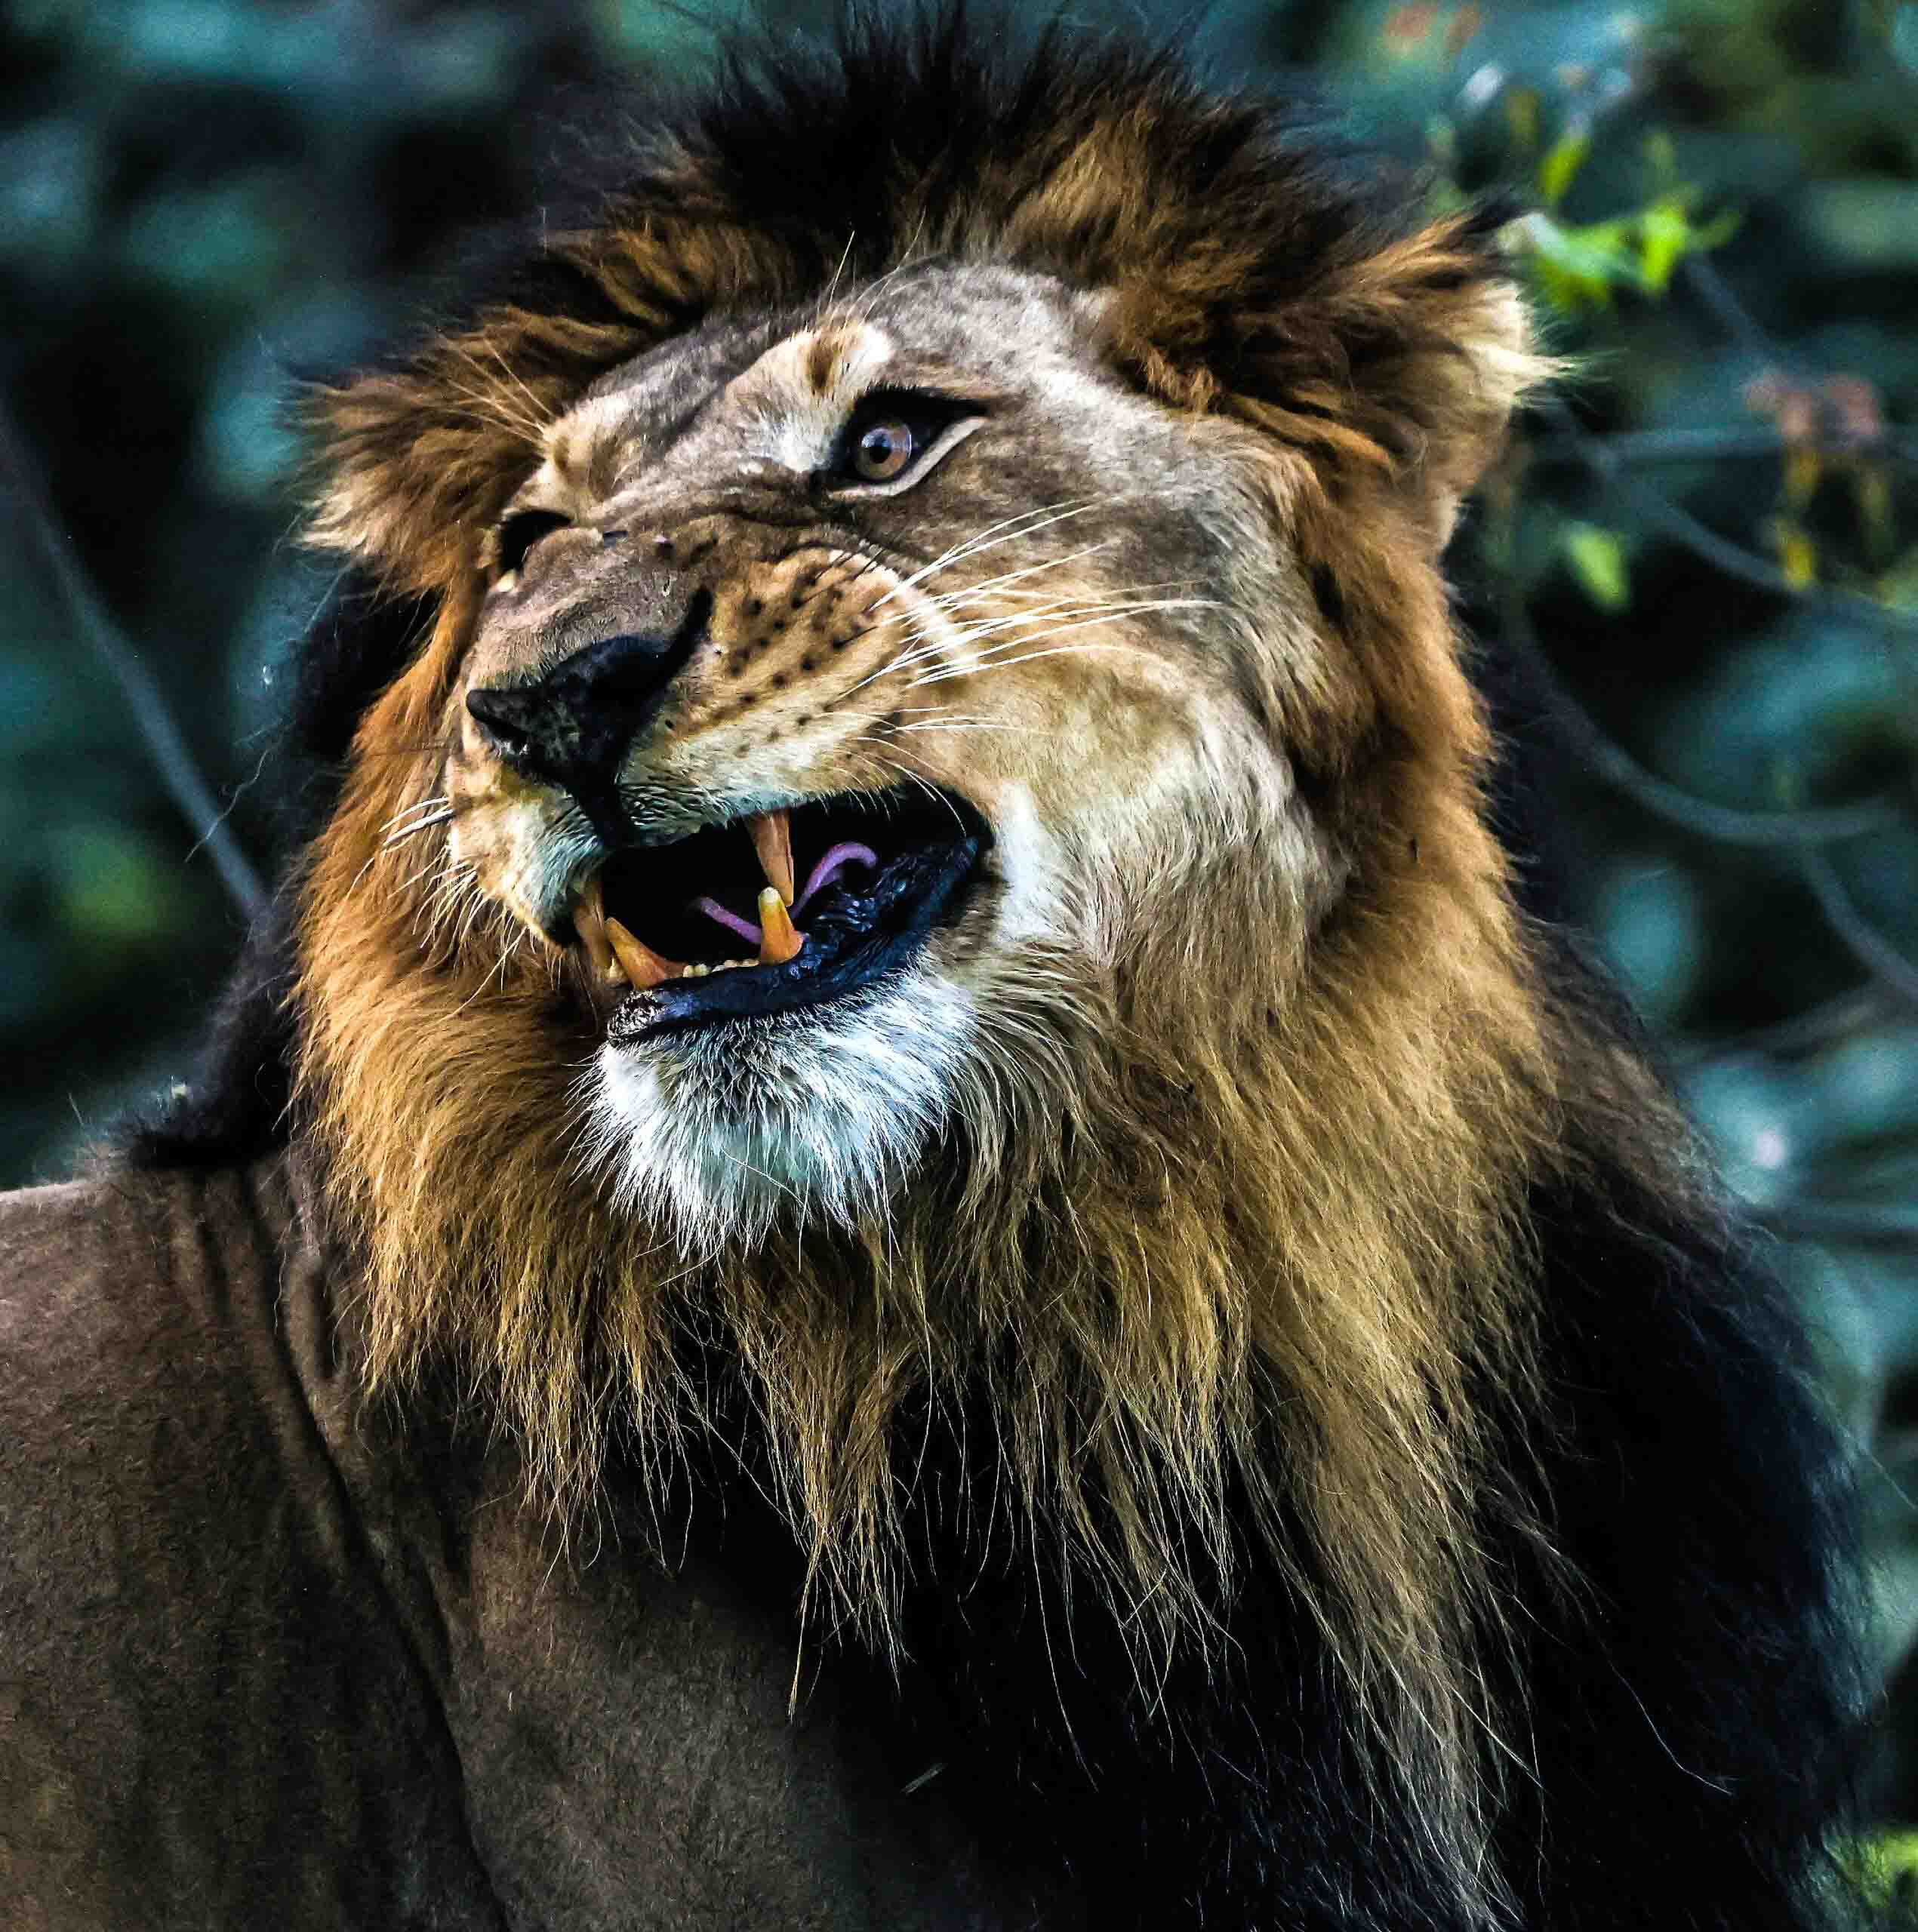
Adult Lion (male)
Choose Appropriate Clothing
- Wear clothing that matches the natural colors and tones of the environment you’ll be shooting in. Earthy tones like greens, browns, and grays work well in many settings.
Use Natural Materials
- Consider using natural materials like leaves, branches, or even a ghillie suit to break up your human outline and blend into the surroundings.
Hide in Plain Sight
Position yourself in areas where there is natural cover like bushes, tall grass, or rocks. Use these elements to hide your presence and create a natural-looking environment.
Use a Camouflage Blind
- Set up a portable camouflage blind to conceal yourself. These blinds are available in various designs and materials, providing a comfortable and inconspicuous space for photographing wildlife.
Stay Low and Still
- Animals are often more accepting of stationary objects. Once in position, stay low to the ground and minimize your movements to avoid attracting attention.
Blend with the Background
- Choose a background that complements the subject’s colors and patterns. This helps your subject stand out while maintaining a natural look.
Avoid Eye Contact
- Direct eye contact can be perceived as a threat by many animals. When photographing, avoid prolonged eye contact to reduce stress on the subject.
Be Mindful of Wind Direction
- Ensure that the wind is blowing in a direction that carries your scent away from the wildlife. Animals have a keen sense of smell, and any unnatural scent may alert them to your presence.
One of the most important aspects of wildlife photography for beginners is learning to photograph animals responsibly and respectfully. Ethical practices ensure that your presence doesn’t disturb or harm wildlife, their habitats, or natural behavior. Always maintain a safe distance, avoid baiting or provoking animals, and follow local wildlife regulations. Responsible photography not only protects nature—it also builds credibility and integrity in your work.
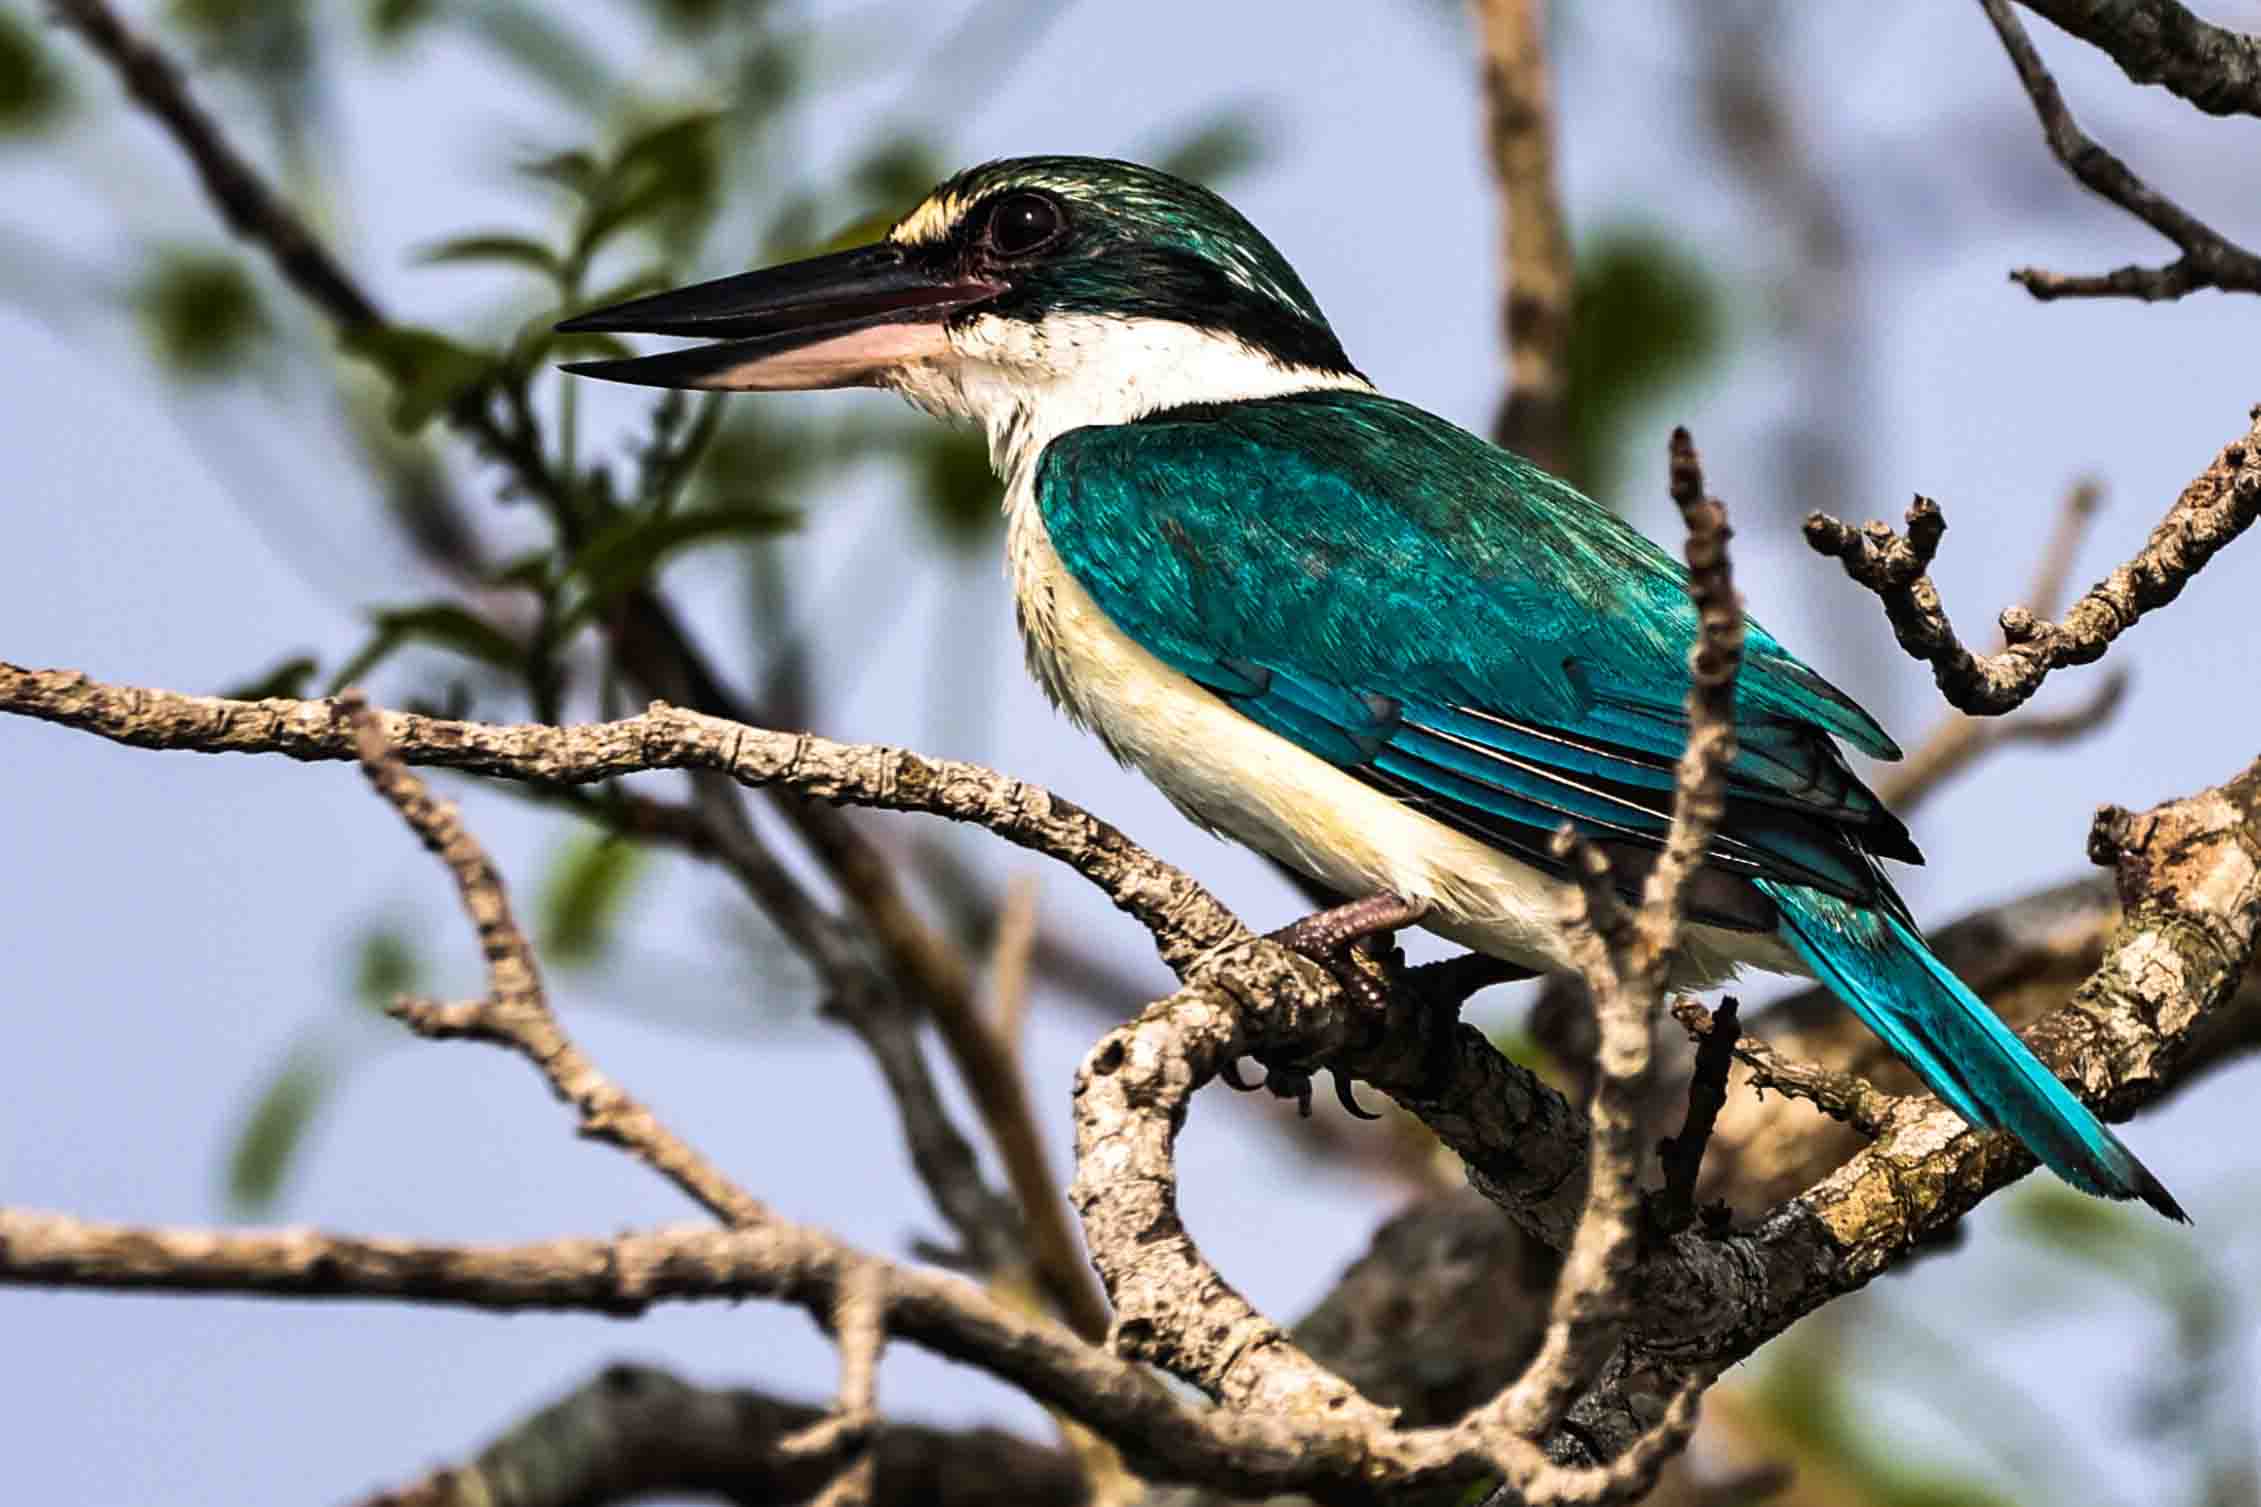
Collared Kingfisher
Respect Wildlife and their Habitat
- Maintain a safe and respectful distance from the animals. Use long lenses to capture close-up shots without intruding on their space.
- Avoid disturbing nests, dens, or breeding areas. Be aware of seasonal sensitivities and breeding seasons.
Obey Laws and Regulations
- Familiarize yourself with local and international wildlife protection laws and adhere to them. Obtain any necessary permits or permissions before entering protected areas.
Stay on Designated Paths
- Stick to designated trails and paths to minimize your impact on the environment. Avoid trampling on delicate vegetation or disturbing nesting sites.
No Baiting or Luring
- Do not use bait or any other means to attract or disturb wildlife for the sake of a photograph. This disrupts natural behaviors and can be harmful to the animals.
Educate and Inspire
- Use your platform to educate viewers about wildlife conservation and the importance of preserving natural habitats. Inspire positive actions to protect the environment.
Contribute to Conservation
- Support wildlife conservation efforts through donations or volunteer work. Use your photography to raise awareness about endangered species and ecosystems in need of protection.
Leave No Trace
- Pack out all your garbage, and leave the environment as you found it. Respect the ecosystem by not disturbing plants, rocks, or other elements.
Be Mindful of Other Photographers
- Respect the space and work of fellow photographers. Avoid crowding or blocking the view of others.
By adhering to these ethical practices, wildlife photographers can contribute to the conservation of natural habitats and promote a positive impact on the well-being of the animals they photograph.
For wildlife photography for beginners, post-processing is the final but essential step in bringing your images to life. It allows you to enhance colors, adjust exposure, and sharpen details that may not be perfect straight out of the camera. With basic editing techniques, you can transform a good shot into a stunning one—while still preserving the natural essence of the scene. Post-processing not only improves your photos but also helps you develop your own visual style as a wildlife photographer. Here are some common post-processing techniques used in wildlife photography:
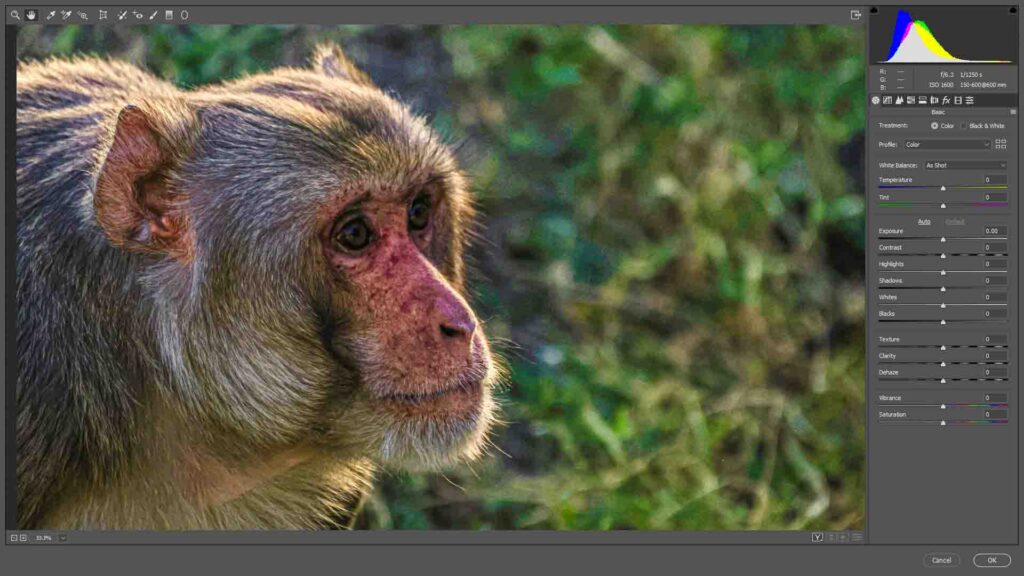
Raw Conversion
- Start by converting your raw files. Shooting in raw format retains more information and allows for greater flexibility in post-processing. Use software like Adobe Lightroom, Capture One, or DxO PhotoLab for raw conversion.
Exposure Adjustment
- Correct exposure issues by adjusting the brightness, contrast, and shadows. Pay attention to the histogram to ensure a balanced distribution of tones.
White Balance
- Correct the white balance to ensure accurate color representation. Adjust the temperature and tint settings to eliminate any color casts caused by different lighting conditions.
Contrast and Clarity
Enhance contrast to make your subjects stand out. Use the clarity slider to add mid-tone contrast, giving your images more definition. Be careful not to overdo it to avoid unnatural-looking results.
Saturation and Vibrance
- Adjust the saturation and vibrance to enhance or tone down colors. Be mindful of preserving the natural look of the wildlife and their surroundings.
Sharpening
- Apply selective sharpening to enhance the details in your wildlife subjects. Be cautious not to over-sharpen, as it can introduce artifacts.
Noise Reduction
- Wildlife photographers often shoot in low light conditions or use higher ISO settings. Apply noise reduction selectively to minimize graininess while maintaining details.
Cropping
- Crop your images to improve composition or remove distracting elements. Ensure that the final composition retains the integrity of the original scene.
Spot Removal
- Remove distracting elements or blemishes using spot removal tools. This is particularly useful when photographing animals in their natural habitat, where there might be unwanted objects in the frame.
Selective Adjustments
- Use local adjustment tools (e.g., adjustment brushes or graduated filters) to make selective enhancements to specific areas of the image. This allows you to control the level of detail, exposure, or color in different parts of the photograph.
Final Touches
- Consider adding the final touches, such as vignetting or subtle toning, to give your images a polished look.
Remember, while post-processing can significantly improve your images, it’s crucial to strike a balance and maintain the authenticity of the scene. Experiment with different techniques and settings to develop a post-processing workflow that complements your unique style in wildlife photography.
Wildlife photography for conservation goes beyond art. It transforms your camera into a voice for the voiceless. Every image you capture tells a story of survival, struggle, and coexistence. Through your lens, the hidden beauty and the silent suffering of wild species reach people who may never step into a forest.

Greater One-Horned Rhinoceros in Jaldapara National Park
Photography can drive awareness, inspire protection, and even influence policy. A single photograph showing a tiger in its shrinking habitat or an elephant crossing a broken corridor can move hearts and minds. As a beginner, you can make a difference by documenting both the wonder and the warning signs of our planet’s changing wildlife.
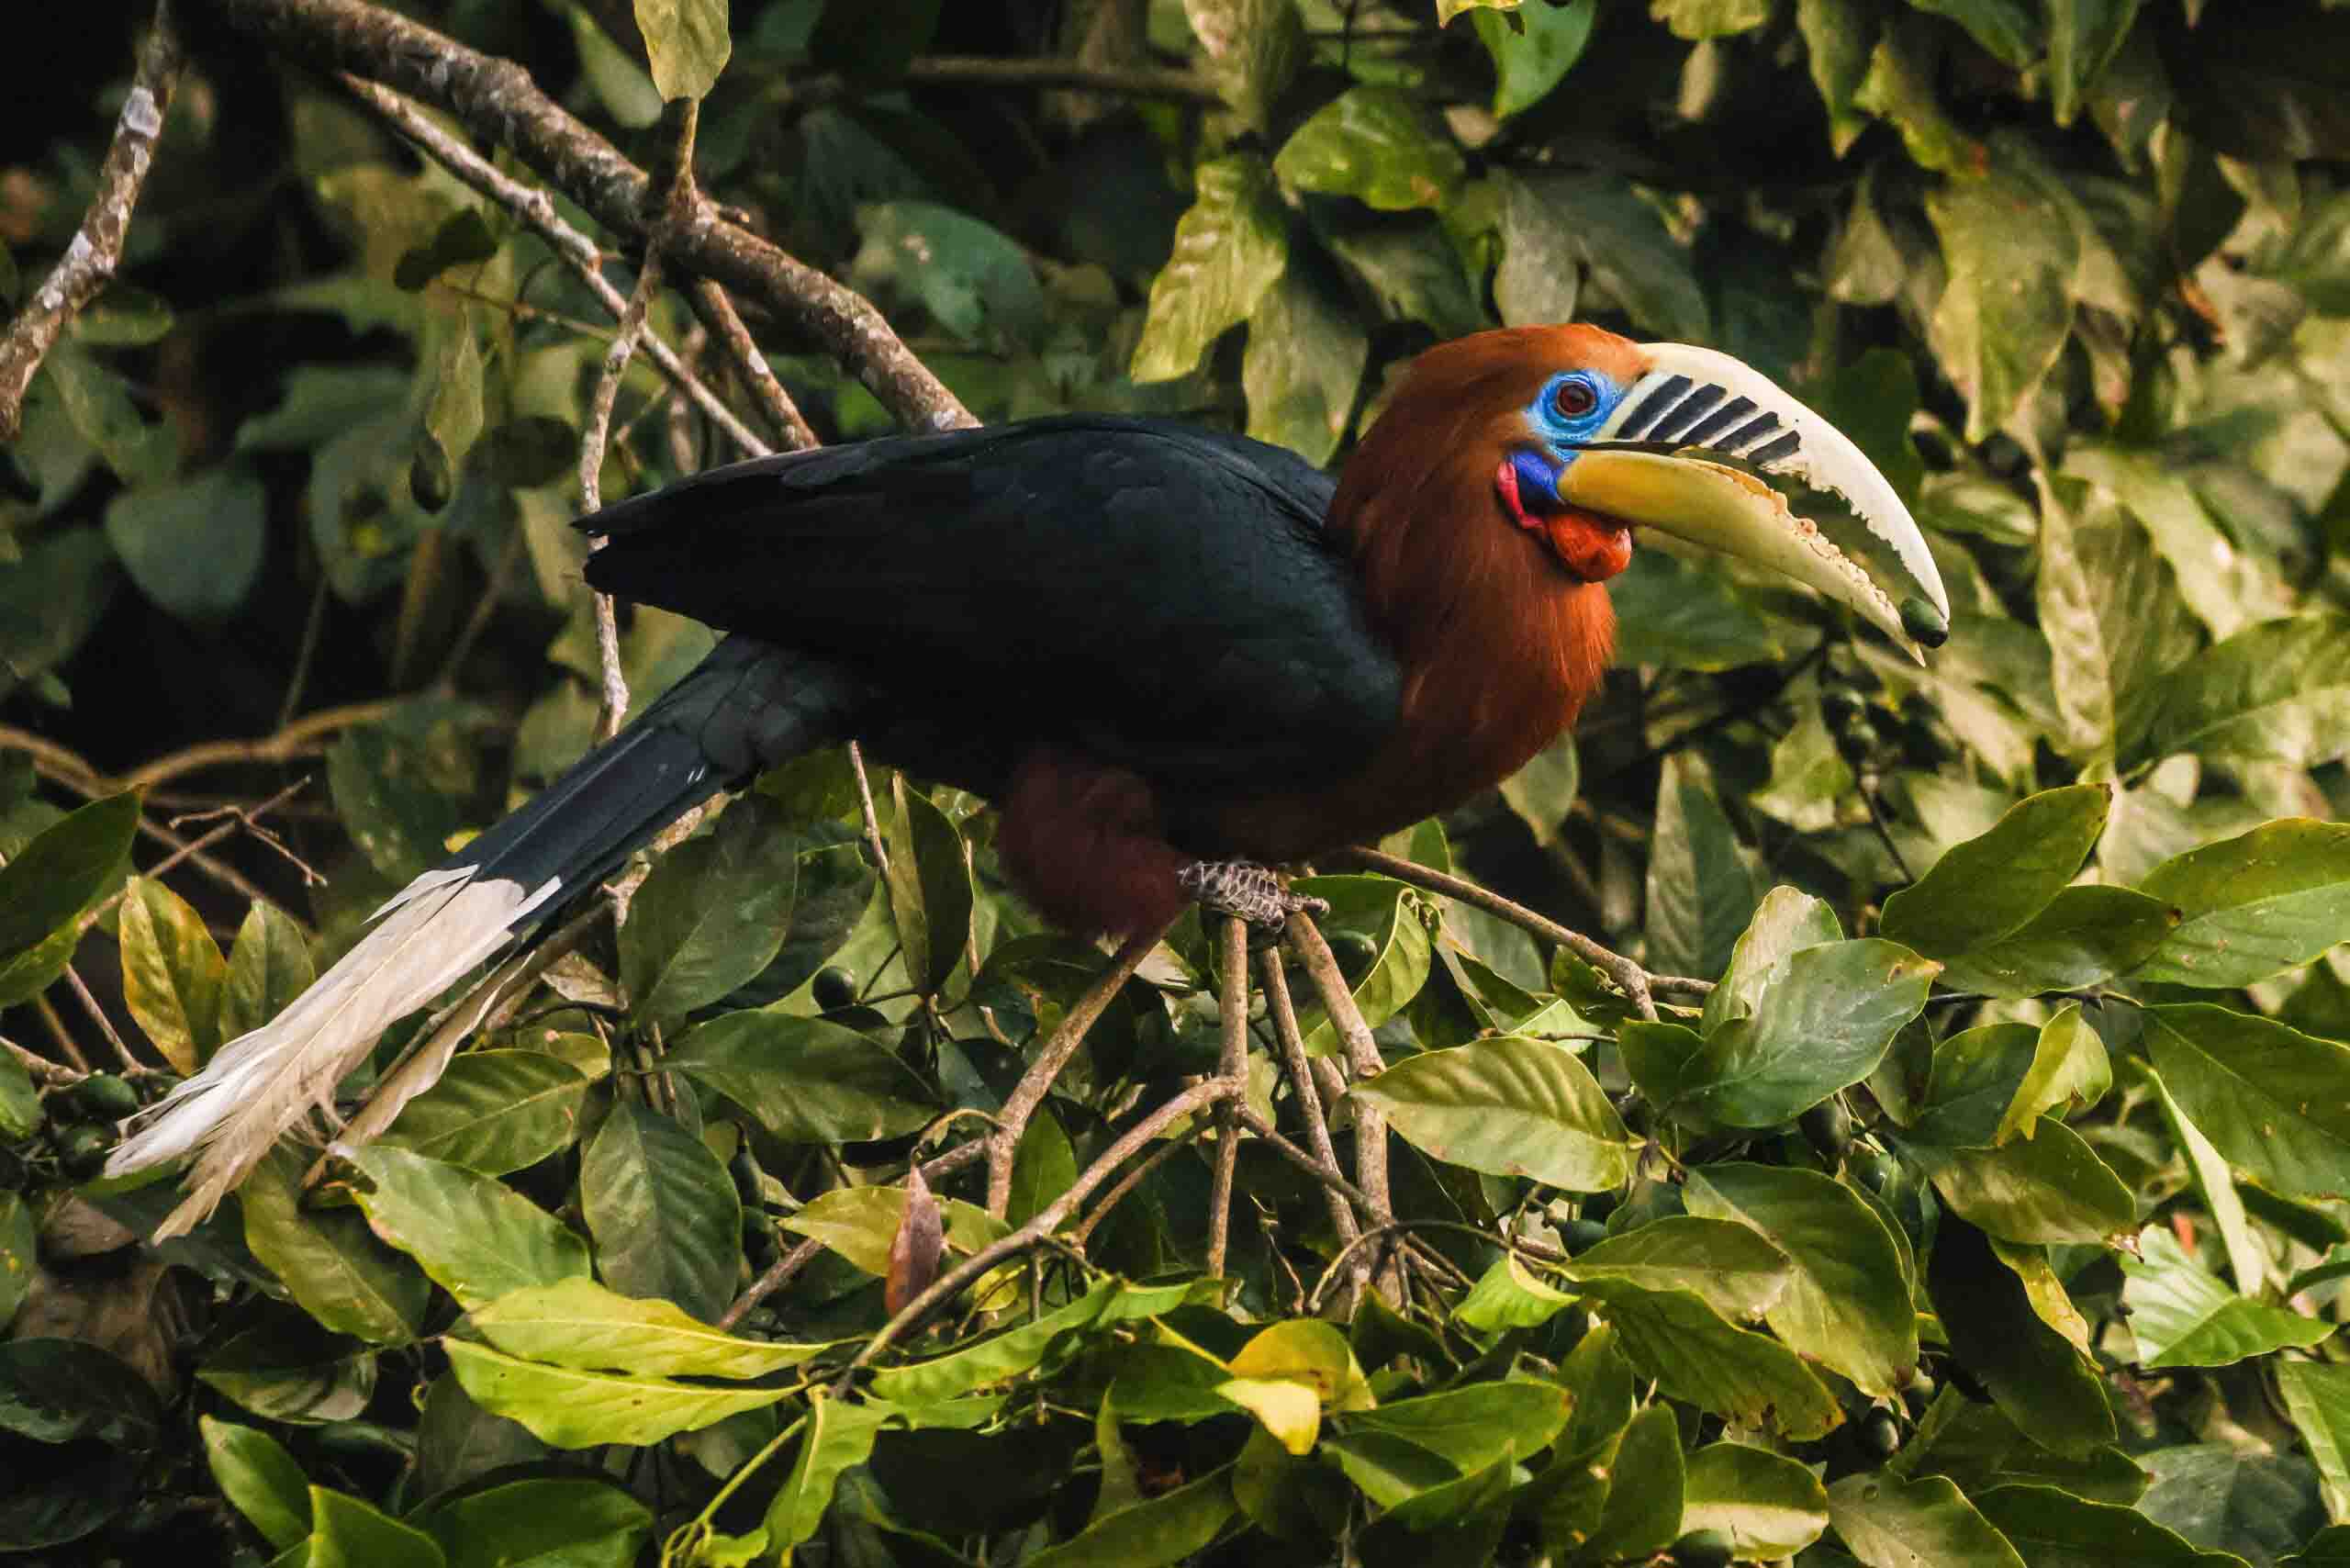
Rufous-necked Hornbill Male
Use your skills to educate others about conservation. Share your images with the right message — respect, responsibility, and awareness. Collaborate with wildlife organizations, participate in citizen science projects, or support local conservation initiatives. Even a small contribution through your photos adds strength to the movement for nature’s survival.

Hermit Crab in Sundarbans
Remember, the true power of wildlife photography for beginners lies not just in capturing animals, but in protecting them. Every picture should reflect care, ethics, and purpose. Let your images remind people that our planet’s future depends on how we treat its wild inhabitants today.
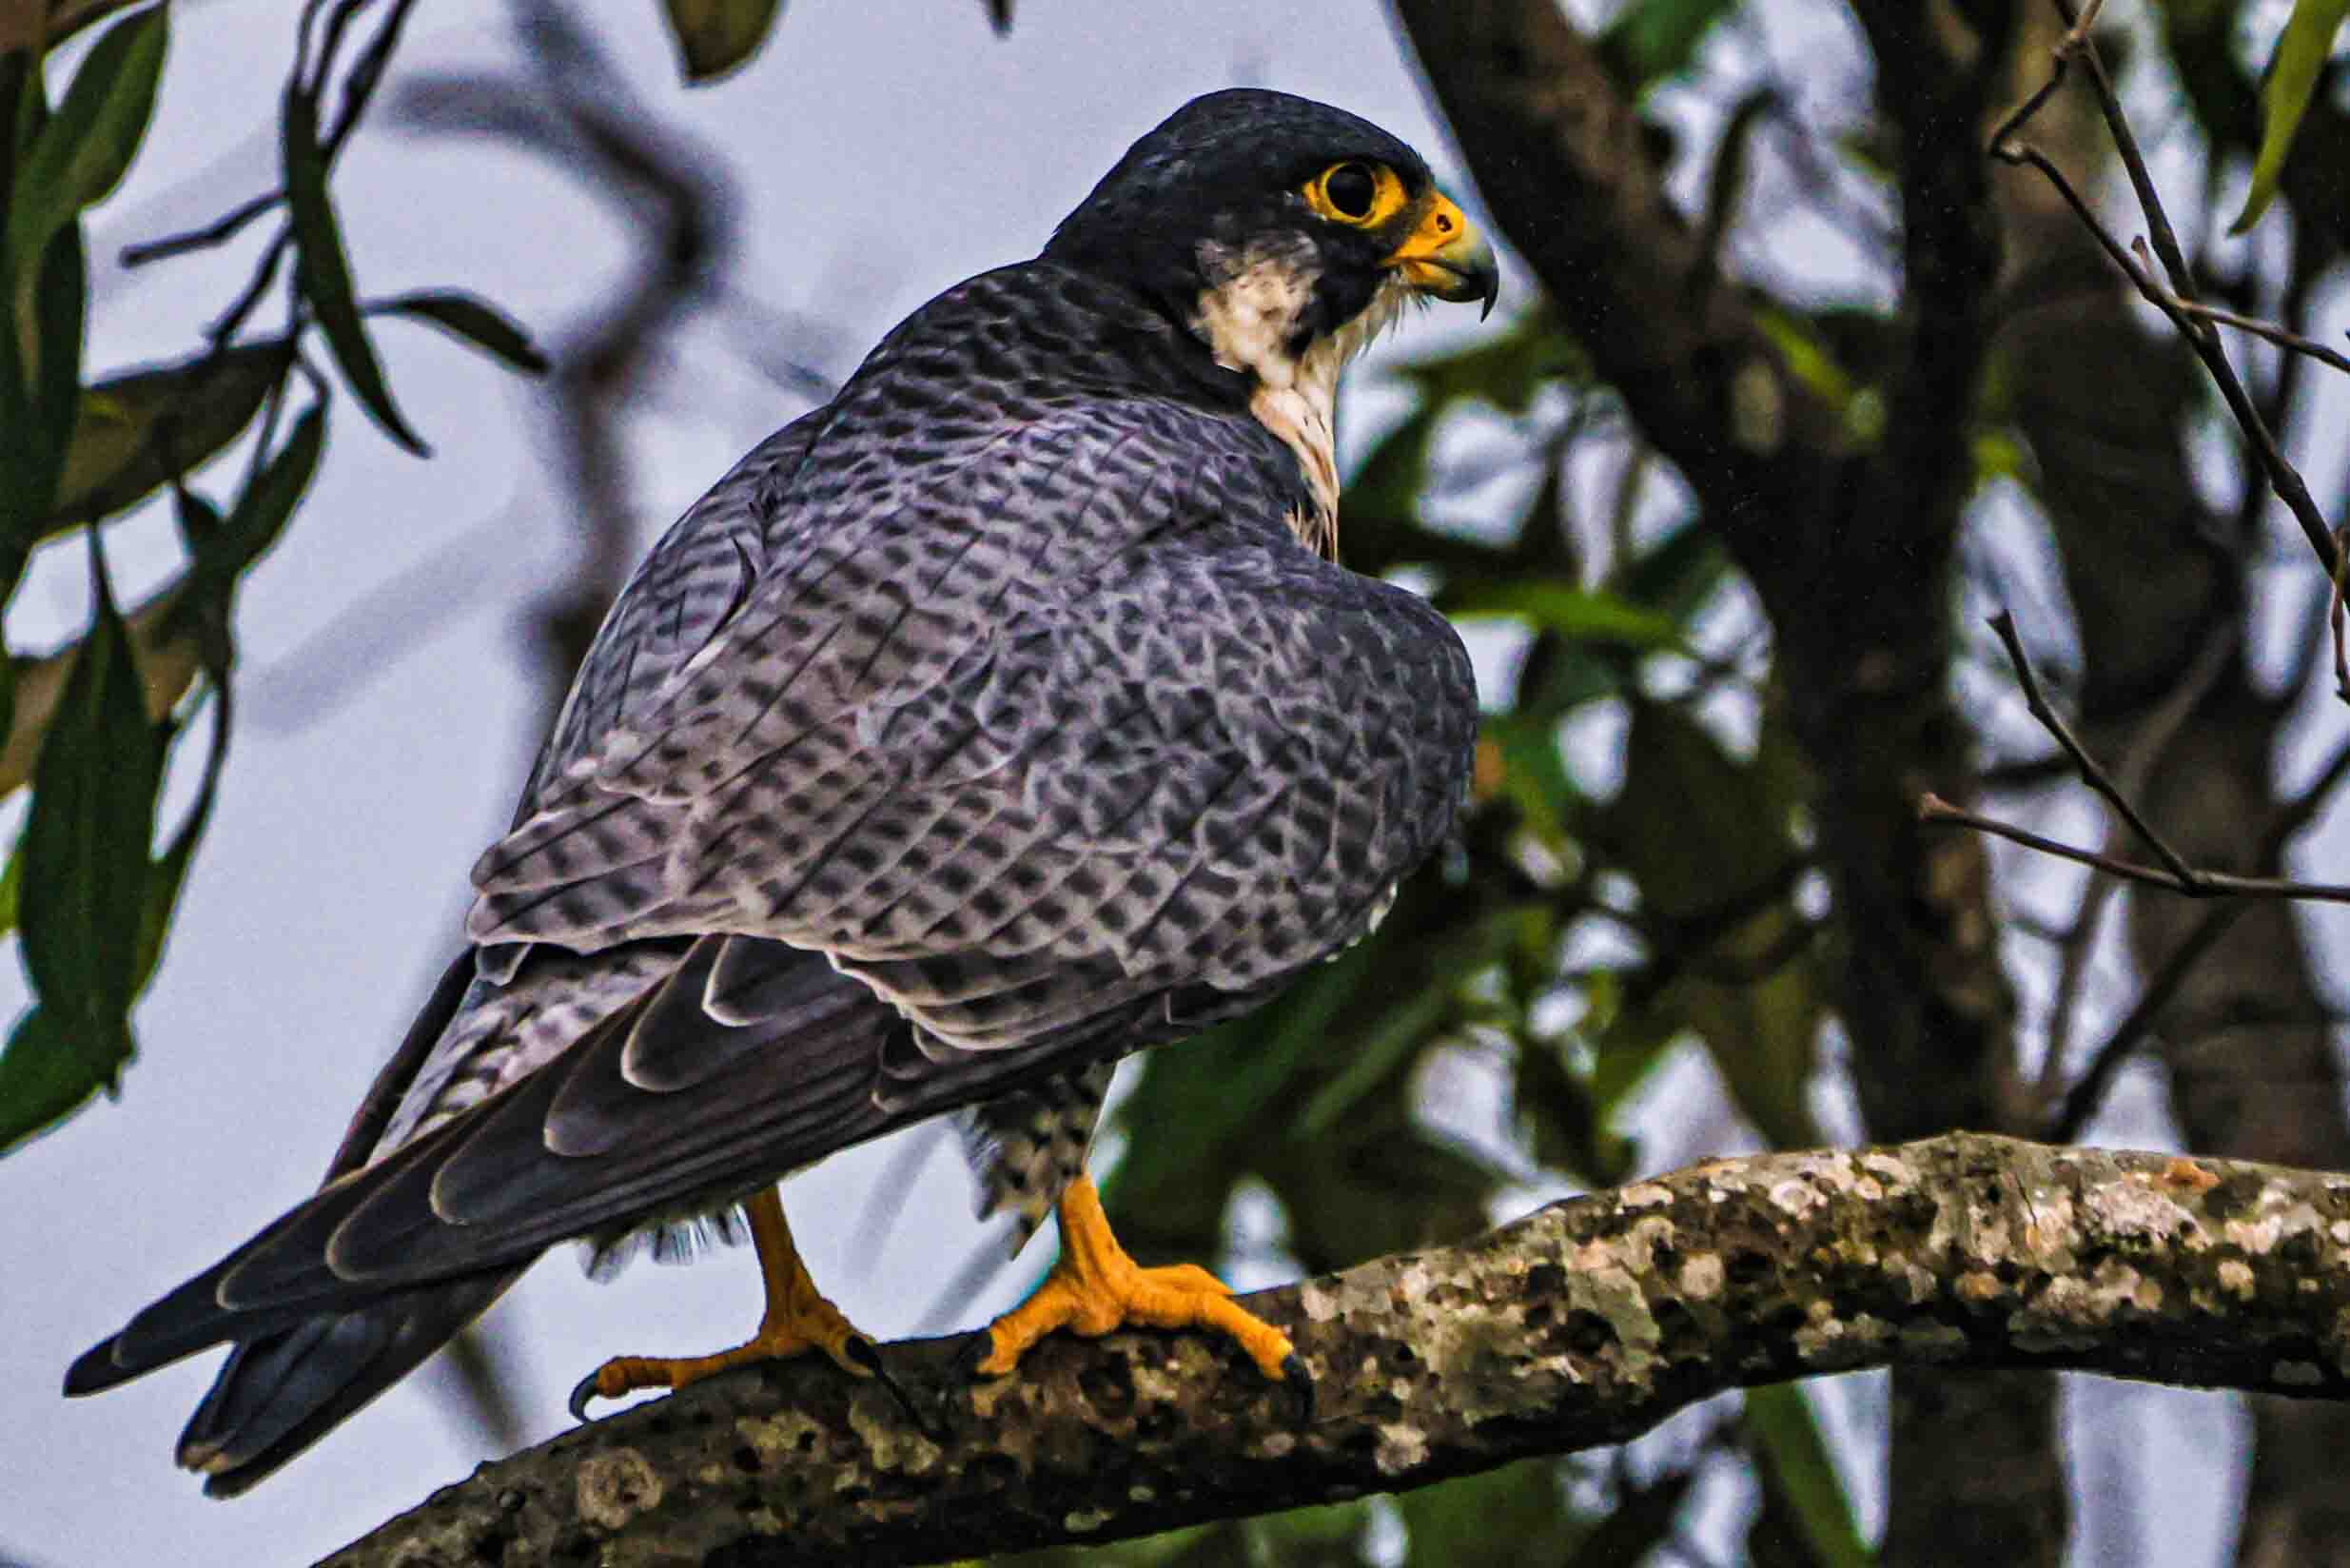
Peregrine falcon in Sundarbans
1. What is wildlife photography for beginners?
Wildlife photography for beginners is the practice of capturing animals in their natural environment while learning how to use the right camera gear, settings, and ethical techniques to tell authentic stories of the wild.
2. What camera settings work best in wildlife photography?
For sharp results, beginners should use a fast shutter speed (1/500 or faster), continuous autofocus (AI Servo/AF-C), and burst mode to capture animals in action.
3. Do I need an expensive camera to start wildlife photography?
No. Beginners can start with entry-level DSLR or mirrorless cameras and a basic telephoto lens. Skill, patience, and practice matter more than expensive gear.
4. Which lens is best for wildlife photography for beginners?
A telephoto lens of 300mm or longer is ideal, as it helps capture distant wildlife without disturbing them. A macro lens is also useful for photographing insects and small creatures.
5. What is the best time of day for wildlife photography?
Golden hours — early morning and late afternoon — provide soft, warm light and higher animal activity, making them the best times for beginners to capture wildlife.
6. How can beginners photograph animals without disturbing them?
Stay quiet, keep a safe distance, use camouflage, and rely on long lenses. Always follow ethical practices to protect wildlife and their habitats.
7. Is post-processing important in wildlife photography?
Yes. Basic editing in Lightroom or Photoshop helps adjust exposure, enhance colors, and sharpen details while keeping the natural look of the animal and environment.
8. Do I need special skills to start wildlife photography?
No special skills are required — just curiosity, patience, and practice. Beginners can learn techniques step by step while exploring local parks, forests, and reserves.
Embarking on the journey of wildlife photography for beginners is both an adventure and a learning experience. With the right gear, patience, and a deep respect for nature, you can capture powerful and awe-inspiring images that tell real stories from the wild. Whether you’re photographing majestic animals on a safari, colorful birds in a local wetland, or tiny creatures through macro lenses, each moment behind the camera brings you closer to the natural world.

Common Kingfisher in Sundarbans
Remember, great wildlife photography isn’t just about technical skills—it’s about observation, timing, and compassion for the subjects you capture. As a beginner, focus on developing your eye, understanding light and composition, and practicing in the field as often as you can.
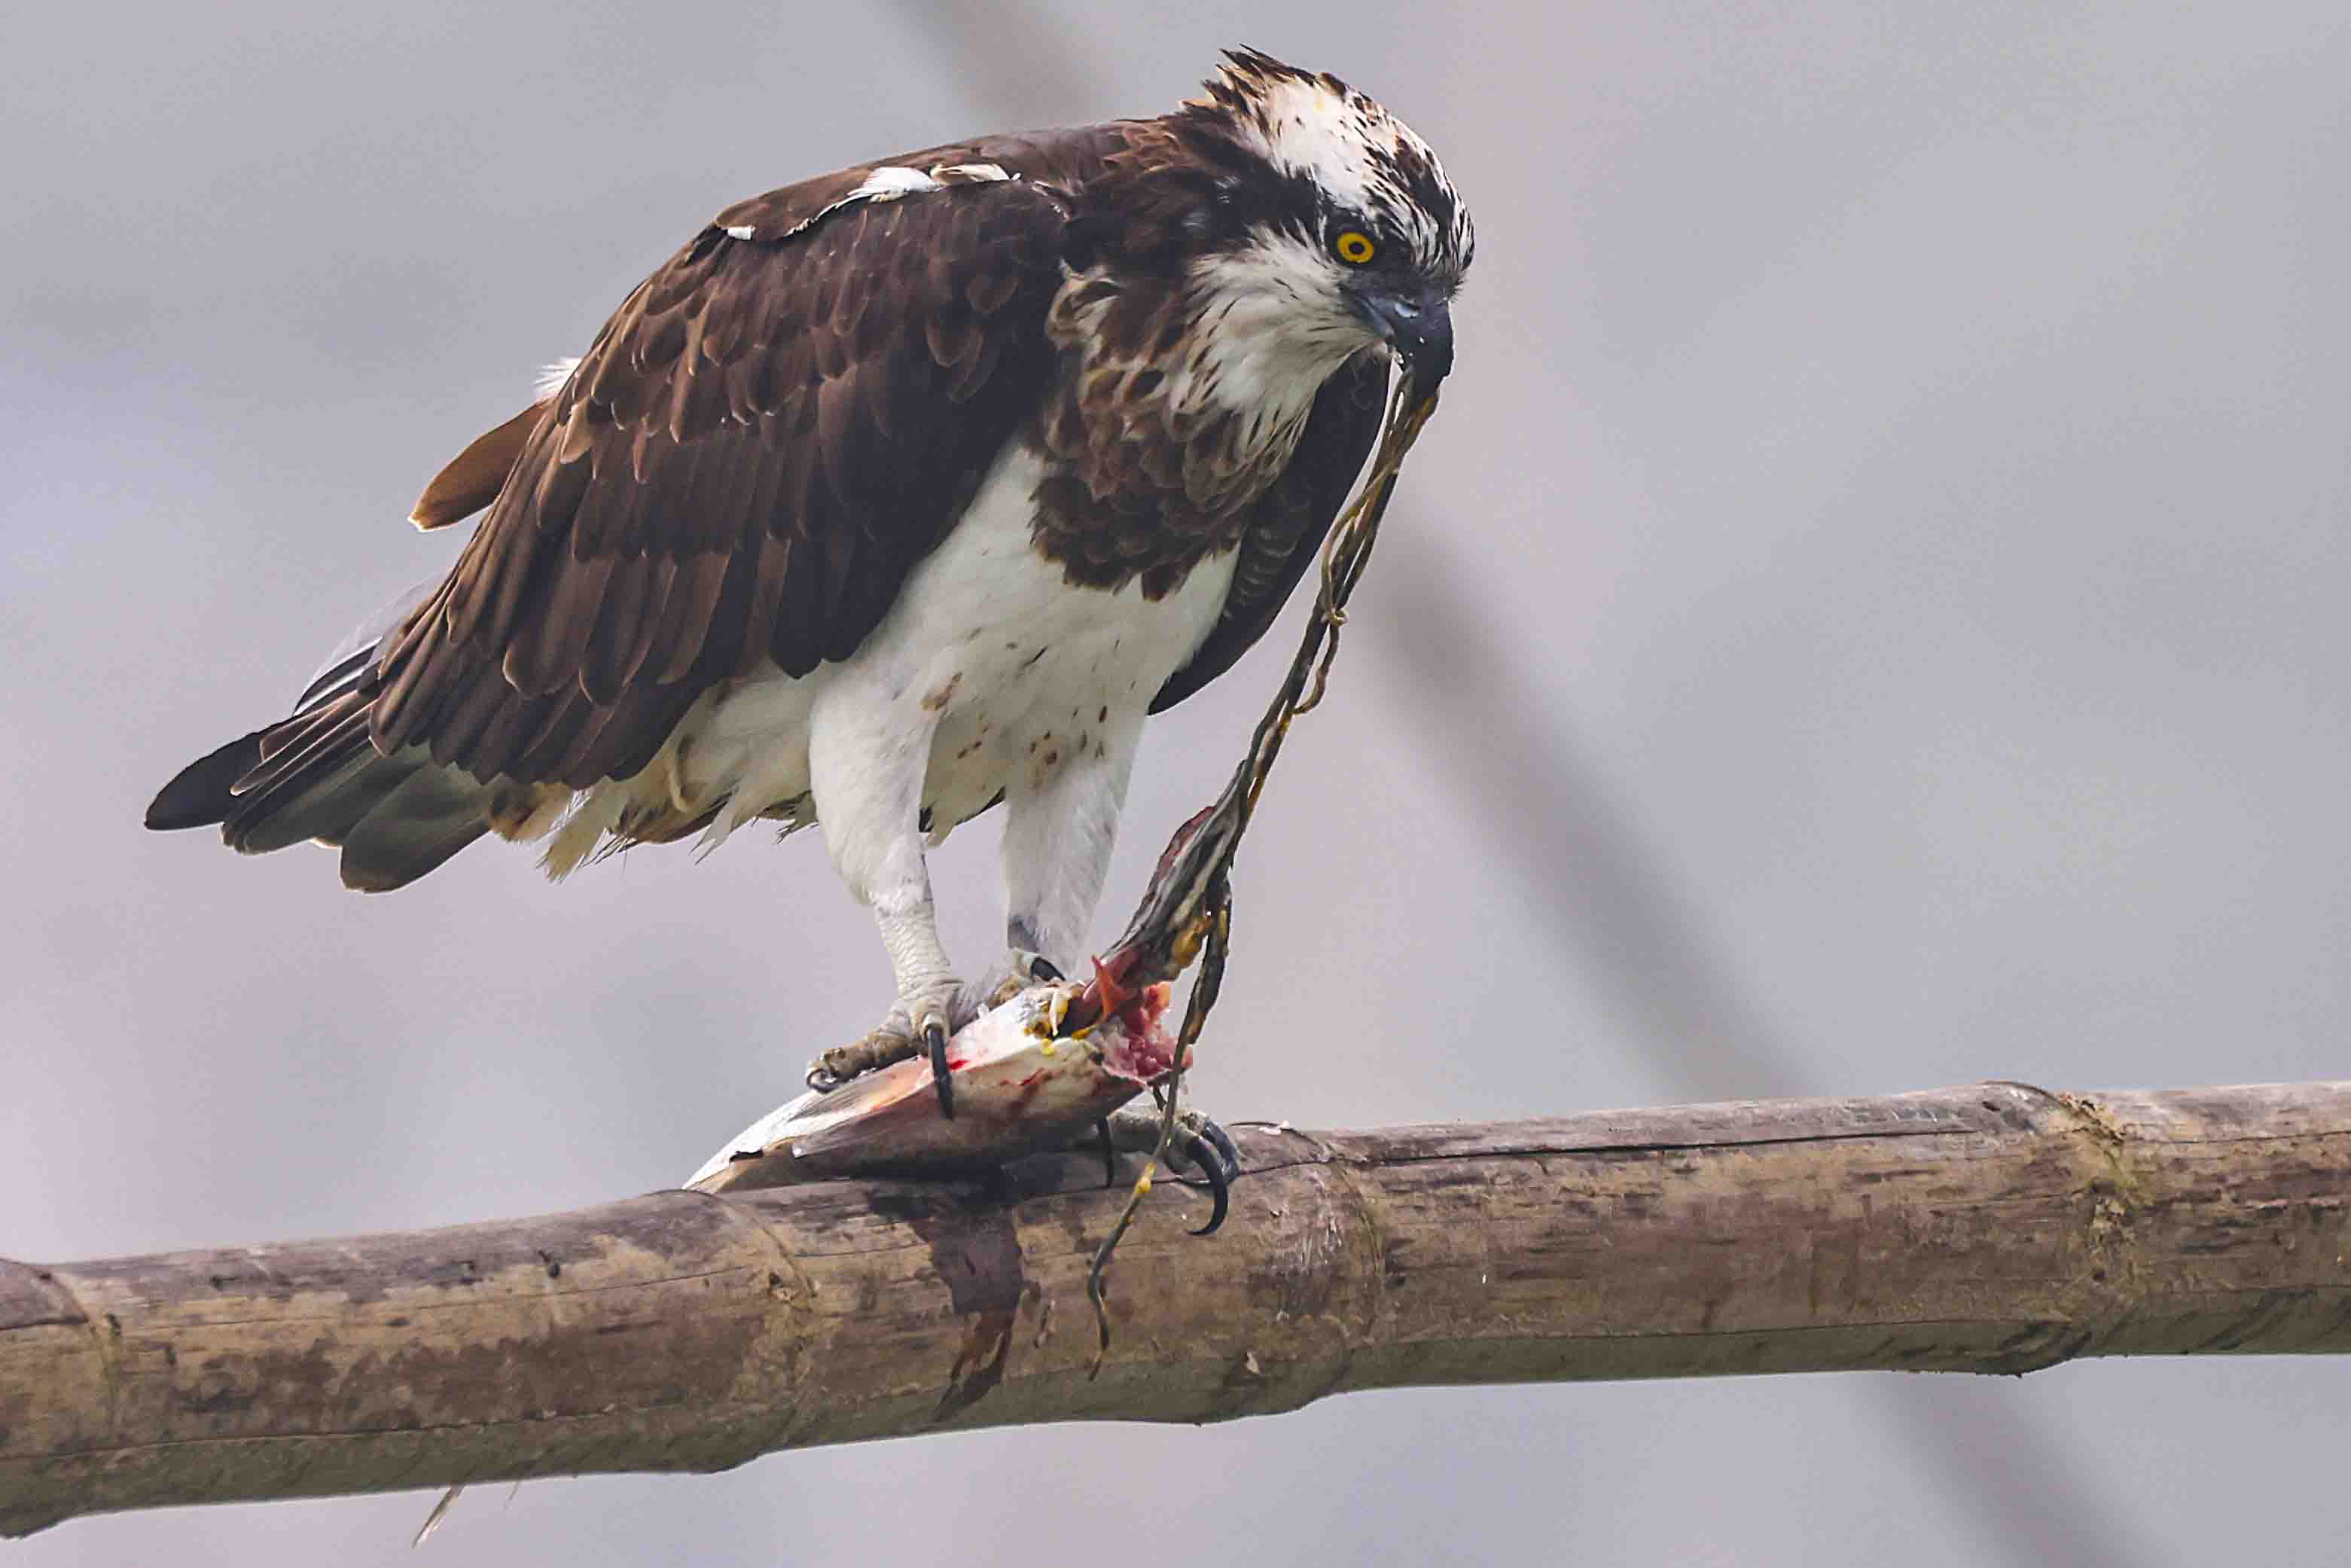
Osprey in Purbasthali
This step-by-step guide is designed to help make your first steps in wildlife photography for beginners more confident and creatively fulfilling. Keep exploring, keep clicking, and let your lens tell the untamed stories of the wild.
Recent Comments