

Bird Photography for Beginners opens the door to a world full of colors, movement, and emotion. It teaches you to observe, wait, and capture the right moment when nature reveals its finest details. Every click connects you to the rhythm of wildlife and the freedom of flight.
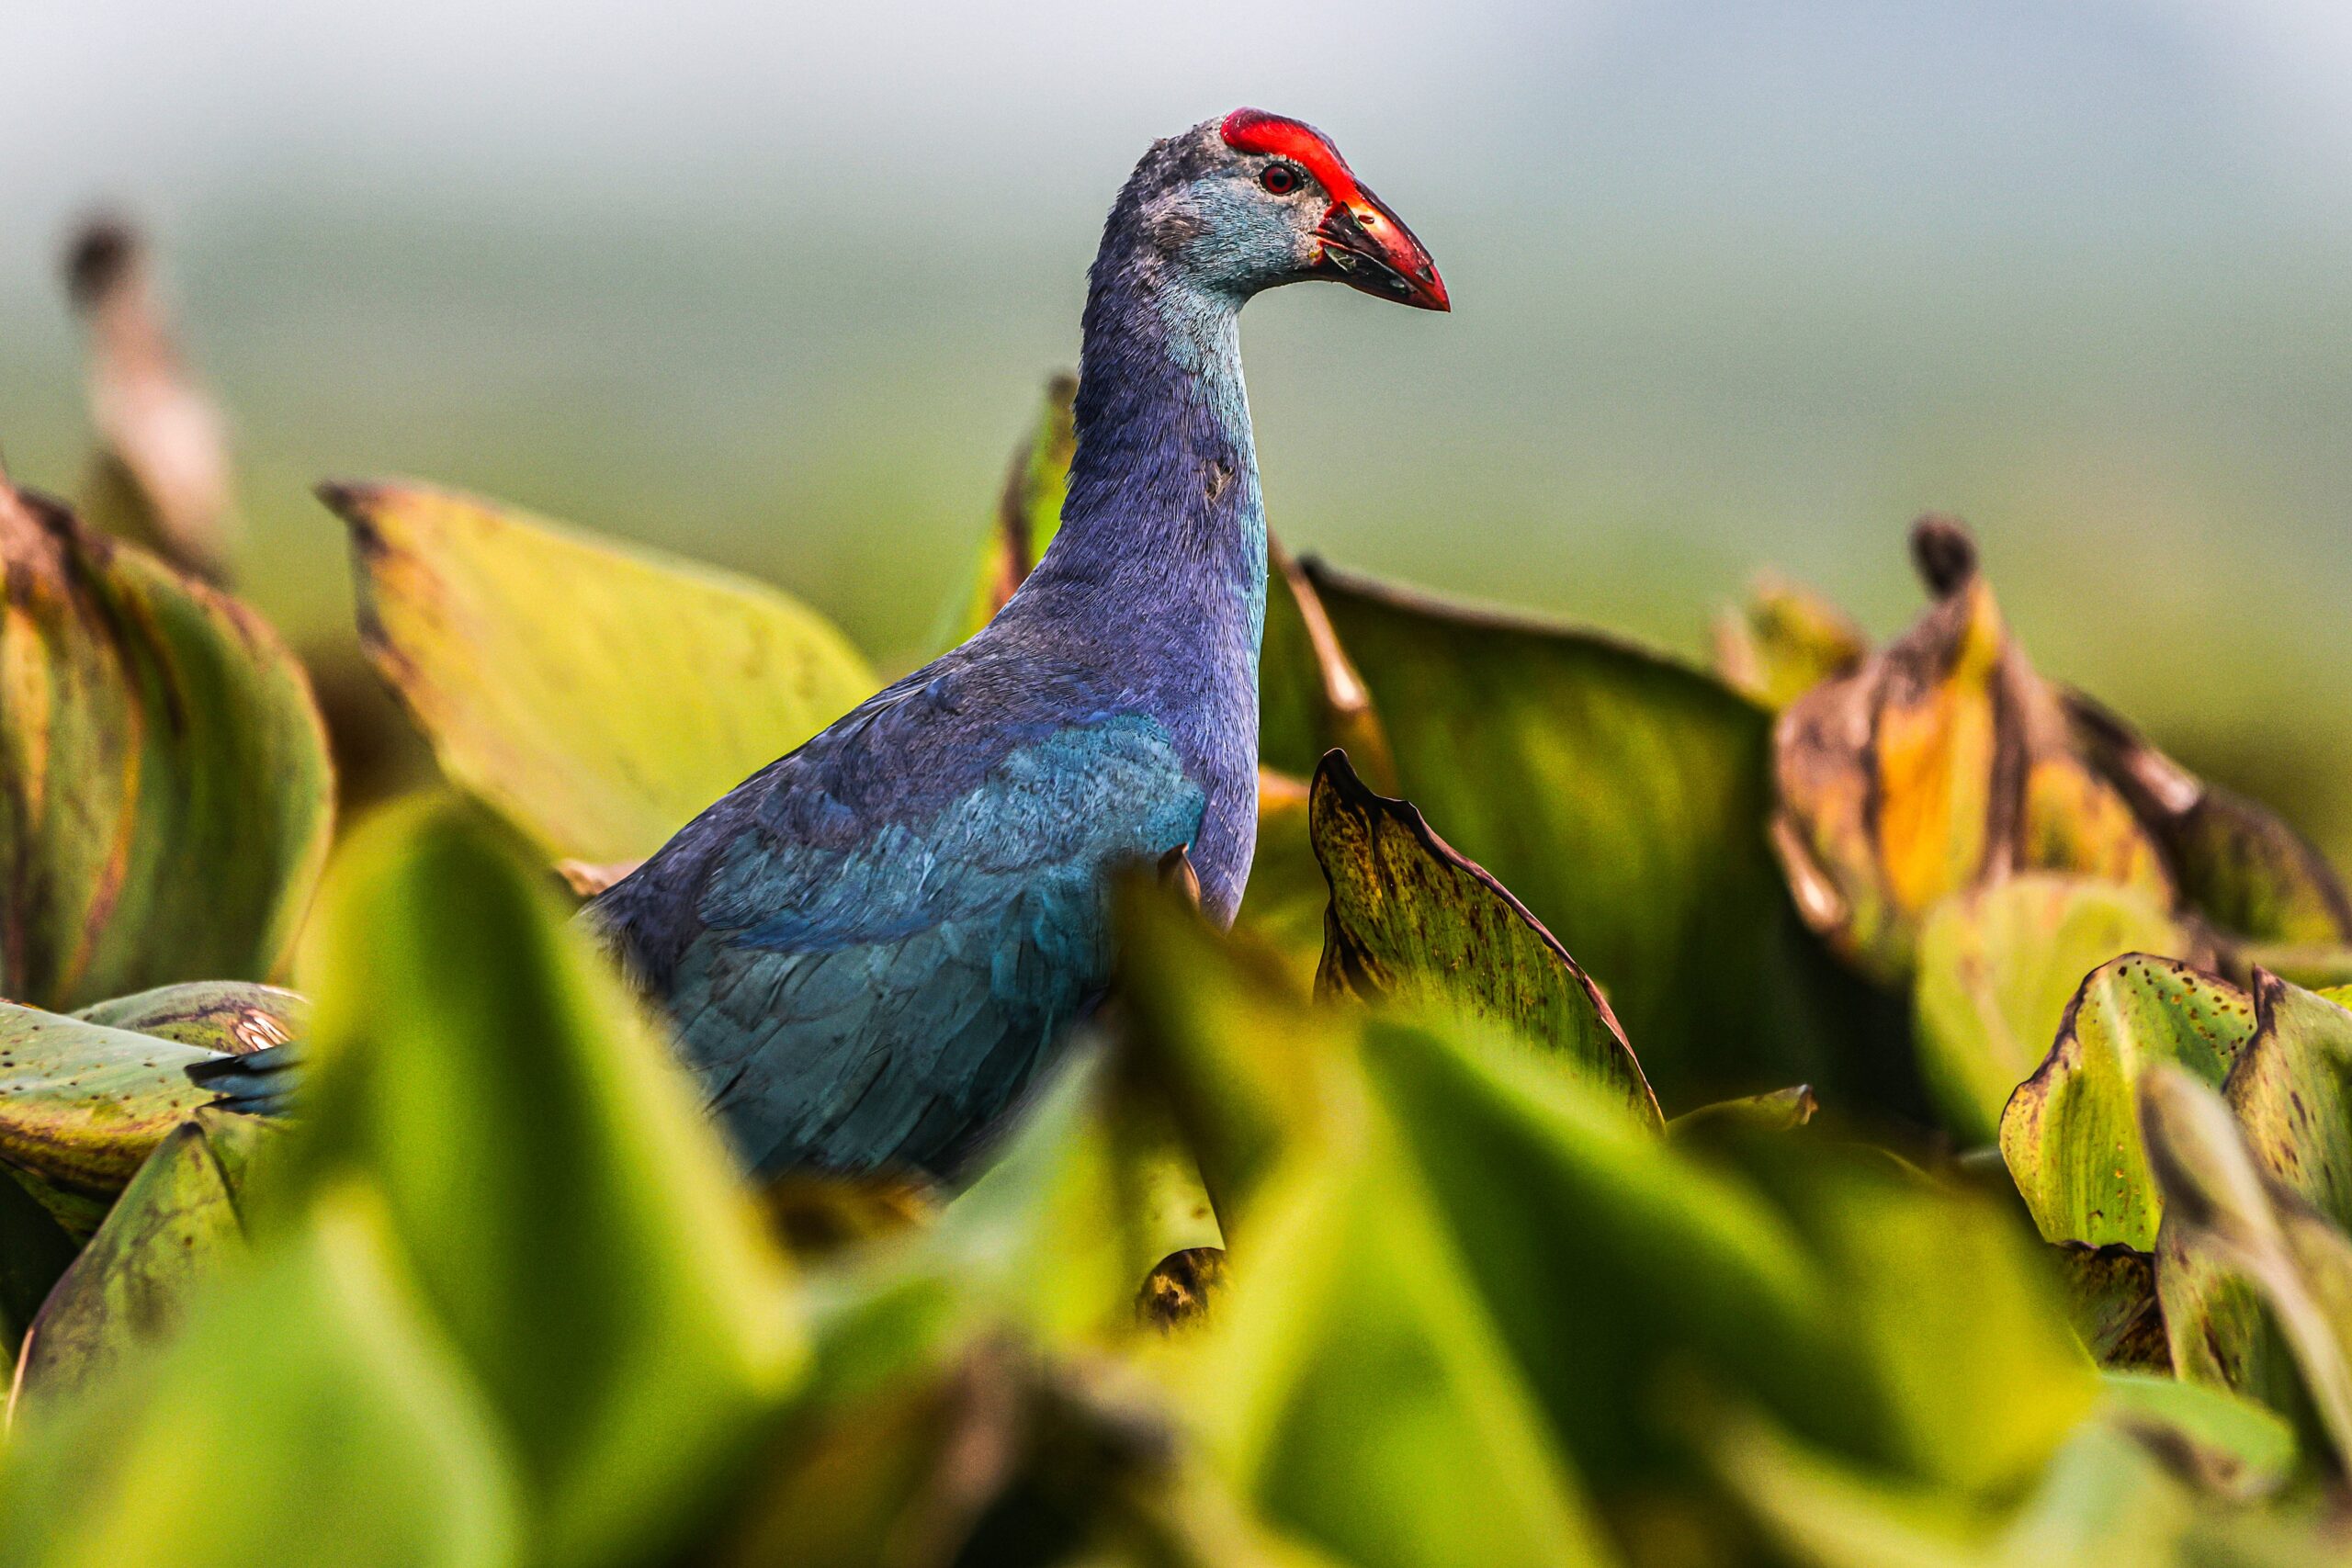
Grey-headed Swamphen
As a beginner, you don’t need expensive gear to start. What matters most is patience, awareness, and understanding your subject. Learn how light shapes feathers, how focus freezes flight, and how composition tells a story. Each photograph becomes a small piece of art that reflects your vision and dedication.
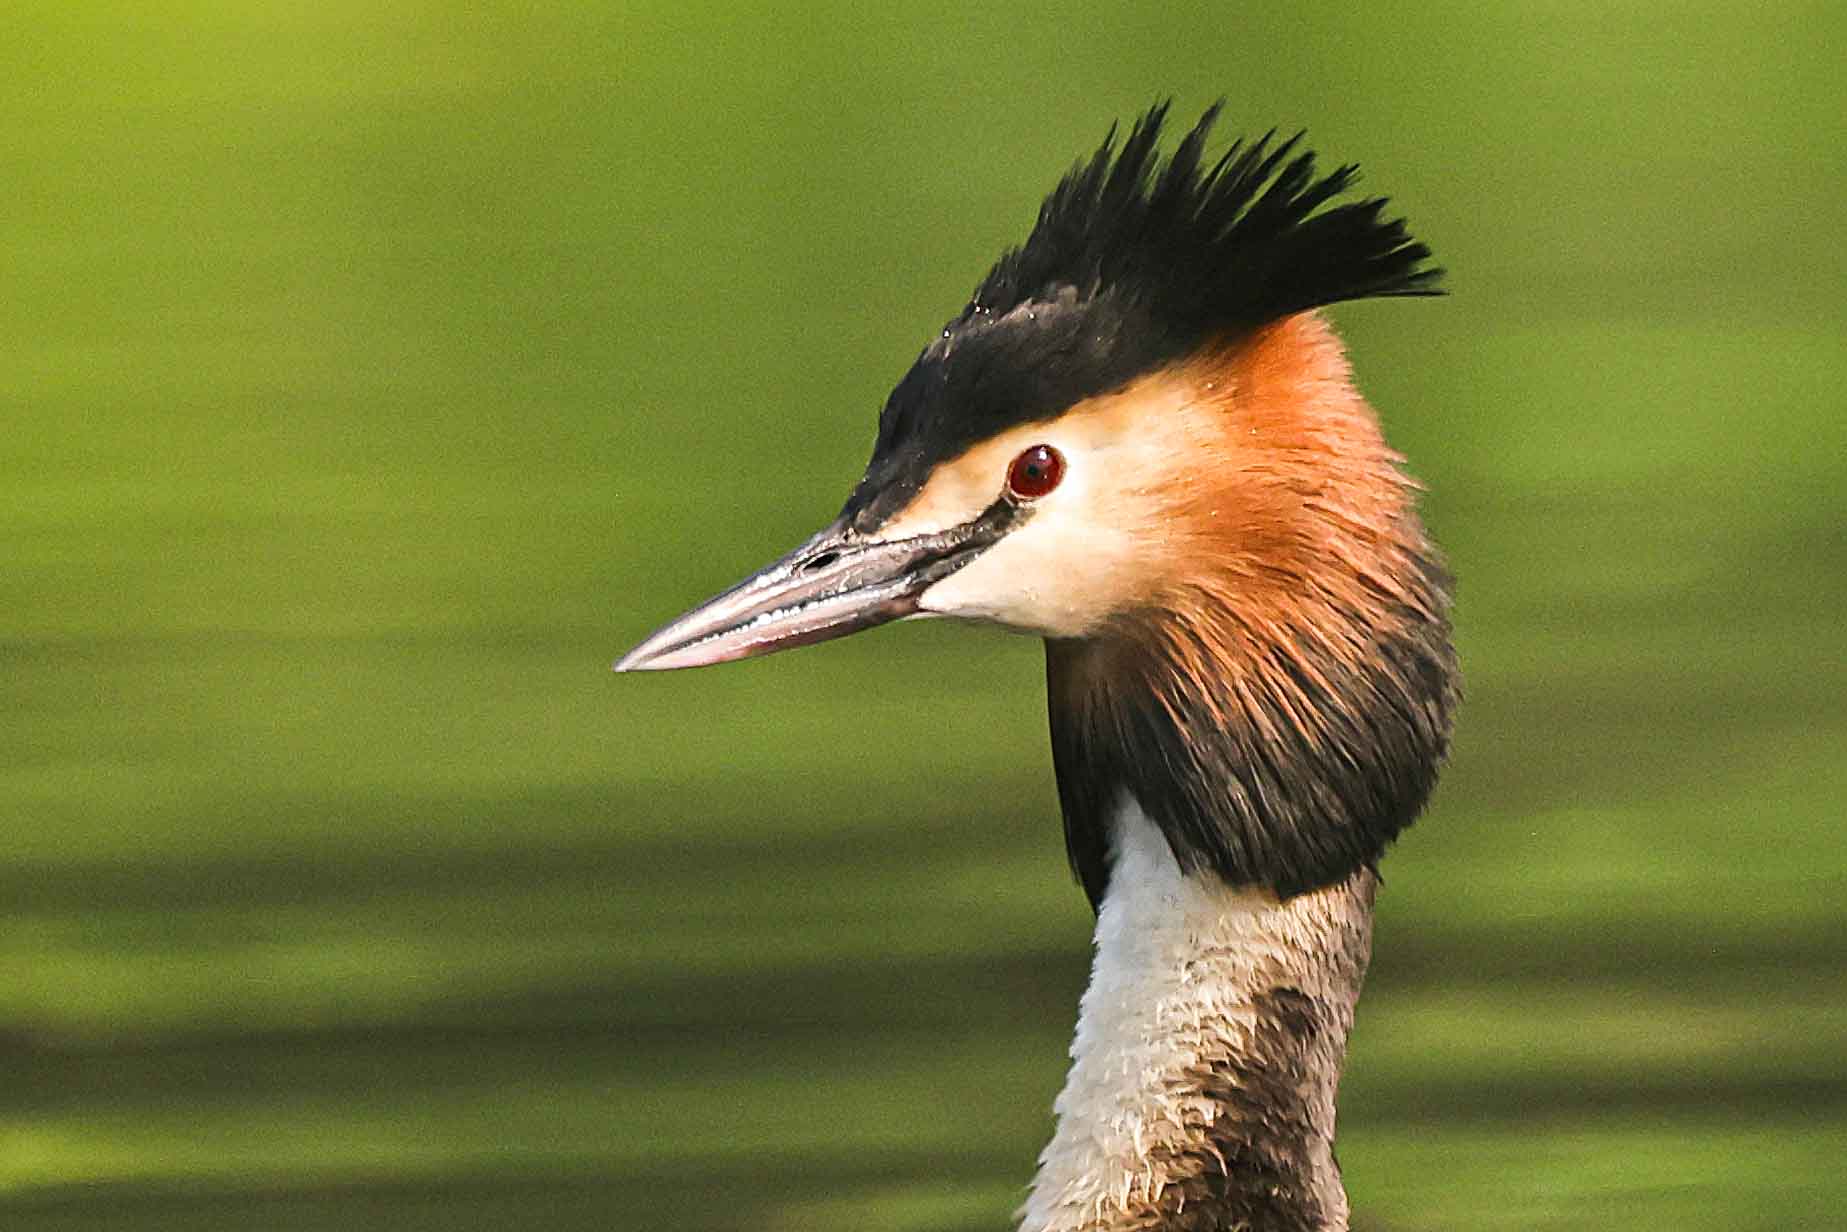
Great Crested Grebe in Purbasthali, India
Bird photography also strengthens your bond with nature. The more you photograph, the more you understand their behavior, calls, and habitat. This awareness builds respect, inspiring you to protect the world you capture. Through your lens, even a small backyard bird can become a symbol of beauty, balance, and conservation.
👉 So grab your camera, step outside, and let your passion take flight. The journey of bird photography for beginners starts with curiosity, grows with practice, and blossoms into a lifelong connection with nature.
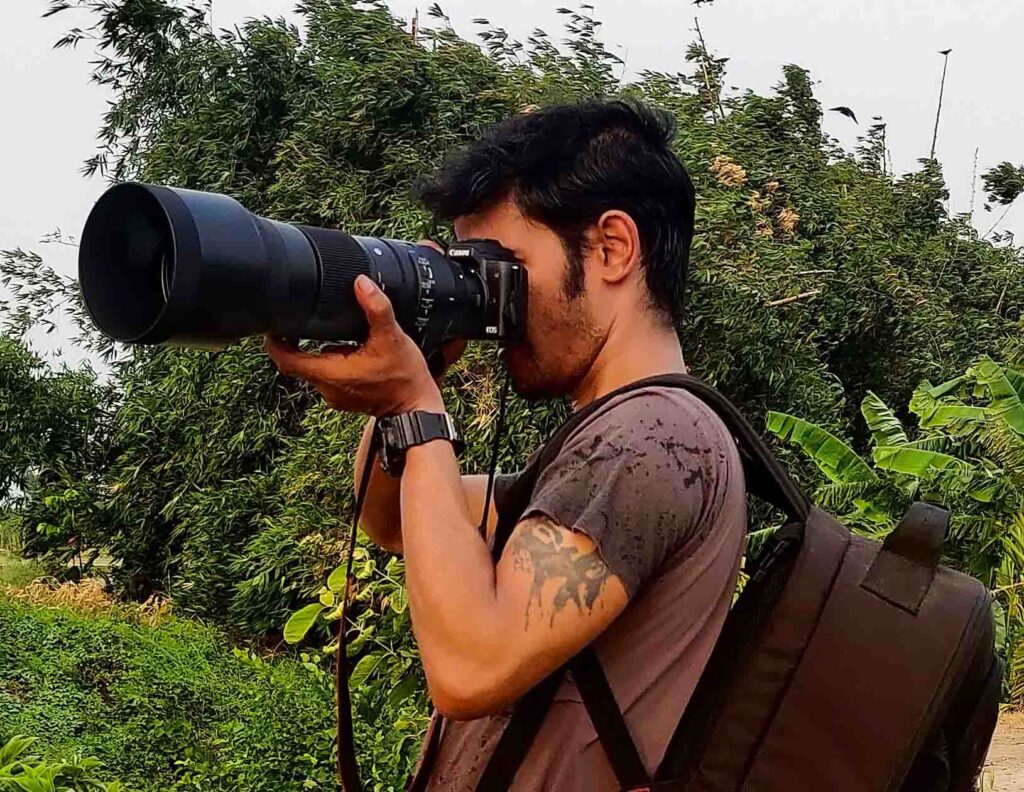
When it comes to bird photography for beginners, having the right equipment can make a world of difference. Capturing fast-moving, often distant birds requires more than just a basic camera. From telephoto lenses and tripods to binoculars and memory cards, the right gear helps you shoot sharper, more detailed images. In this guide, we’ll break down the essential equipment necessary for bird photography, so you can confidently get started with the tools you truly need.
Here’s a list of essential equipment for bird photography:
- Camera Body: A digital single-lens reflex (DSLR) or mirrorless camera with interchangeable lenses is ideal. Choose a camera with a high-resolution sensor for better image quality.
- Lenses: Telephoto lenses with long focal lengths (300mm to 600mm or more) are essential for capturing distant or small birds. Consider prime (fixed focal length) lenses for the best image quality. Fast aperture (wide maximum aperture) lenses (f/2.8 or f/4) are preferable as they allow more light in, which is especially useful in low-light conditions.
- Tripod: A sturdy tripod is crucial for stabilizing your camera and lens, especially when using long and heavy telephoto lenses. Look for a tripod with a ball head for flexibility.
- Gimbal Head: A gimbal head for your tripod helps in tracking and smoothly panning with birds in flight, ensuring sharp and steady shots.
- Monopod: A monopod can be a more portable alternative to a tripod and can provide additional stability, especially when shooting birds in flight.
- Bean Bag: A bean bag can be used to support your camera and lens when shooting from a car or in situations where you can’t set up a tripod.
- Camera Bag: A camera bag designed for wildlife or bird photography is essential for carrying and protecting your gear while out in the field.
- Remote Shutter Release: A remote shutter release or cable release helps reduce camera shake, especially when using long telephoto lenses.
*Wireless options can also be handy for more flexibility.
- Lens Hood: A lens hood helps reduce lens flare and protects the front element of your lens from dirt and moisture.
- UV or Polarizing Filter: A UV filter can protect your lens from scratches and UV rays, while a polarizing filter can help reduce glare and enhance colors, especially in water and foliage.
- Extra Batteries and Memory Cards: Bird photography can be demanding on your camera’s battery, so carry extra batteries and ample memory cards.
- Camouflage Gear: If you’re photographing birds in the wild, consider wearing camouflage clothing or using a camouflage lens cover to blend into your surroundings.
- Field Guide and Birding Apps: A field guide or birding app can help you identify bird species and their behavior, allowing you to anticipate their movements and capture better shots.
- Binoculars or Spotting Scope: Binoculars or a spotting scope can help you spot birds in the distance and plan your shots.
- Bird Feeder or Attractants: Setting up a bird feeder or using attractants like bird calls or decoys can help attract birds to a specific location for easier photography.
Understanding the right camera settings is essential in bird photography for beginners to capture sharp, well-exposed, and beautifully composed images. Birds are fast-moving subjects, often in unpredictable lighting, which means mastering settings like shutter speed, aperture, and ISO is crucial. In this section, we’ll break down the ideal camera settings for different bird photography situations to help every beginner shoot with confidence and precision.
Here are some essential camera setting for bird photography:
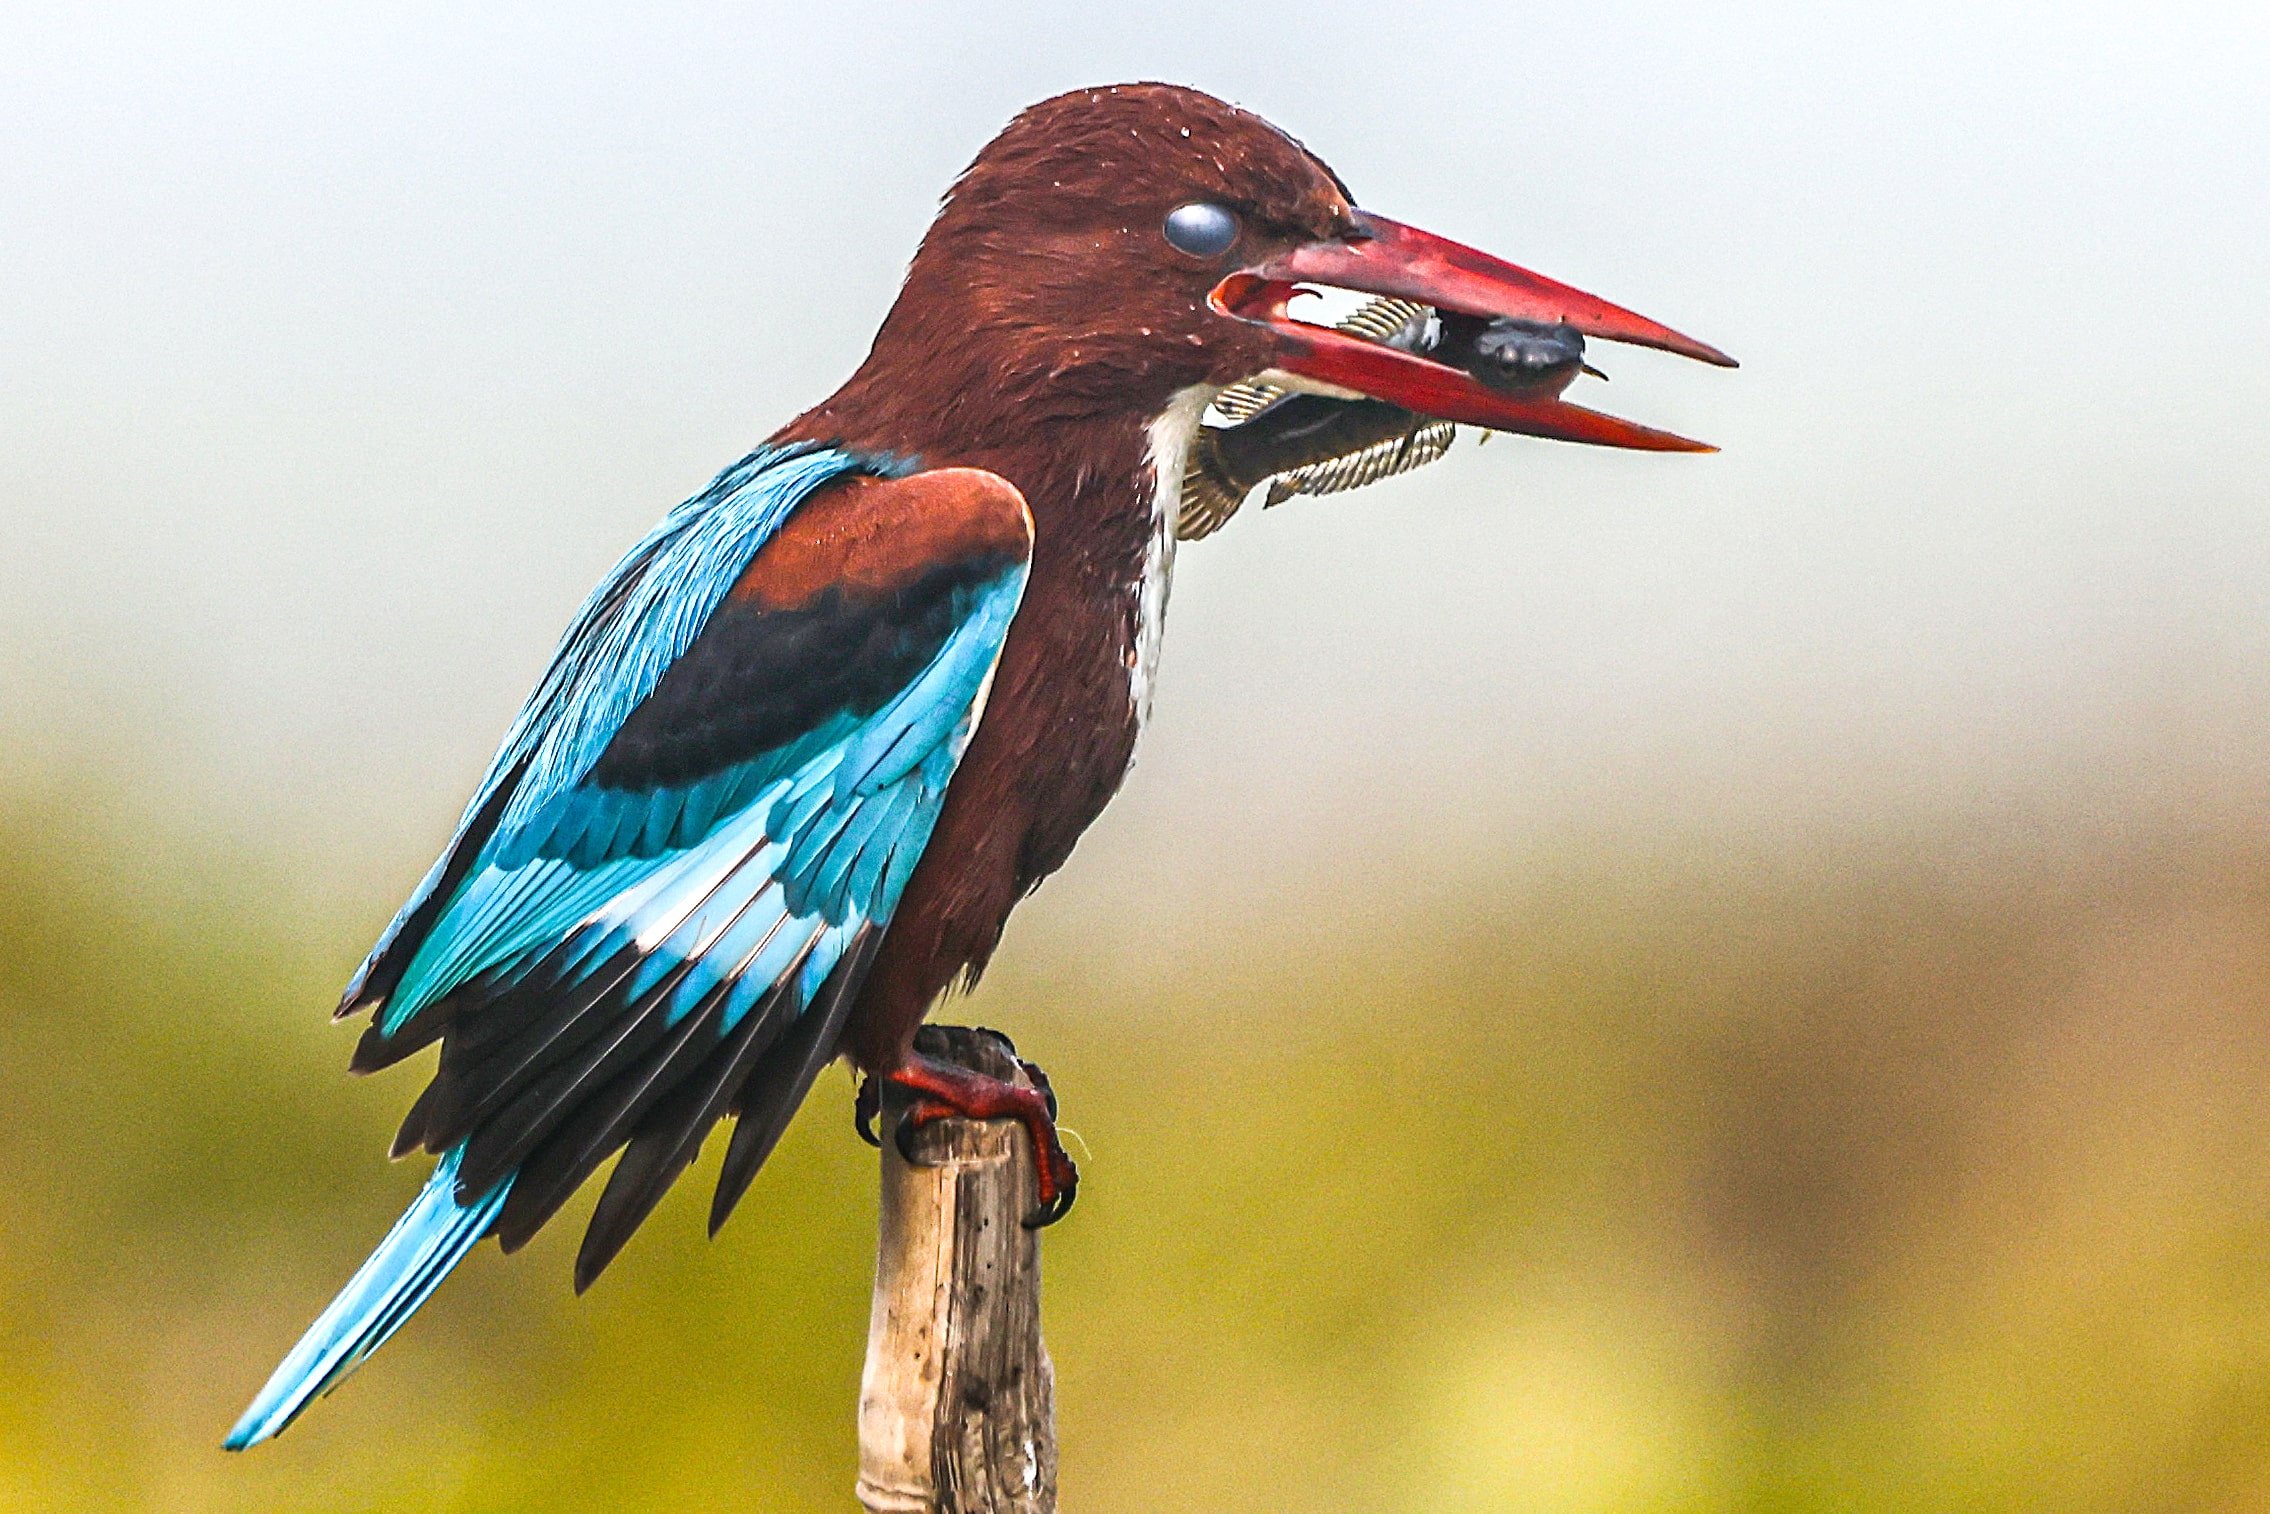
White-throated Kingfisher with catch
- Use Aperture Priority Mode: Start by setting your camera to Aperture Priority (usually labeled as “A” or “Av” on the mode dial). This mode allows you to control the depth of field, which is crucial for isolating your subject from the background.
- Aperture (f-stop): Select a wide aperture (small f-number) like f/4 to f/5.6 to achieve a shallow depth of field. This helps blur the background and make your subject stand out.
- Shutter Speed: Birds are often quick and agile, so you’ll need a fast shutter speed to freeze their motion. A minimum shutter speed of 1/1000 or even faster is ideal for small and fast birds.
*For larger, slower birds, you can use a slightly slower shutter speed.
- ISO Setting: Use the lowest ISO setting that still allows you to achieve the desired shutter speed and aperture. Lower ISO values result in less noise in your photos. However, in low-light conditions, you may need to increase the ISO.
- Exposure Compensation: Depending on your camera and the bird’s coloration, you might need to apply some positive or negative exposure compensation to achieve the correct exposure. Brightly colored birds may need negative compensation to avoid overexposure, while dark-colored birds may need positive compensation.
- Auto Focus: Use continuous autofocus (AI Servo for Canon, AF-C for Nikon) to track moving birds. Set your camera to focus on a single point or a small group of focus points.
- Burst Mode: Set your camera to continuous or burst mode to capture a series of shots in rapid succession. This increases your chances of capturing the perfect moment.
- Image Stabilization (IS/VR):If your lens has image stabilization or vibration reduction, use it to reduce camera shake, especially when shooting handheld at slow shutter speeds.
- White Balance: Adjust the white balance to match the lighting conditions, or consider shooting in RAW format to make white balance adjustments during post-processing.
- Use a Tripod or Monopod: If possible, use a tripod or monopod to stabilize your camera and reduce camera shake, especially when using longer telephoto lenses.
- Get Closer: Use a long telephoto lens (300mm or longer) to get closer to the birds without disturbing them. Teleconverters can extend the reach of your lens if needed
- Pre-focus: Pre-focus on a spot where you expect the bird to land or pass through to reduce autofocus lag.
One of the most crucial elements in bird photography for beginners is mastering composition. Good composition helps tell a story, highlight the bird’s beauty, and create visually engaging images. Whether you’re framing a perched kingfisher or a flying heron, understanding how to position your subject, use negative space, and apply the rule of thirds can dramatically improve your photos. For those new to bird photography, learning basic composition techniques is a powerful first step toward capturing truly stunning shots.
Here are some composition tips to enhance your bird photography:
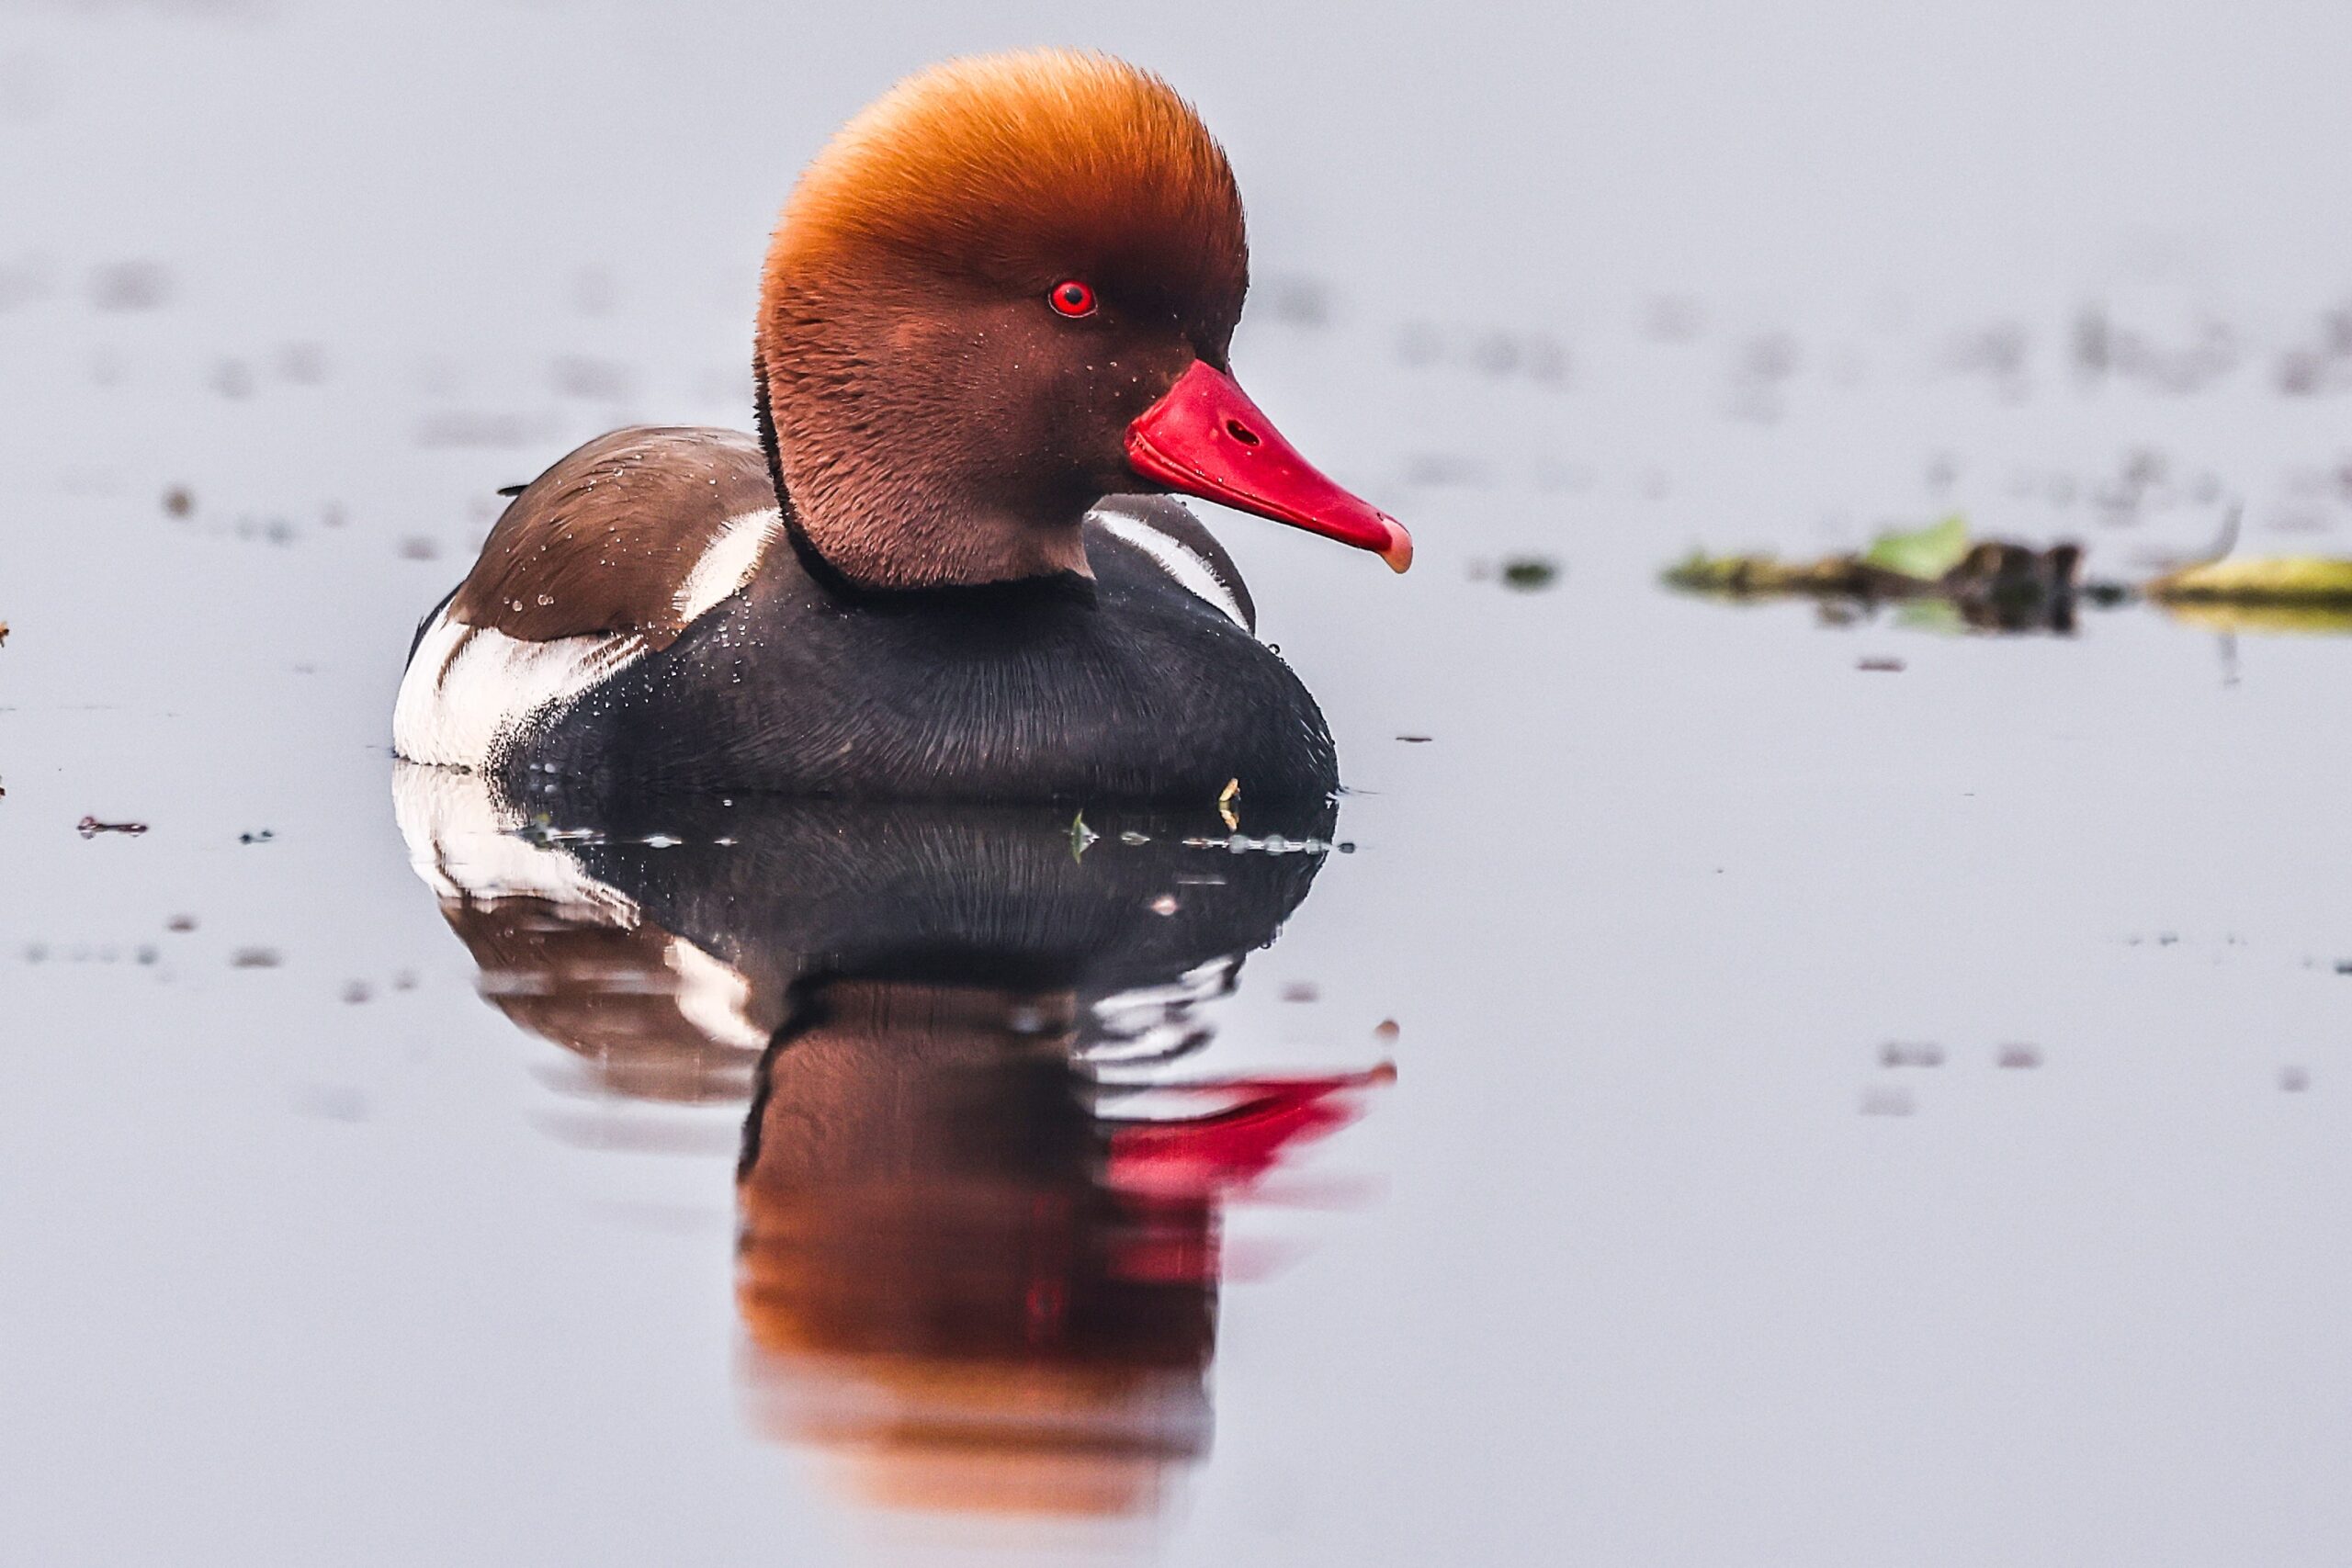
Red-crested Pochard (male)
- Rule of Thirds: The rule of thirds is a fundamental composition guideline. Divide your frame into thirds both horizontally and vertically, and place your subject or key elements near the intersections of these lines. This adds balance and interest to your image.
- Fill the Frame: Try to fill the frame with your subject, so the bird is the main focus. This can be particularly important in bird photography, as it allows viewers to appreciate the bird’s details and characteristics.
- Eye-Level Perspective: Shoot birds at or near eye level whenever possible. This provides an intimate and engaging perspective, allowing the viewer to connect with the subject. If the bird is perched, position yourself at its eye level for the best results.
- Background Considerations: Pay attention to the background. A clean, uncluttered background will make your subject stand out. Avoid busy or distracting backgrounds that can divert attention from the bird.
- Depth of Field: Use a wide aperture (small f-number) to create a shallow depth of field.
*Depth of field helps isolate the bird from the background by blurring it, making the subject pop.
- Leading Lines: Incorporate natural elements like branches, reeds, or other bird habitats to create leading lines that guide the viewer’s eye toward the subject.
- Frame Within a Frame: Use elements like branches, leaves, or other objects in the environment to frame your subject. This adds depth and visual interest to your image.
- Negative Space: Include negative space around the bird to give it room to “breathe.” This can create a sense of isolation and draw attention to the bird.
- Action Shots: Capture birds in action to tell a story. This could be a bird in flight, hunting, or interacting with other birds. Action shots often add drama and excitement to your photographs.
- Golden Hour: Shoot during the golden hours of early morning and late afternoon when the light is soft and warm. The low-angle sunlight can enhance the colors and textures of your subjects.
- Use Natural Light: Whenever possible, rely on natural light rather than artificial flash. Flash can startle or stress birds and may produce harsh shadows.
- Dynamic Angles: Experiment with different angles and perspectives. Shoot from below, above, or from the side to create diverse and unique compositions.
- Composition in Flight Shots: When capturing birds in flight, position your subject slightly off-center and give it room to “move” into the frame. This conveys a sense of motion.
Lighting plays a crucial role in capturing sharp, vibrant, and well-defined bird images. For those exploring bird photography for beginners, understanding how natural light affects your subject can make a significant difference in photo quality. Early morning and late afternoon—known as the golden hours—offer soft, warm lighting that’s ideal for bird photography. Learning to work with changing light conditions will help beginners elevate their shots from ordinary to extraordinary.
Here are some considerations for working with lighting in bird photography:
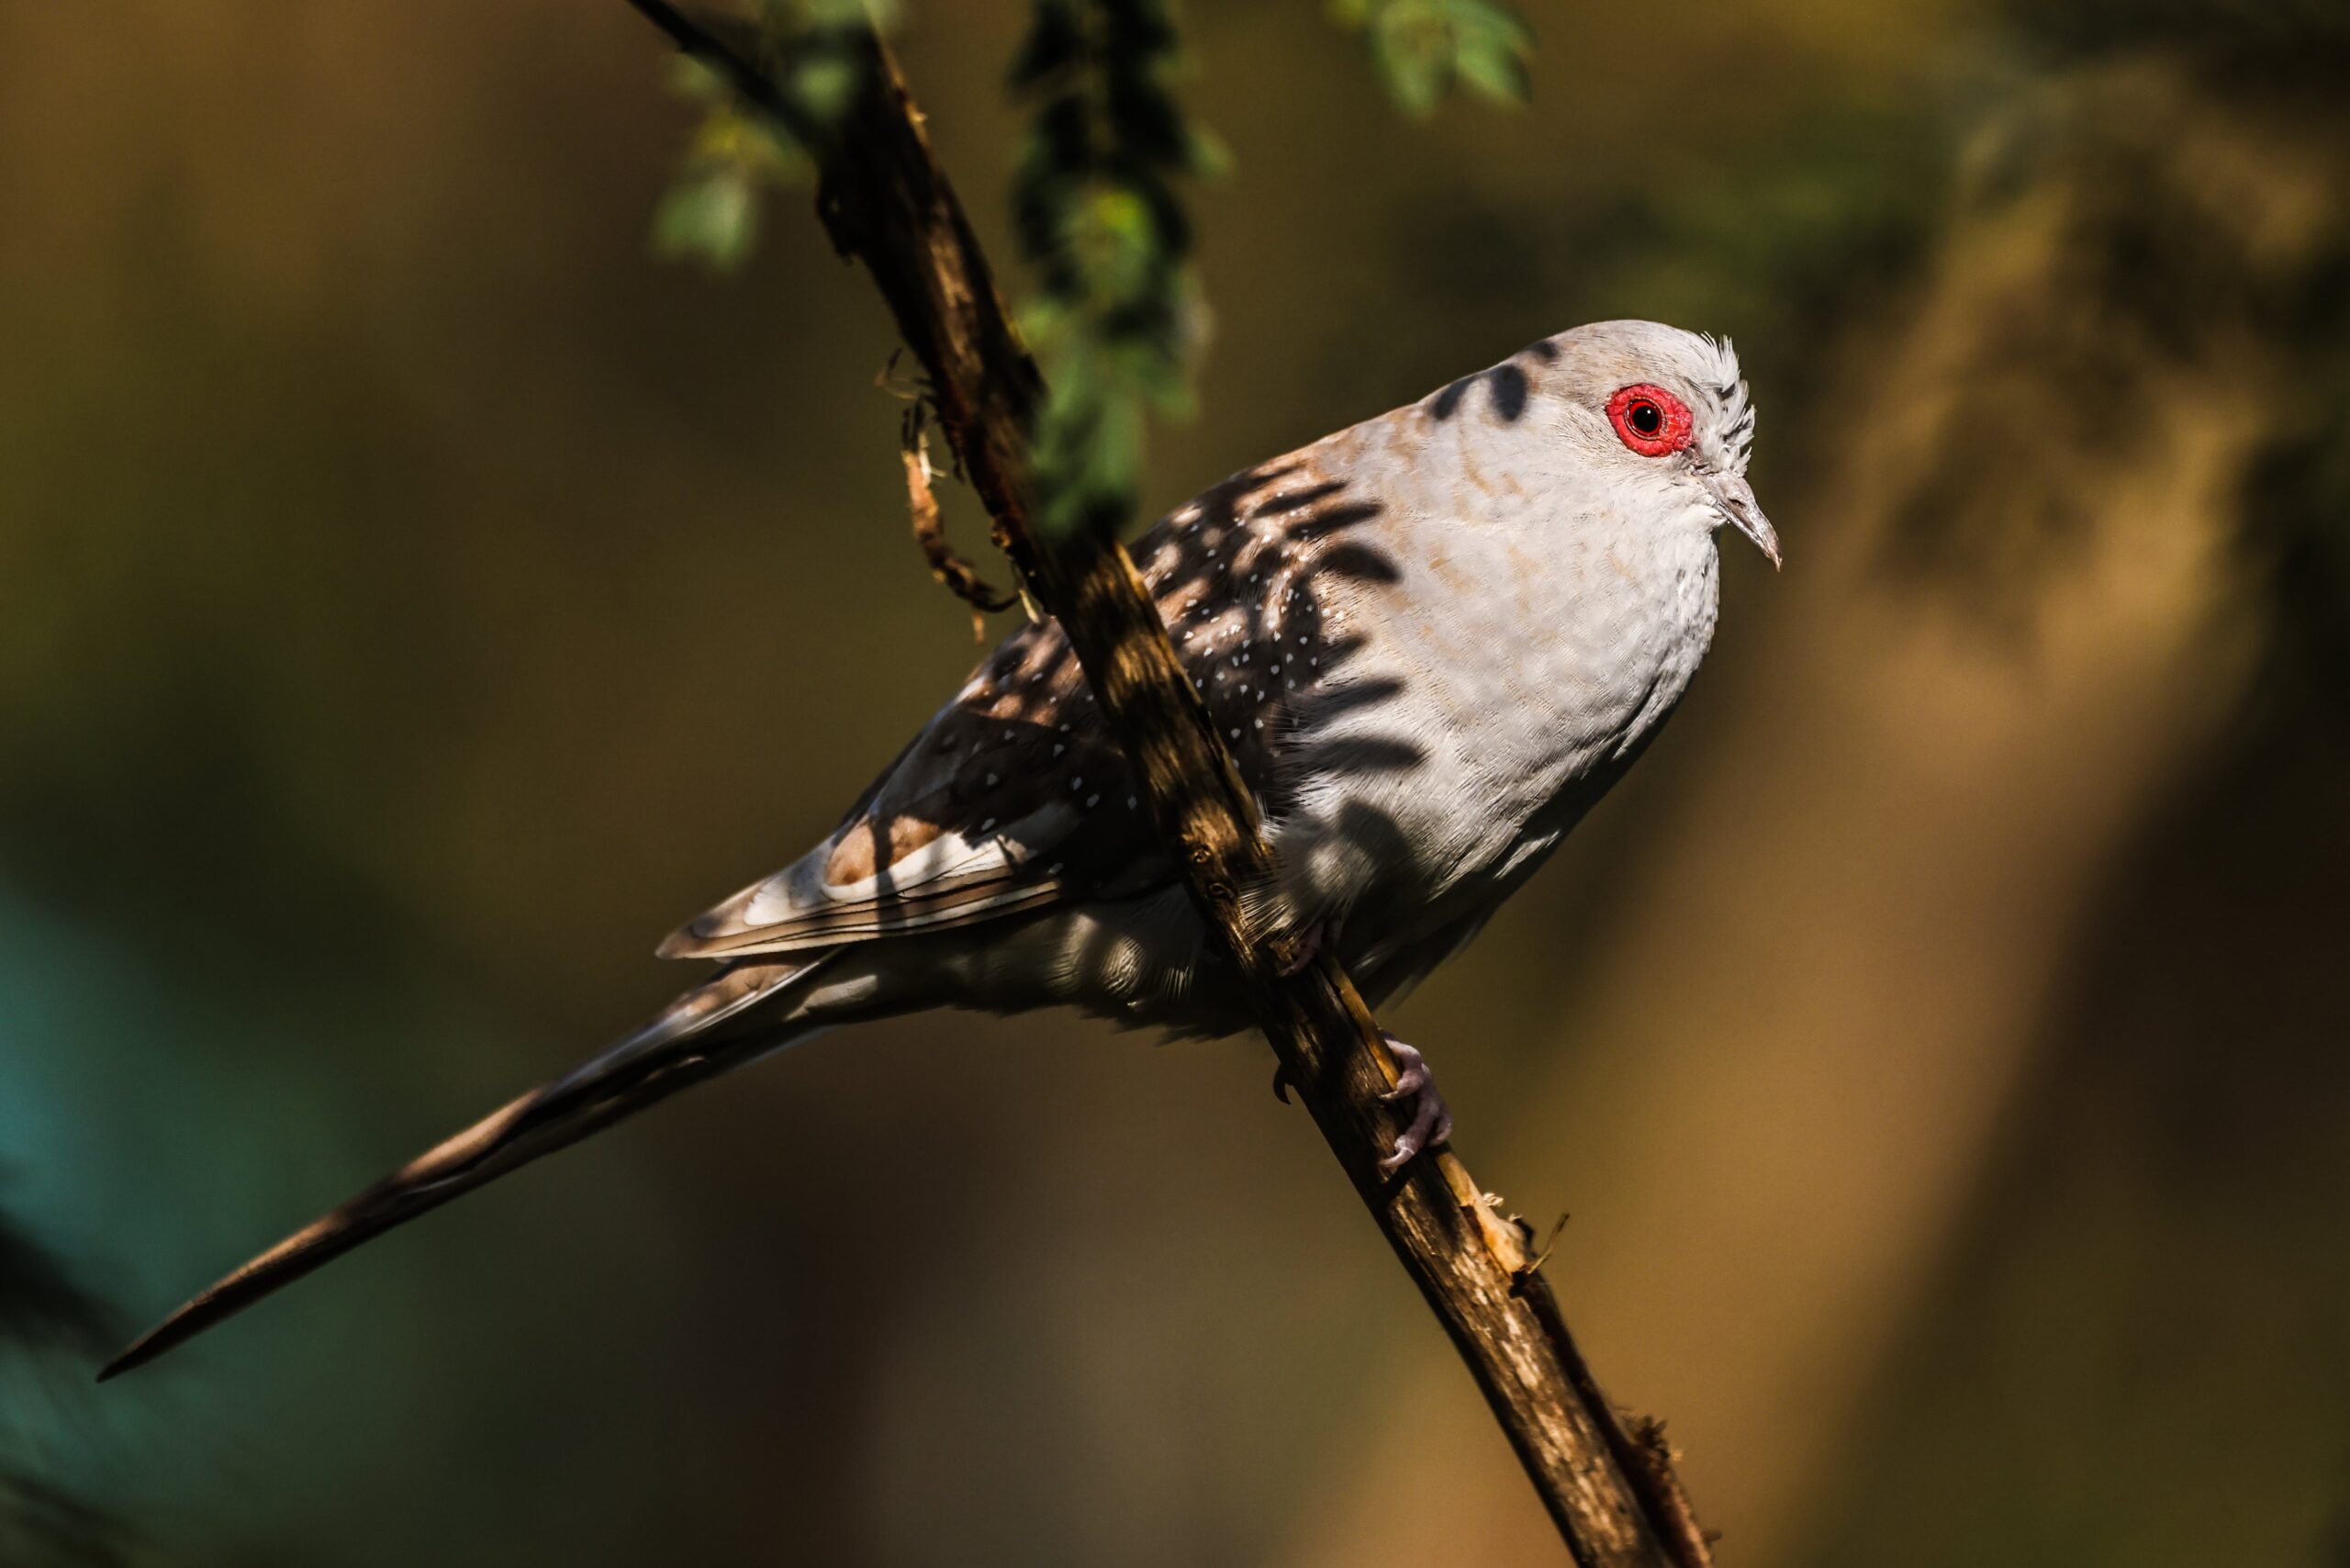
Australian dove
- Golden Hours: The hours around sunrise and sunset, known as the golden hours, offer soft, warm, and directional light. This type of light can enhance the colors, textures, and details in your bird photos. Birds are often more active during these times as well.
- Overcast Days: Overcast or cloudy days provide diffused and even lighting, reducing harsh shadows and highlights. This type of light is ideal for capturing birds with intricate plumage and colors, as it minimizes contrast and can help bring out details.
- Avoid Harsh Sunlight: Harsh, direct sunlight can create strong shadows and result in overexposed highlights. If you must shoot in harsh light, try to use fill flash to balance the exposure, but be mindful not to startle or disturb the birds.
- Backlighting: Backlighting occurs when the light source (e.g., the sun) is behind the subject. It can create a beautiful rim or halo effect around the bird, accentuating its shape and feather details.
*Be cautious with backlighting to avoid overexposing the background.
- Side Lighting: Side lighting is when the light source strikes the bird from the side. This can create a sense of depth and reveal texture and form. It’s excellent for highlighting feathers, beaks, and other features.
- Shooting Against the Light: While shooting directly into the sun is generally discouraged, you can achieve artistic and creative shots by partially obscuring the sun behind your subject. This technique can result in silhouettes and beautiful bokeh.
- White Balance: Pay attention to your camera’s white balance settings to ensure accurate color representation in different lighting conditions. Shooting in RAW format allows you to adjust white balance during post-processing.
- Exposure Compensation: Be prepared to adjust your camera’s exposure compensation settings to account for different lighting conditions. This may involve reducing exposure on bright days or increasing it in low-light situations.
- Natural Reflectors: Use natural elements like water or reflective surfaces to bounce light onto your subject, especially in shaded areas.
- Silhouettes: Silhouettes can be captivating in bird photography. Experiment with shooting birds against a bright background to create silhouettes that showcase their distinctive shapes.
Focusing and tracking are crucial skills in bird photography for beginners, especially when capturing fast-moving or flying birds. Understanding how to use autofocus modes like AI Servo (Canon) or AF-C (Nikon/Sony) helps maintain sharp focus on birds in motion. For successful bird photography for beginners, learning to track birds through your viewfinder and adjusting focus points dynamically can make the difference between a blurry shot and a breathtaking image.
Here are some tips on focus and tracking in bird photography:
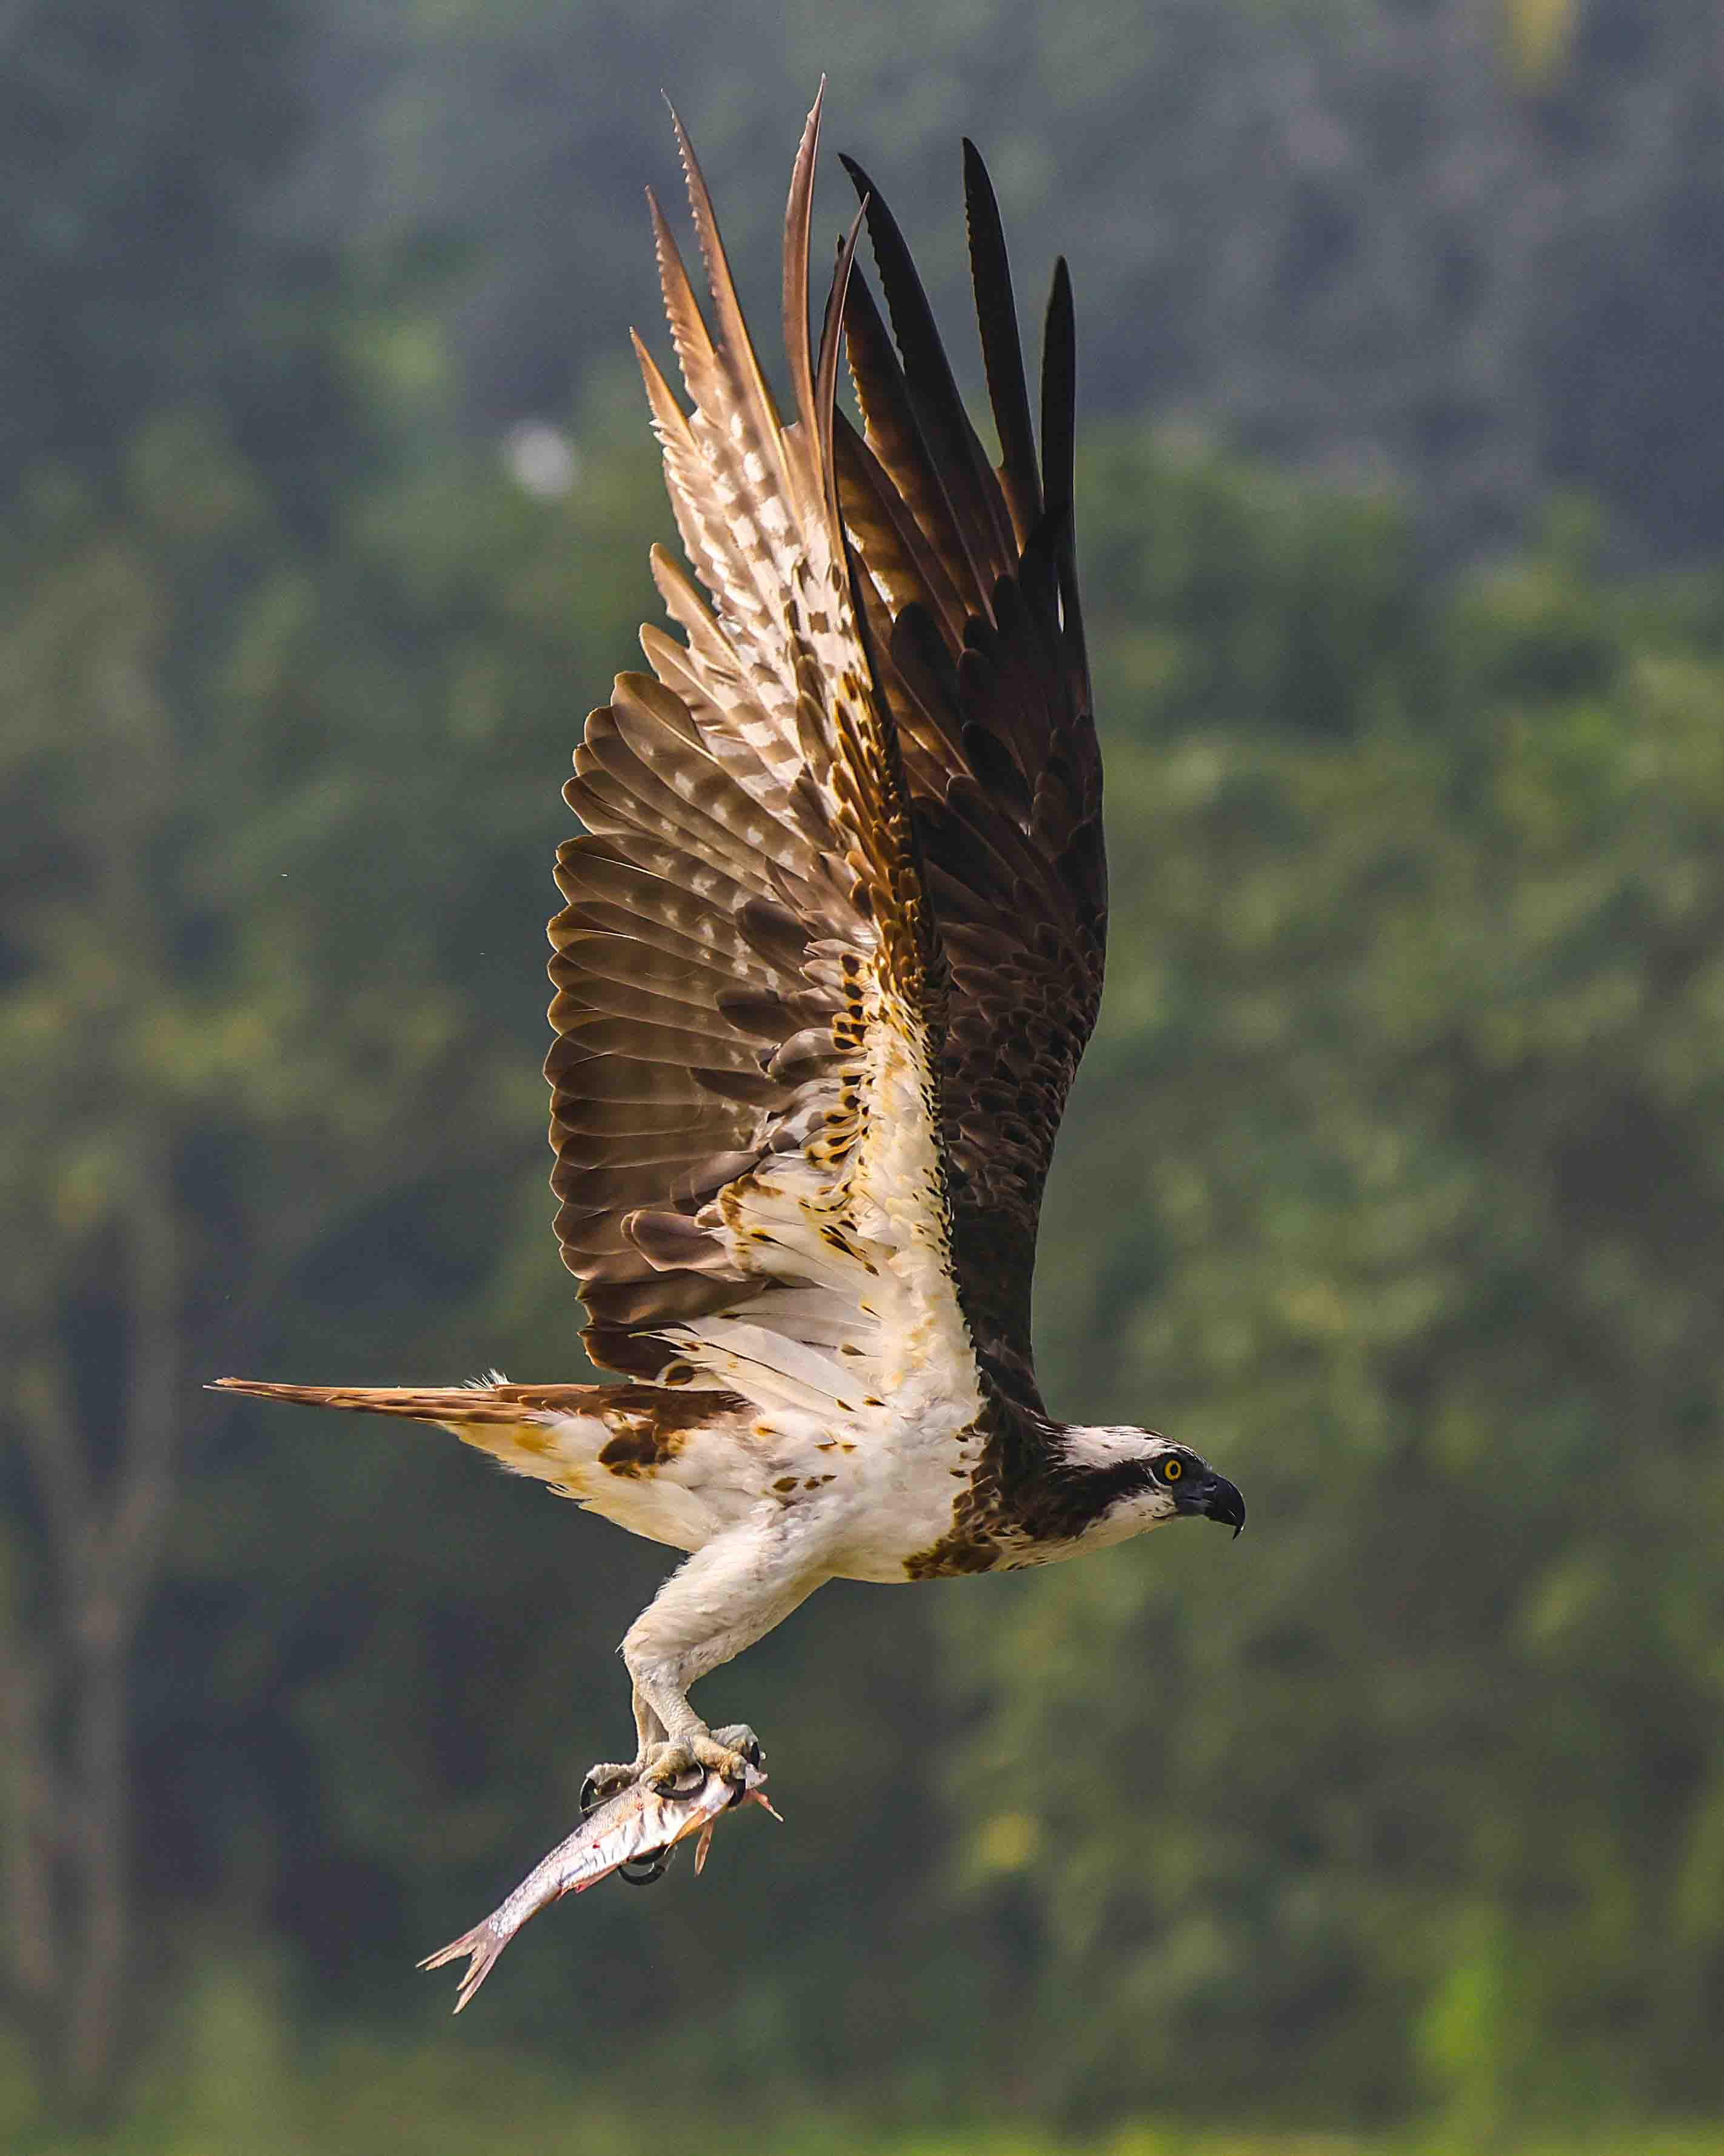
Flying Osprey
- Autofocus Modes: Use continuous autofocus (AI Servo for Canon, AF-C for Nikon) to track moving birds. This mode allows the camera to continually adjust focus as the subject moves, ensuring that your subject remains in focus.
- Autofocus Area/Point Selection: Select a single focus point or a small group of focus points rather than using all available focus points. This allows you to have more control over what part of the bird you want to focus on, typically the bird’s eye.
- AI Servo/AF-C Customization: Many modern cameras offer customization options for the behavior of the autofocus system in continuous focus mode. Adjust the tracking sensitivity, focus point switching, and acceleration/deceleration settings to match the behavior of the birds you’re photographing.
- Focus on the Eye: The bird’s eye is often the most critical part of the subject. Try to focus on the eye or the area around it to capture the bird’s personality and create a connection with the viewer.
- Pre-focusing: Anticipate where the bird will be and pre-focus on that spot.
*Pre-focusing is especially useful for birds in flight or birds that repeatedly return to a particular perch.
- Continuous Shooting Mode: Use the continuous or burst shooting mode to capture a series of shots in rapid succession. This increases your chances of getting a sharp, in-focus image, especially when the bird is in motion.
- Panning: When photographing birds in flight, use a panning technique. Follow the bird’s motion with your camera, keeping it in the frame as you release the shutter. This can help you maintain focus on the bird while achieving a blurred background to convey a sense of motion.
- Predictive Focus: If your camera supports it, use predictive focus tracking. This technology predicts the subject’s movement and adjusts focus accordingly.
- Continuous Focus and Shutter Release Button: Half-press the shutter release button to initiate continuous focus and track the bird. Continue to track the bird with the focus point as you fully press the shutter to take the shot.
- Test Different Autofocus Settings: Experiment with different autofocus settings on your camera to find what works best for your specific situation. The ideal settings can vary based on the type of birds you’re photographing, their movement patterns, and the lighting conditions.
- Keep It Steady: Use a tripod, monopod, or image stabilization (IS/VR) in your lens to minimize camera shake. Stable support can help maintain focus on the bird, especially in situations with slow shutter speeds.
Understanding bird behavior is a crucial step in mastering bird photography for beginners. Before heading out with your camera, take time to study your subject—learn about the species, their feeding habits, flight patterns, and preferred habitats. This knowledge helps you anticipate their movements and position yourself for the perfect shot without disturbing them. The more you know about your subject, the better your chances of capturing natural, compelling images that tell a story.
Here are some key points to consider when studying your subjects:

Common Kingfisher
- Species Identification: Knowing the specific bird species you want to photograph is fundamental. Different birds have varying behaviors, habitats, and feeding patterns. Understanding the species you’re photographing will help you anticipate their actions and select the appropriate shooting locations.
- Habitats and Behaviors: Research the habitat preferences and behavioral traits of the birds you’re interested in. Some birds are territorial, while others migrate seasonally. Understanding where and when they are likely to be found can be essential for your planning.
- Field Guides and Online Resources: Utilize bird field guides, books, and online resources to learn about the birds you want to photograph. These resources often provide information on bird identification, distribution, calls, and habits.
- Local Birding Community: Connect with local birdwatchers and photographers who can share their knowledge and experience. They may offer valuable insights into the best places and times to find specific bird species.
- Birding Apps: There are many mobile apps designed for birders and bird photographers that can help you identify birds by their calls and appearances.
*Some popular apps include Merlin Bird ID, Audubon Bird Guide, and eBird.
- Seasonal and Time-of-Day Variations: Different seasons and times of the day can influence bird activity. Understanding these variations can help you plan your bird photography trips more effectively.
- Food Sources: Birds are often drawn to specific food sources such as fruiting trees, flowers, or bodies of water. Learning about their preferred food sources can help you predict where they’ll be.
- Mating and Nesting Behavior: Understanding the breeding, mating, and nesting behavior of birds can lead to opportunities for capturing unique and intriguing images.
- Migration Patterns: If you’re interested in migratory birds, study their migration routes and timing. Knowing when they pass through your region can help you plan your photography outings.
Finding the right location is essential in bird photography for beginners, as it directly affects the variety and quality of bird shots you can capture. Beginners should start with nearby birding hotspots like wetlands, forests, parks, or even backyards, where bird activity is frequent and predictable. Choosing an appropriate location not only increases your chances of spotting different species but also allows you to practice in a comfortable, accessible environment. For successful bird photography for beginners, knowing where to go is just as important as knowing how to shoot.
Here are some general tips for finding great locations for bird photography:
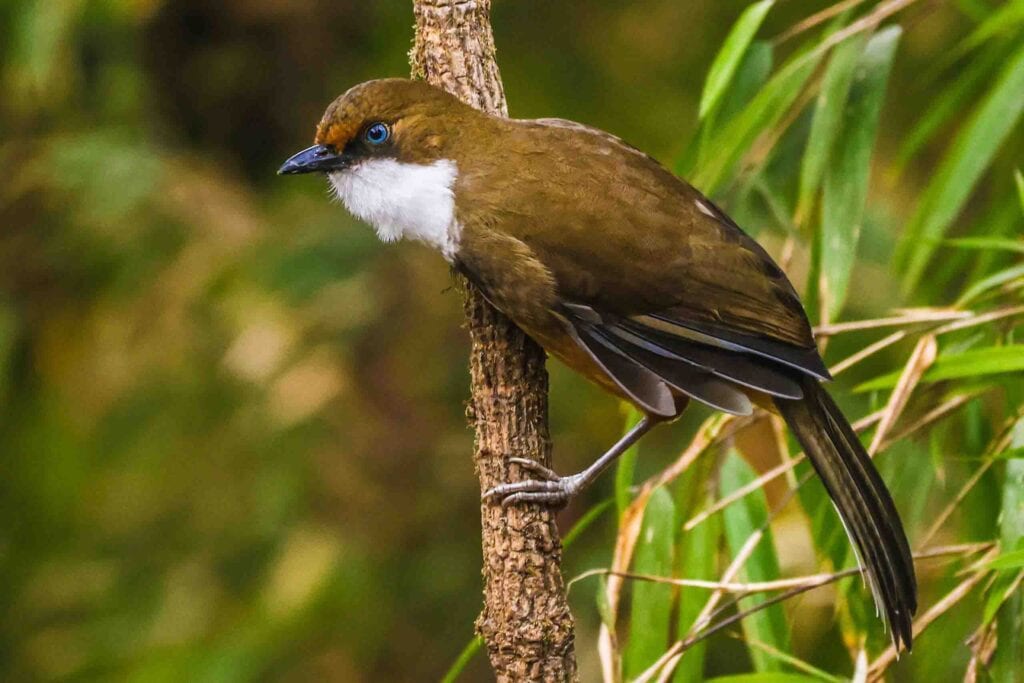
White-throated Laughingthrush
- Local Parks and Nature Reserves: Many local parks and nature reserves offer excellent bird-watching and photography opportunities. Look for areas with diverse habitats like wetlands, forests, and grasslands.
- Wildlife Refuges: Wildlife refuges are often dedicated to the preservation of natural habitats and are home to a wide variety of bird species. These areas usually have designated bird blinds and viewing areas for photographers.
- Coastal Areas: Coastal regions are fantastic for capturing seafaring birds, such as seabirds, shorebirds, and waterfowl. Look for beaches, estuaries, and cliffs where these birds congregate.
- Wetlands and Marshes: Wetlands and marshes are rich in birdlife, especially wading birds and waterfowl. Some of these areas have boardwalks or trails that provide good vantage points for photography.
- Birding Hotspots: Many areas are renowned as birding hotspots due to the high diversity of bird species.
*Research and join local birding communities to learn about the best locations in your region.
- National Parks and Wildlife Sanctuaries: National parks and wildlife sanctuaries often provide stunning natural settings for bird photography. Check for specific locations known for bird activity within these protected areas.
- Bird Feeders and Gardens: Sometimes, you can attract birds to your own backyard by setting up bird feeders and creating a bird-friendly garden. This can be a convenient way to photograph local birds.
- Bird Migrations: During migration seasons, birds travel long distances. Research the migratory routes of specific species, and be at the right place at the right time to capture them in large numbers.
- Local Birding Guides: Consider hiring a local birding guide who knows the best bird photography spots in your area. They can lead you to the most productive locations.
- Wildlife Photography Tours: Joining organized wildlife photography tours can take you to prime birding locations guided by experts who know the best spots and have experience with bird behavior.
One of the most valuable skills in bird photography for beginners is developing patience and sharp observation. Birds are unpredictable and often shy, so waiting quietly and observing their natural behavior is key to capturing authentic and powerful images. Learning to slow down and watch closely not only improves your timing but also deepens your connection with the subject—an essential trait for any aspiring bird photographer.
Here are some tips on how to use patience and observation effectively in bird photography:
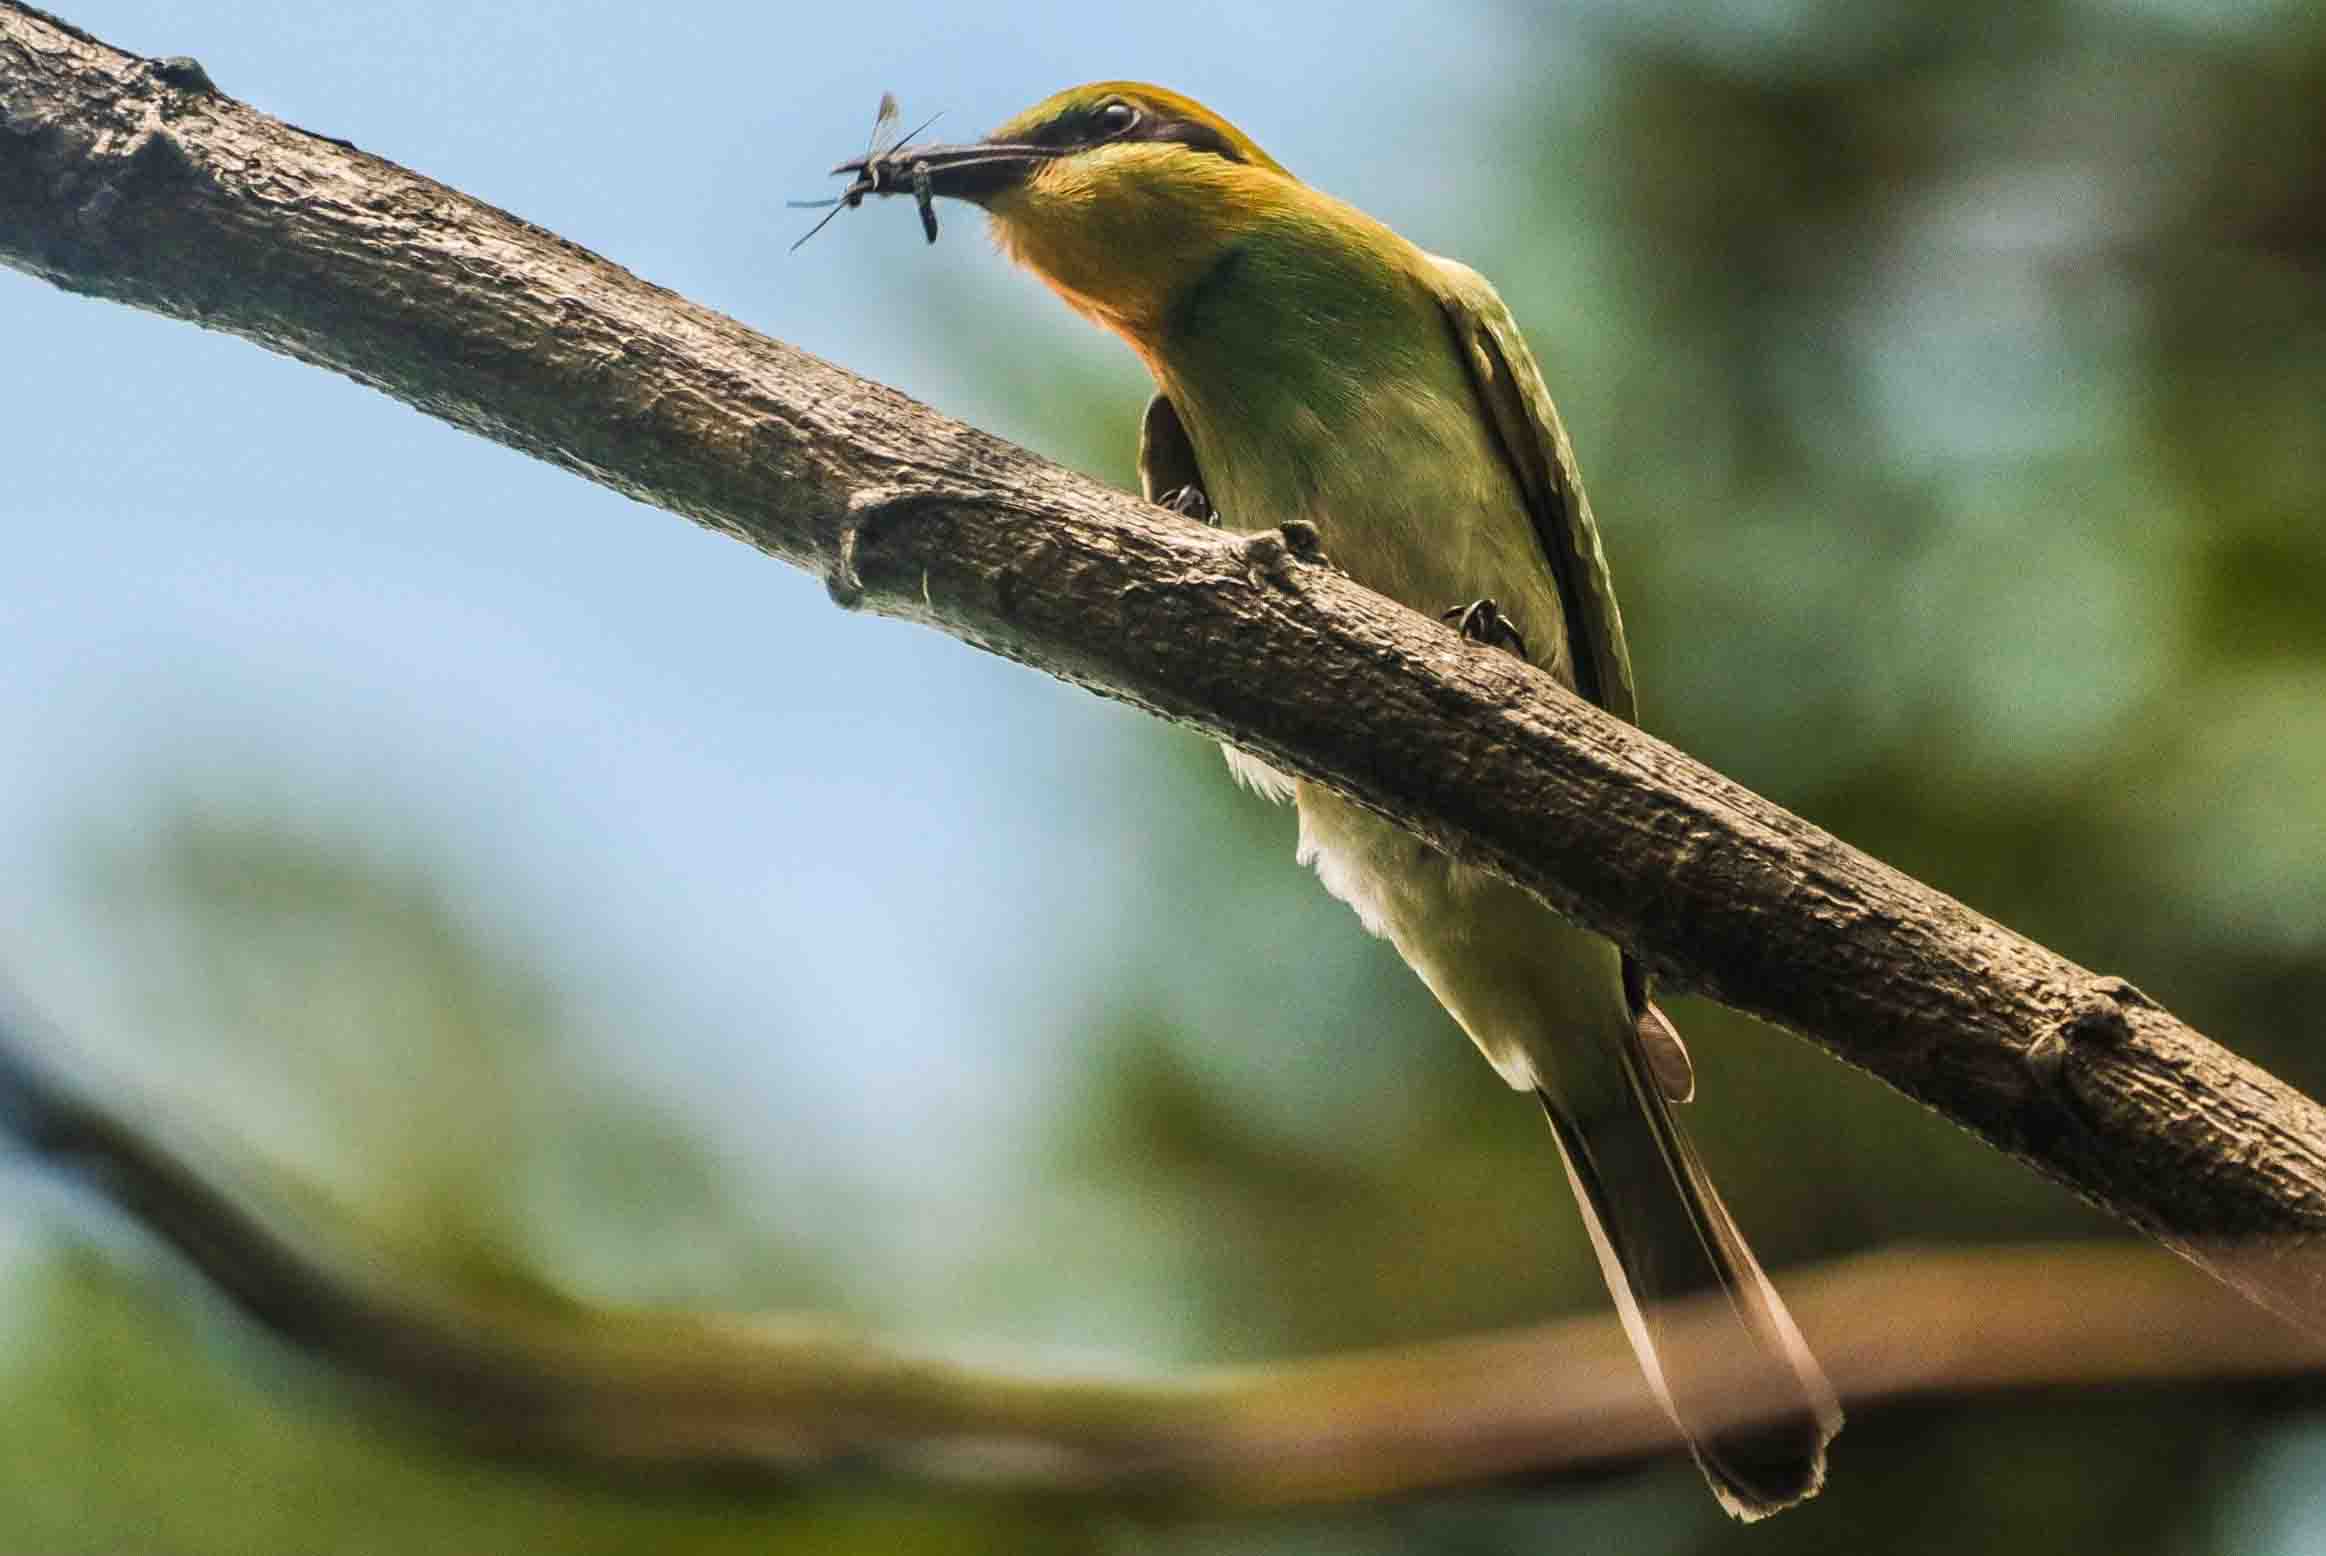
Swallow-tailed Bee-eater
- Blend into the Environment: Wear earth-toned or camouflaged clothing and use a hide or blind to minimize your presence and disturbance to the birds. The more you can blend in, the more natural behavior you can capture. Use a blind or hide to conceal yourself.
- Be Patient: Bird photography often involves waiting for long periods. Be prepared to spend hours or even days in one spot to get the perfect shot.
*Patience is key to capturing candid moments.
- Learn to Predict Movements: By understanding bird behavior, you can anticipate when they might take off, land, or engage in other interesting activities. This knowledge helps you prepare to capture these moments.
- Be Ready: Keep your camera settings adjusted for quick action, and have your camera ready to shoot at all times. Birds can move quickly, so you need to be prepared for unexpected moments.
- Practice Patience: Birds can be unpredictable, and not every outing will result in a great photo. Be patient and persistent. The more time you spend in the field, the more opportunities you’ll have to capture remarkable images.
Here are some important ethical guidelines for bird photography:
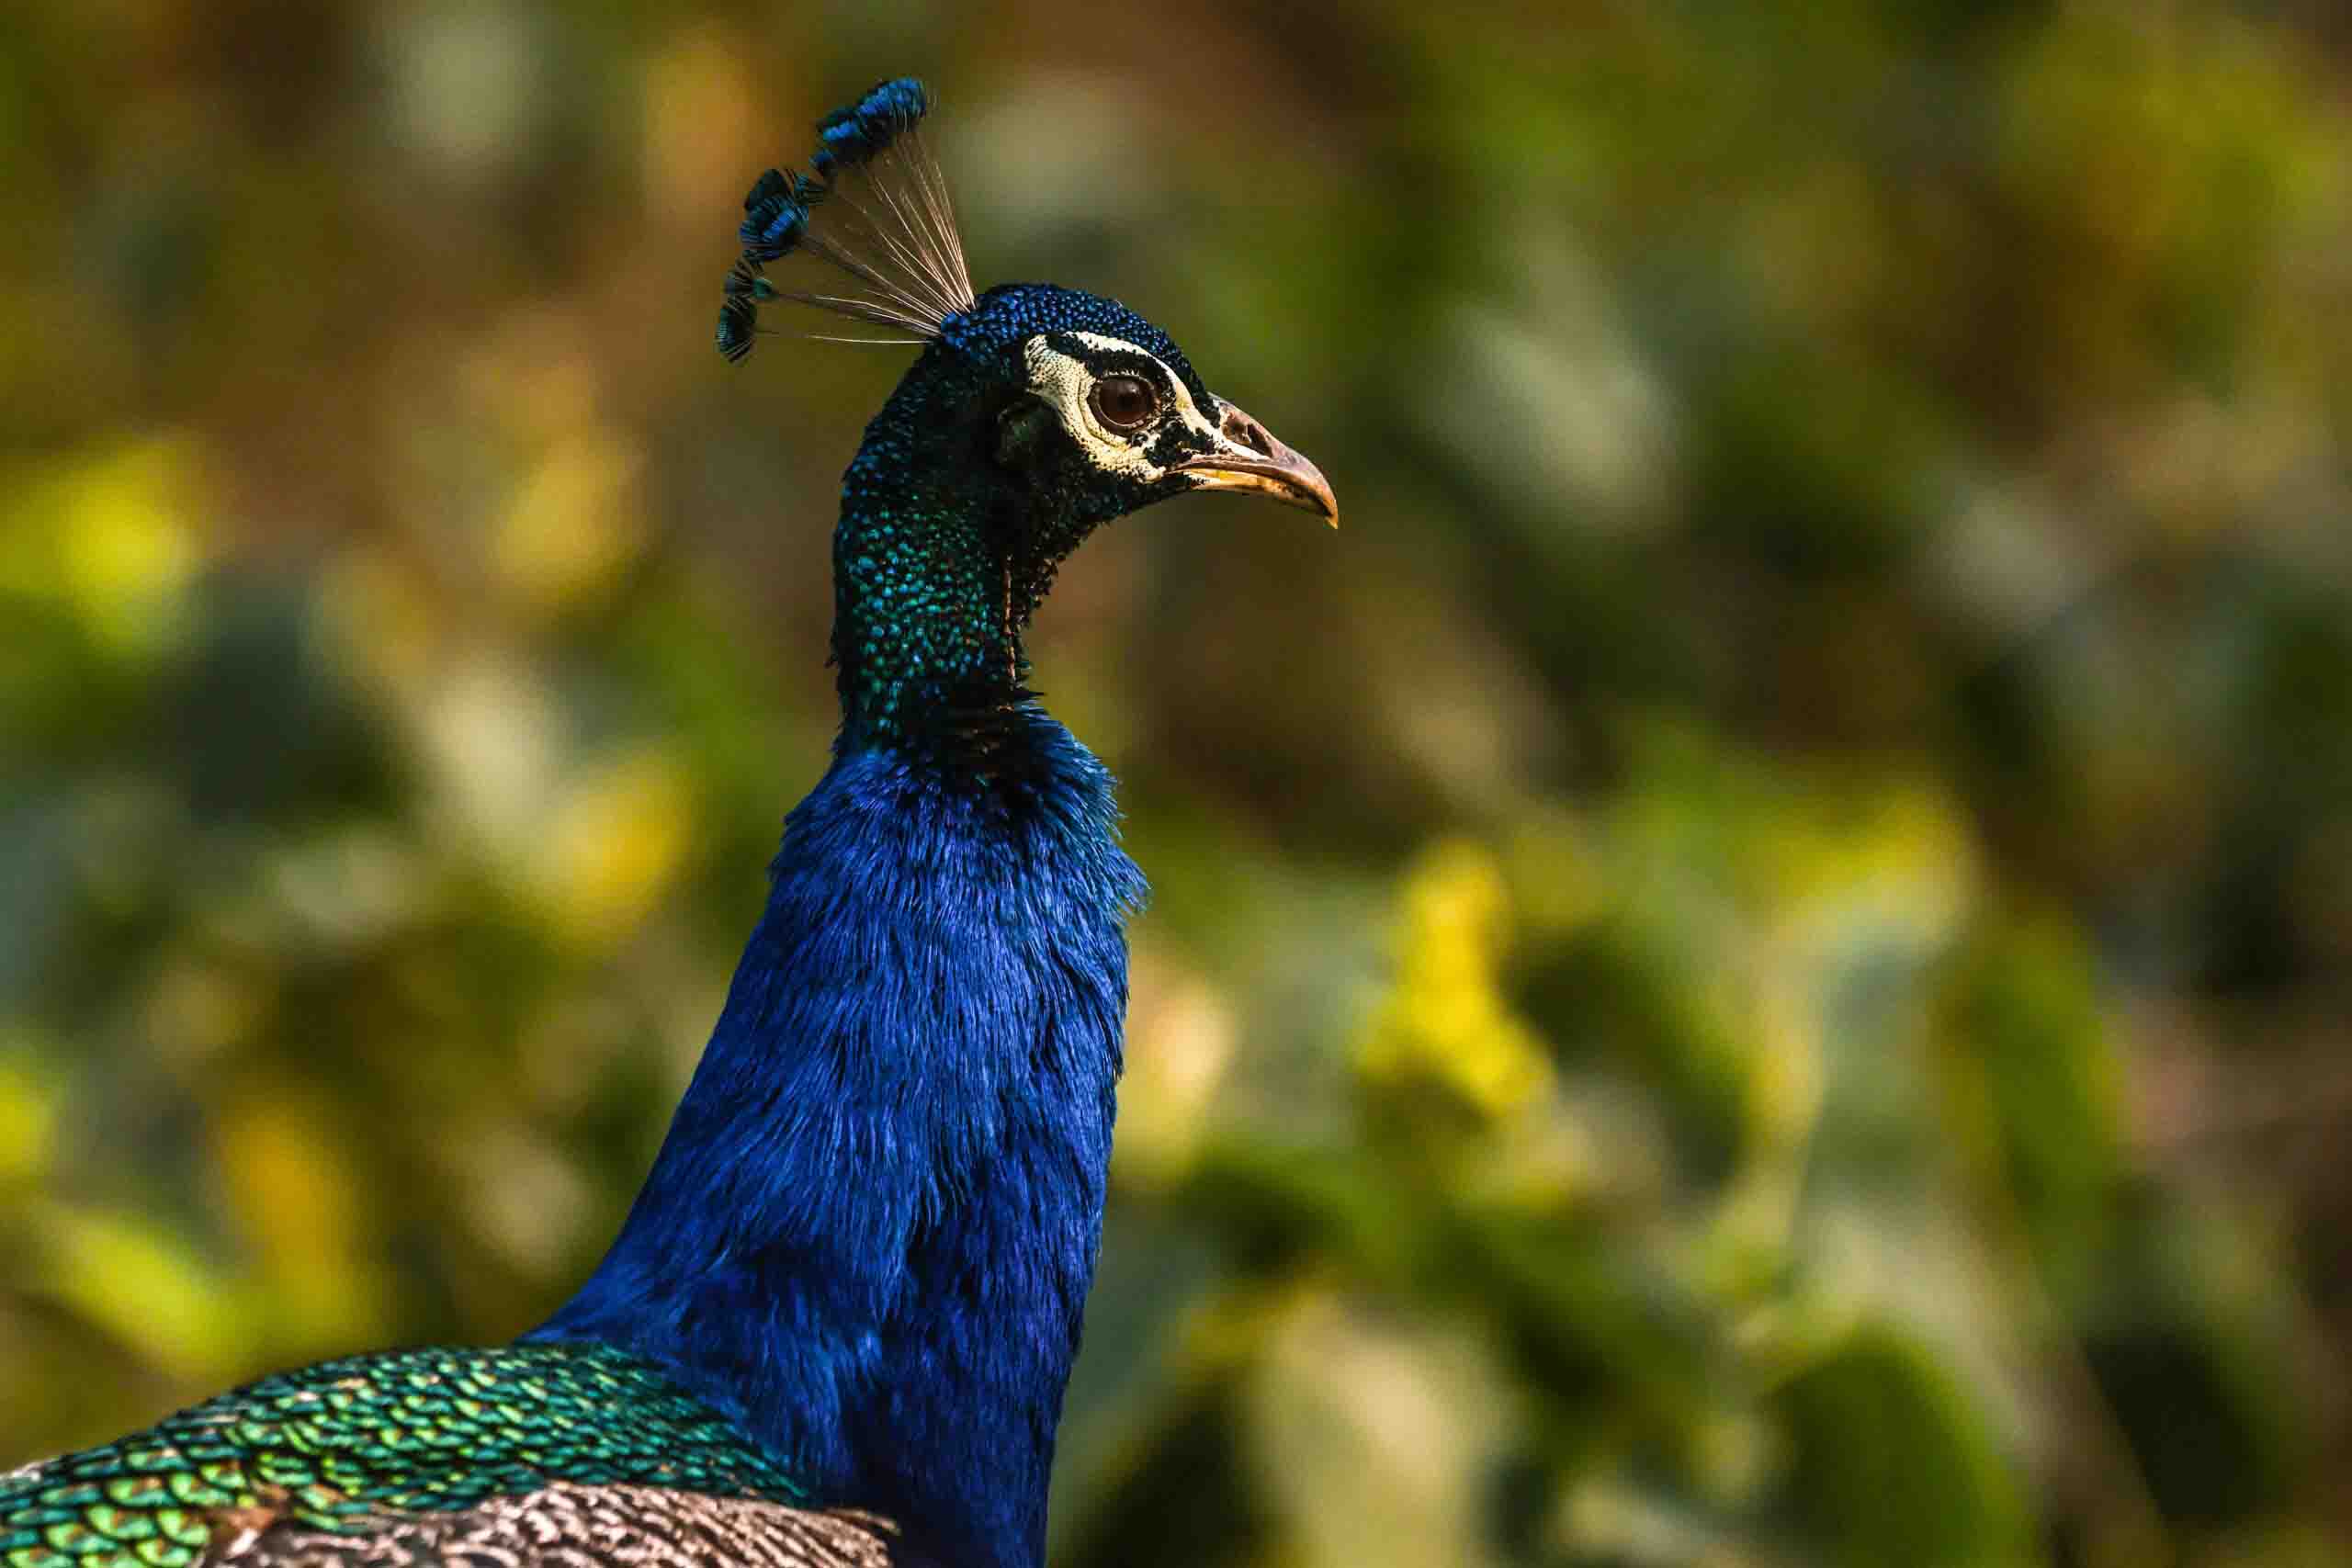
Indian Peafowl
- Do No Harm: The cardinal rule of ethical bird photography is to prioritize the well-being of the birds. Your actions should never cause harm, stress, or disturbance to them or their habitats.
- Maintain a Safe Distance: Use appropriate lenses and equipment to photograph birds from a distance that doesn’t alarm or stress them. Research the ideal distance for the species you are photographing and adhere to it.
- Respect No-Go Areas: Be aware of restricted or protected areas, and respect any closures or seasonal restrictions. Nesting areas and wildlife reserves may have specific rules to protect bird populations.
- Stay on Designated Paths: Stick to established trails and paths to avoid trampling sensitive habitats or disturbing nesting birds. Your presence can destroy nests and disrupt breeding.
- Avoid Nest Disturbance: Never approach or photograph nesting birds at close range.
*Stressing nesting birds can cause them to abandon their nests or young.
- No Baiting or Luring: Avoid the unethical practice of using bait or lures to manipulate bird behavior. This can disrupt natural behavior and may even endanger the birds.
- Minimize Noise and Disturbances: Keep noise to a minimum. Sudden loud noises or movements can startle birds and disrupt their activities.
- Limit Human Scent: Minimize your scent by using scent-blocking sprays or following good hygiene practices, as birds can detect human odors.
- Use Blinds and Hides: When appropriate, use hides or blinds to conceal yourself. These structures help you observe and photograph birds without disturbing them.
- Educate Others: Share your knowledge of ethical bird photography practices with other photographers and bird enthusiasts to promote responsible behavior in the field.
- Contribute to Conservation: Consider supporting bird conservation efforts through donations, volunteer work, or by participating in citizen science projects that help protect and understand bird populations.
- Obey Local Regulations: Familiarize yourself with and follow local laws, regulations, and guidelines for bird photography. These rules may vary from one region to another.
- Capture Natural Behavior: Strive to photograph birds engaging in their natural behaviors. Avoid setups or contrived situations that artificially alter their activities.
- Post-Processing Ethics: Be transparent about any post-processing work. While editing is a standard part of photography, avoid altering images to the point where they misrepresent the bird’s appearance or the scene.
Remember that ethical bird photography should prioritize the well-being of the birds and their environment. By practicing good fieldcraft, you can capture stunning bird images while respecting and protecting the natural world you’re capturing.
Bird photography isn’t just about capturing beauty—it’s also a powerful tool for conservation. Every photo you take can tell a story about the fragile balance of our natural world. Through your lens, you can highlight the threats birds face from habitat loss, pollution, and climate change. By documenting their behavior and environment, you help raise awareness and encourage protection efforts.
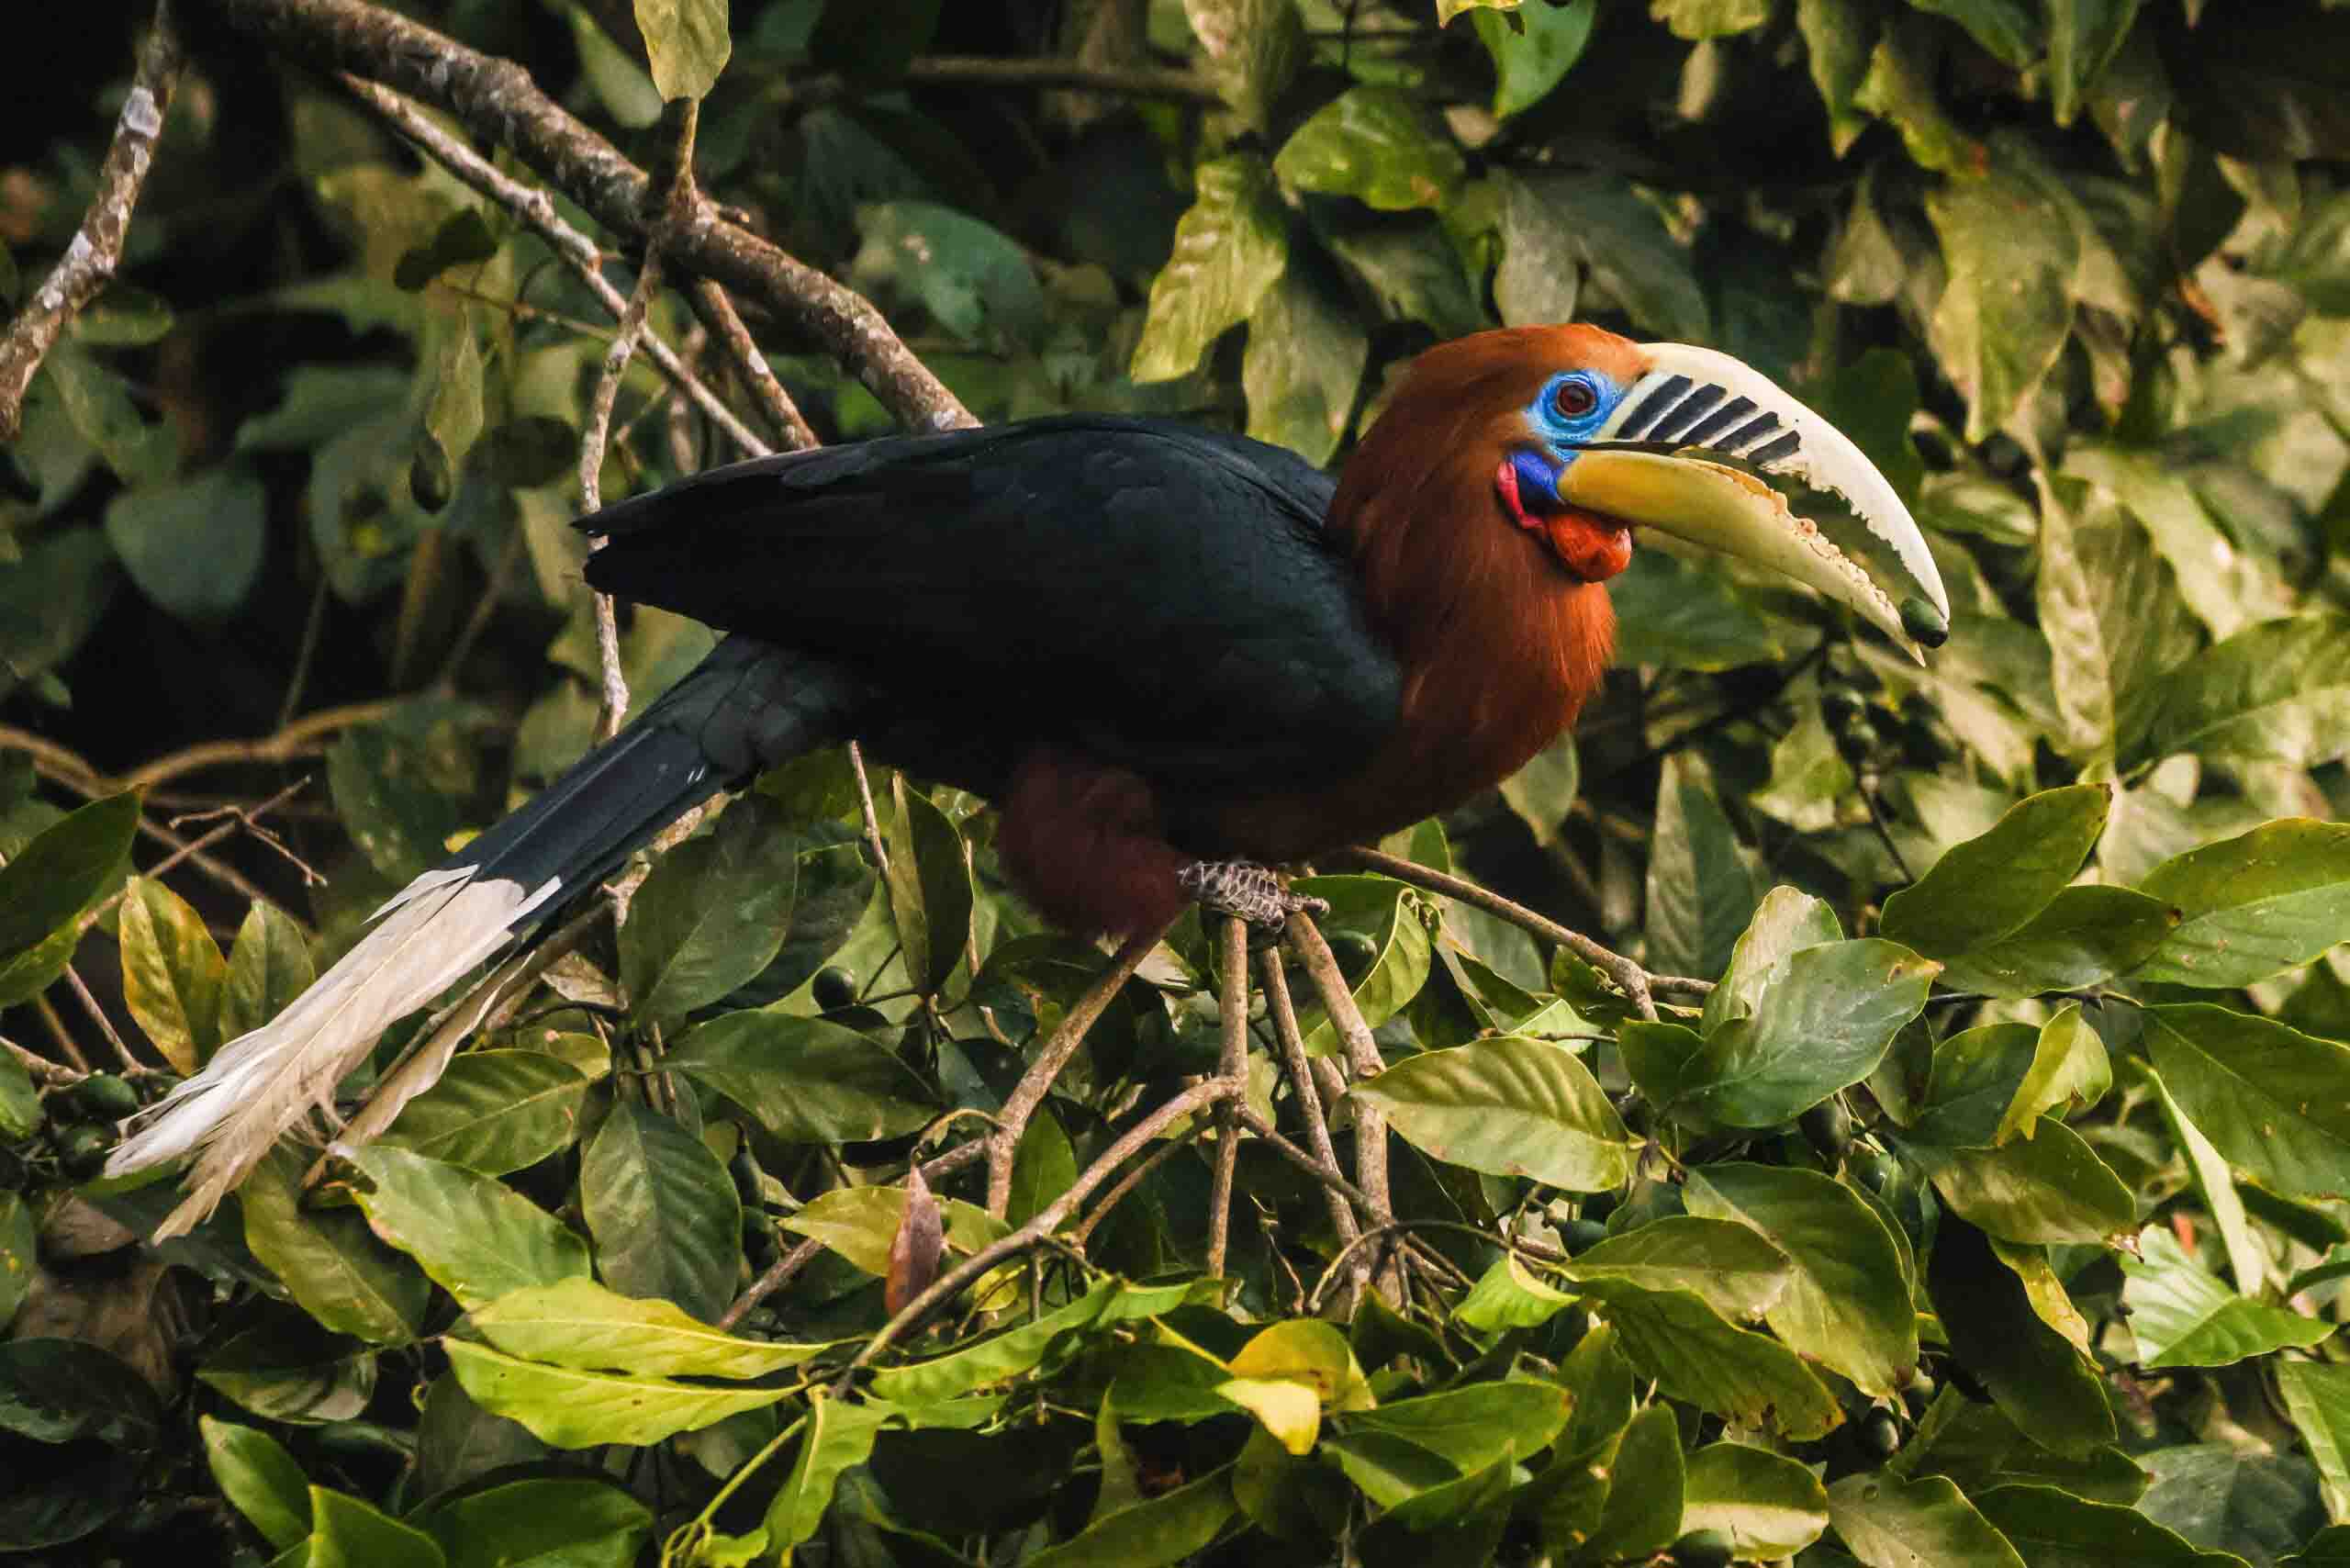
Rufous-necked Hornbill Male, Latpanchar, Darjeeling
As a beginner, start by observing your local bird species. Notice how urbanization or seasonal changes affect their habitats. Simple documentation of these changes can support scientific studies or citizen science projects like eBird. When you share your photos online, include meaningful captions that inspire people to care about the species and their environment. A single image of a bird feeding its chick or resting in a polluted wetland can speak louder than words.
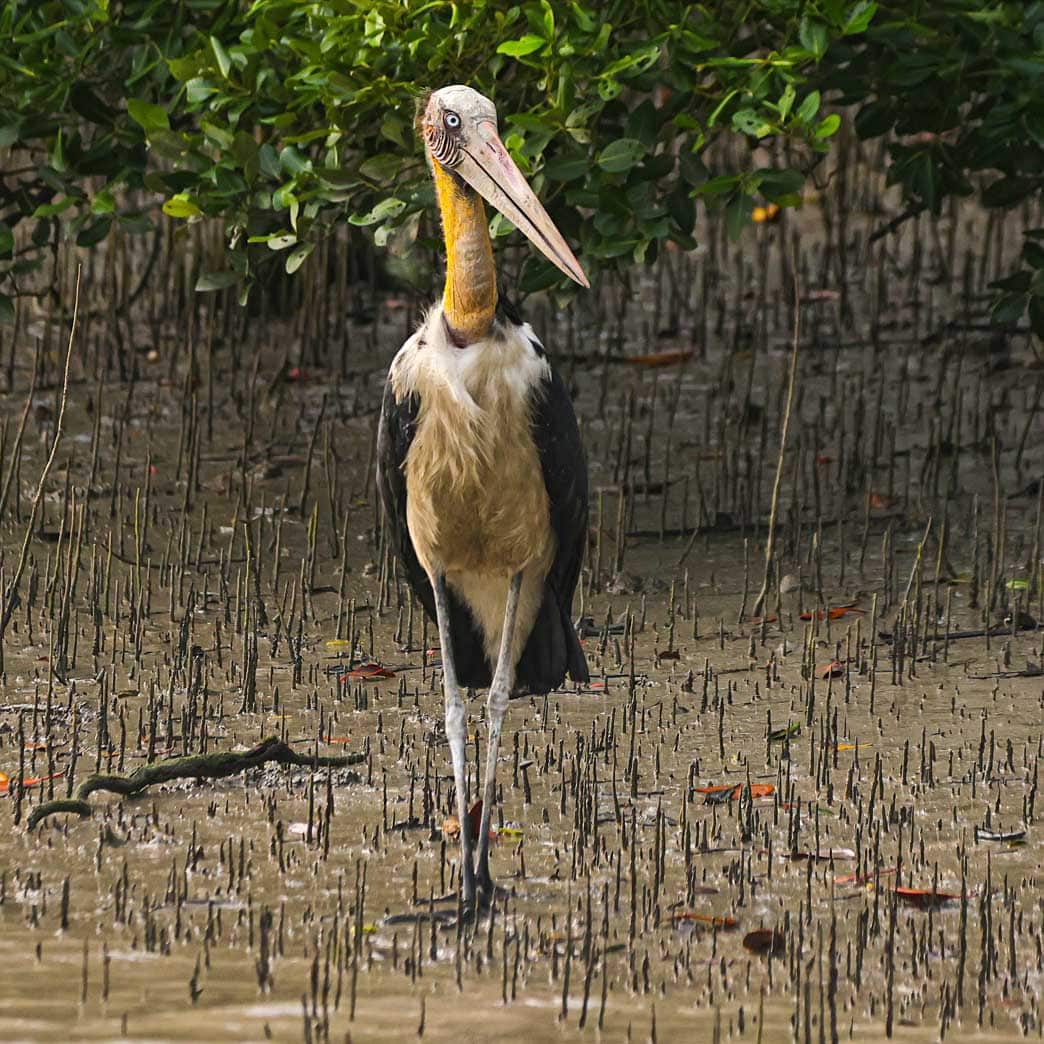
Madantak Bird in Sundarbans (Critical Mangroves Habitat)
Bird photography for beginners also connects you with conservation communities. You can collaborate with local birding groups, wildlife NGOs, or online conservation networks. Each photograph becomes part of a larger story—one that influences awareness, policies, and the collective mindset toward wildlife protection. Using your skills responsibly ensures that bird photography becomes more than an art; it becomes a form of advocacy.
When you photograph with purpose, you give voice to those who cannot speak. Your camera becomes a bridge between people and nature. Let every click remind others why preserving birds and their habitats matters—not just for photography but for our planet’s survival.
Post-processing is an essential step in bird photography for beginners, helping turn good shots into great ones. Even with perfect timing and lighting, editing can enhance details, correct exposure, and bring out the natural beauty of the bird. Learning basic adjustments like cropping, sharpening, color correction, and noise reduction can elevate your bird photos while maintaining a natural look. For beginners, post-processing is not about changing the scene—but about revealing its full potential.
Here are some post-processing techniques specific to bird photography:
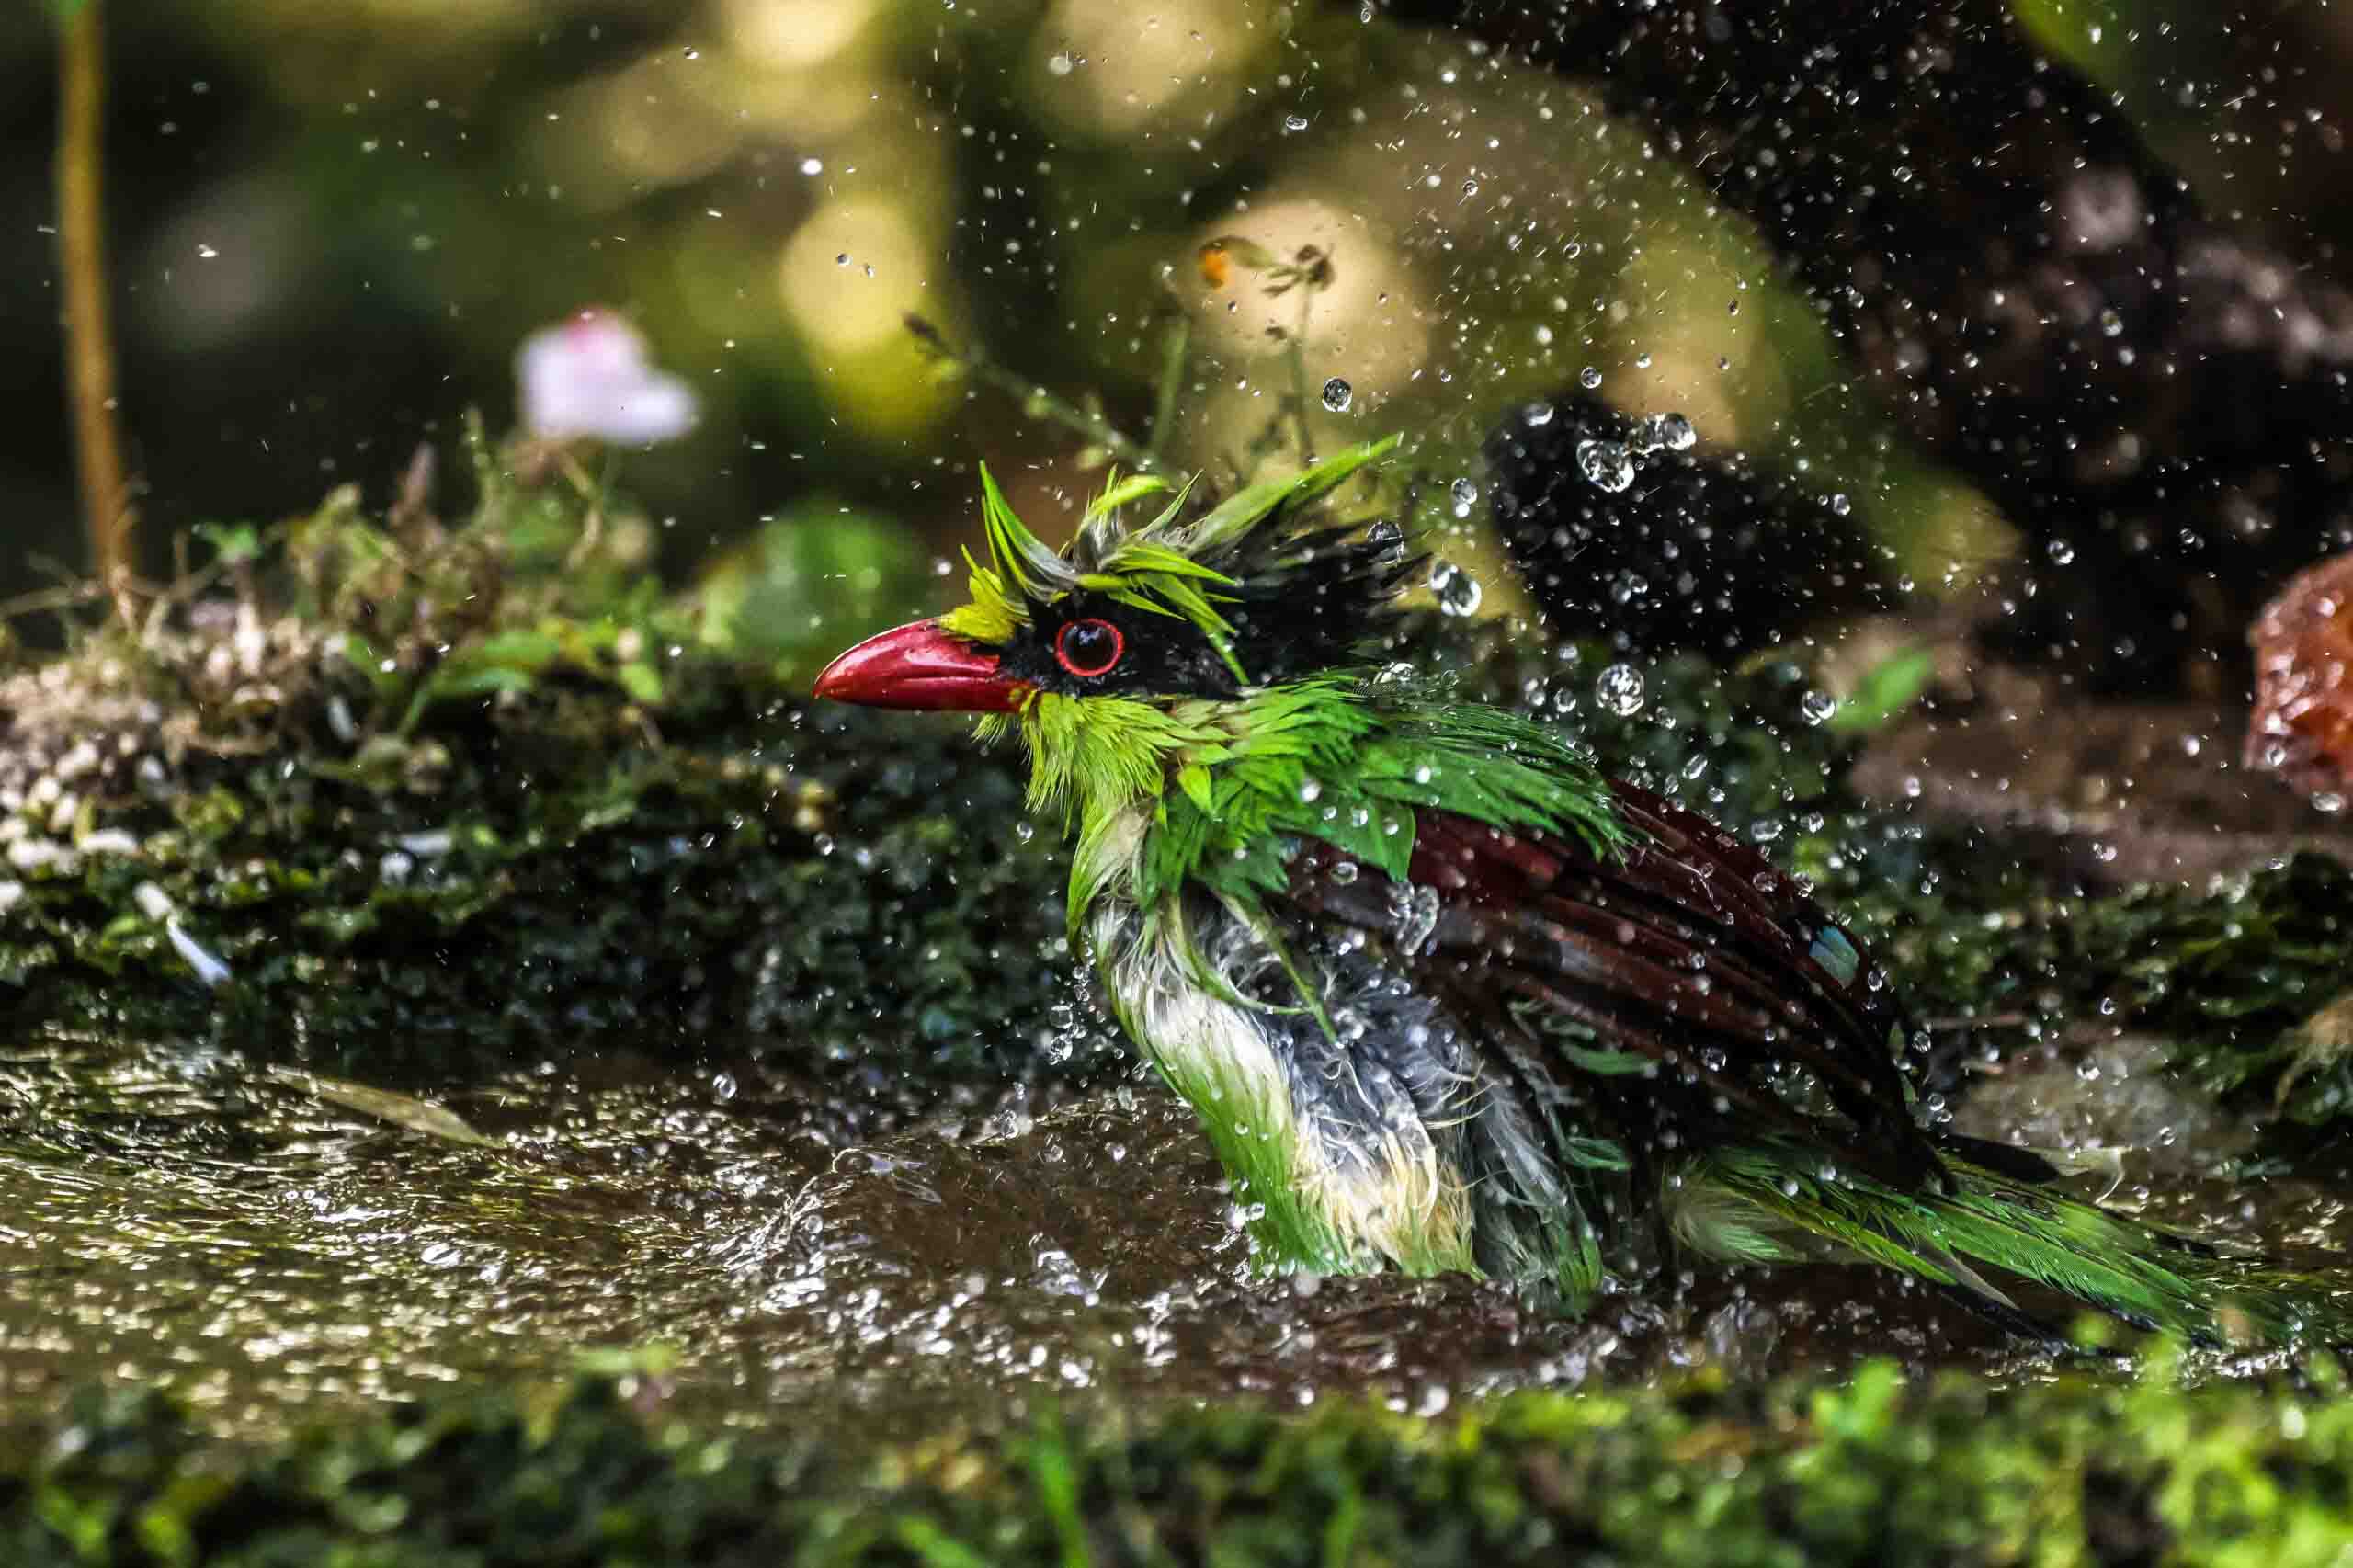
Common green Magpai
- Exposure and White Balance Adjustment: Start by adjusting exposure and white balance to ensure the image accurately represents the natural lighting and colors. Correct underexposed or overexposed areas to bring out details in both the bird and its surroundings.
- Sharpening and Noise Reduction: Sharpen the bird’s features to enhance fine details while being careful not to over-sharpen, which can introduce artifacts. Apply noise reduction to minimize any digital noise, especially in low-light or high-ISO shots.
- Cropping and Composition: Crop the image to improve composition or to emphasize the subject. Focus on the bird’s posture and position within the frame, making sure it’s not too close to the edges or too centered.
- Color and Saturation Adjustment: Fine-tune colors and saturation to ensure they appear natural. This might involve adjustments to the vibrancy, saturation, and color balance to enhance the bird’s plumage.
- Contrast and Tone Curves: Use contrast and tone curve adjustments to enhance the dynamic range of the image.
*Contrast and Tone Curves can help bring out details in both shadows and highlights while maintaining a natural appearance.
- Selective Editing: Utilize tools like adjustment brushes, gradients, or masks to selectively enhance or correct specific areas. For bird photography, this can be especially useful for highlighting the bird while de-emphasizing the background.
- Background Blurring or Bokeh Enhancement: If the background is distracting, you can apply blur to it (bokeh) to make the bird stand out more prominently. Be careful not to overdo this and maintain a natural look.
- Spot Removal: Remove any dust spots, blemishes, or unwanted elements in the image, such as twigs, wires, or other distractions.
- Clarity and Texture: Use the clarity and texture adjustments to bring out feather details and enhance the bird’s texture without creating an artificial appearance.
- Ethical Considerations: Ensure that your post-processing work maintains the authenticity of the bird and its environment. Avoid over-manipulation that might misrepresent the scene.
- Metadata and Keywords: Add relevant metadata, keywords, and copyright information to your images to aid in organization and sharing while also protecting your work.
Post-processing in bird photography should enhance the image while preserving the integrity of the bird and its natural habitat. The key is to maintain a balance between artistic expression and ethical considerations, respecting the subject’s authenticity and the essence of the original scene.
Practicing bird photography is essential for improving your timing, composition, and understanding of bird behavior. The more time you spend observing birds in their natural habitat, the better you’ll anticipate their movements and capture striking moments. Start by visiting local parks or your backyard, experimenting with different lighting conditions and angles. With regular practice, you’ll sharpen your technical skills and develop the patience and precision that bird photography demands.
Here are some practical steps to help you hone your bird photography skills:
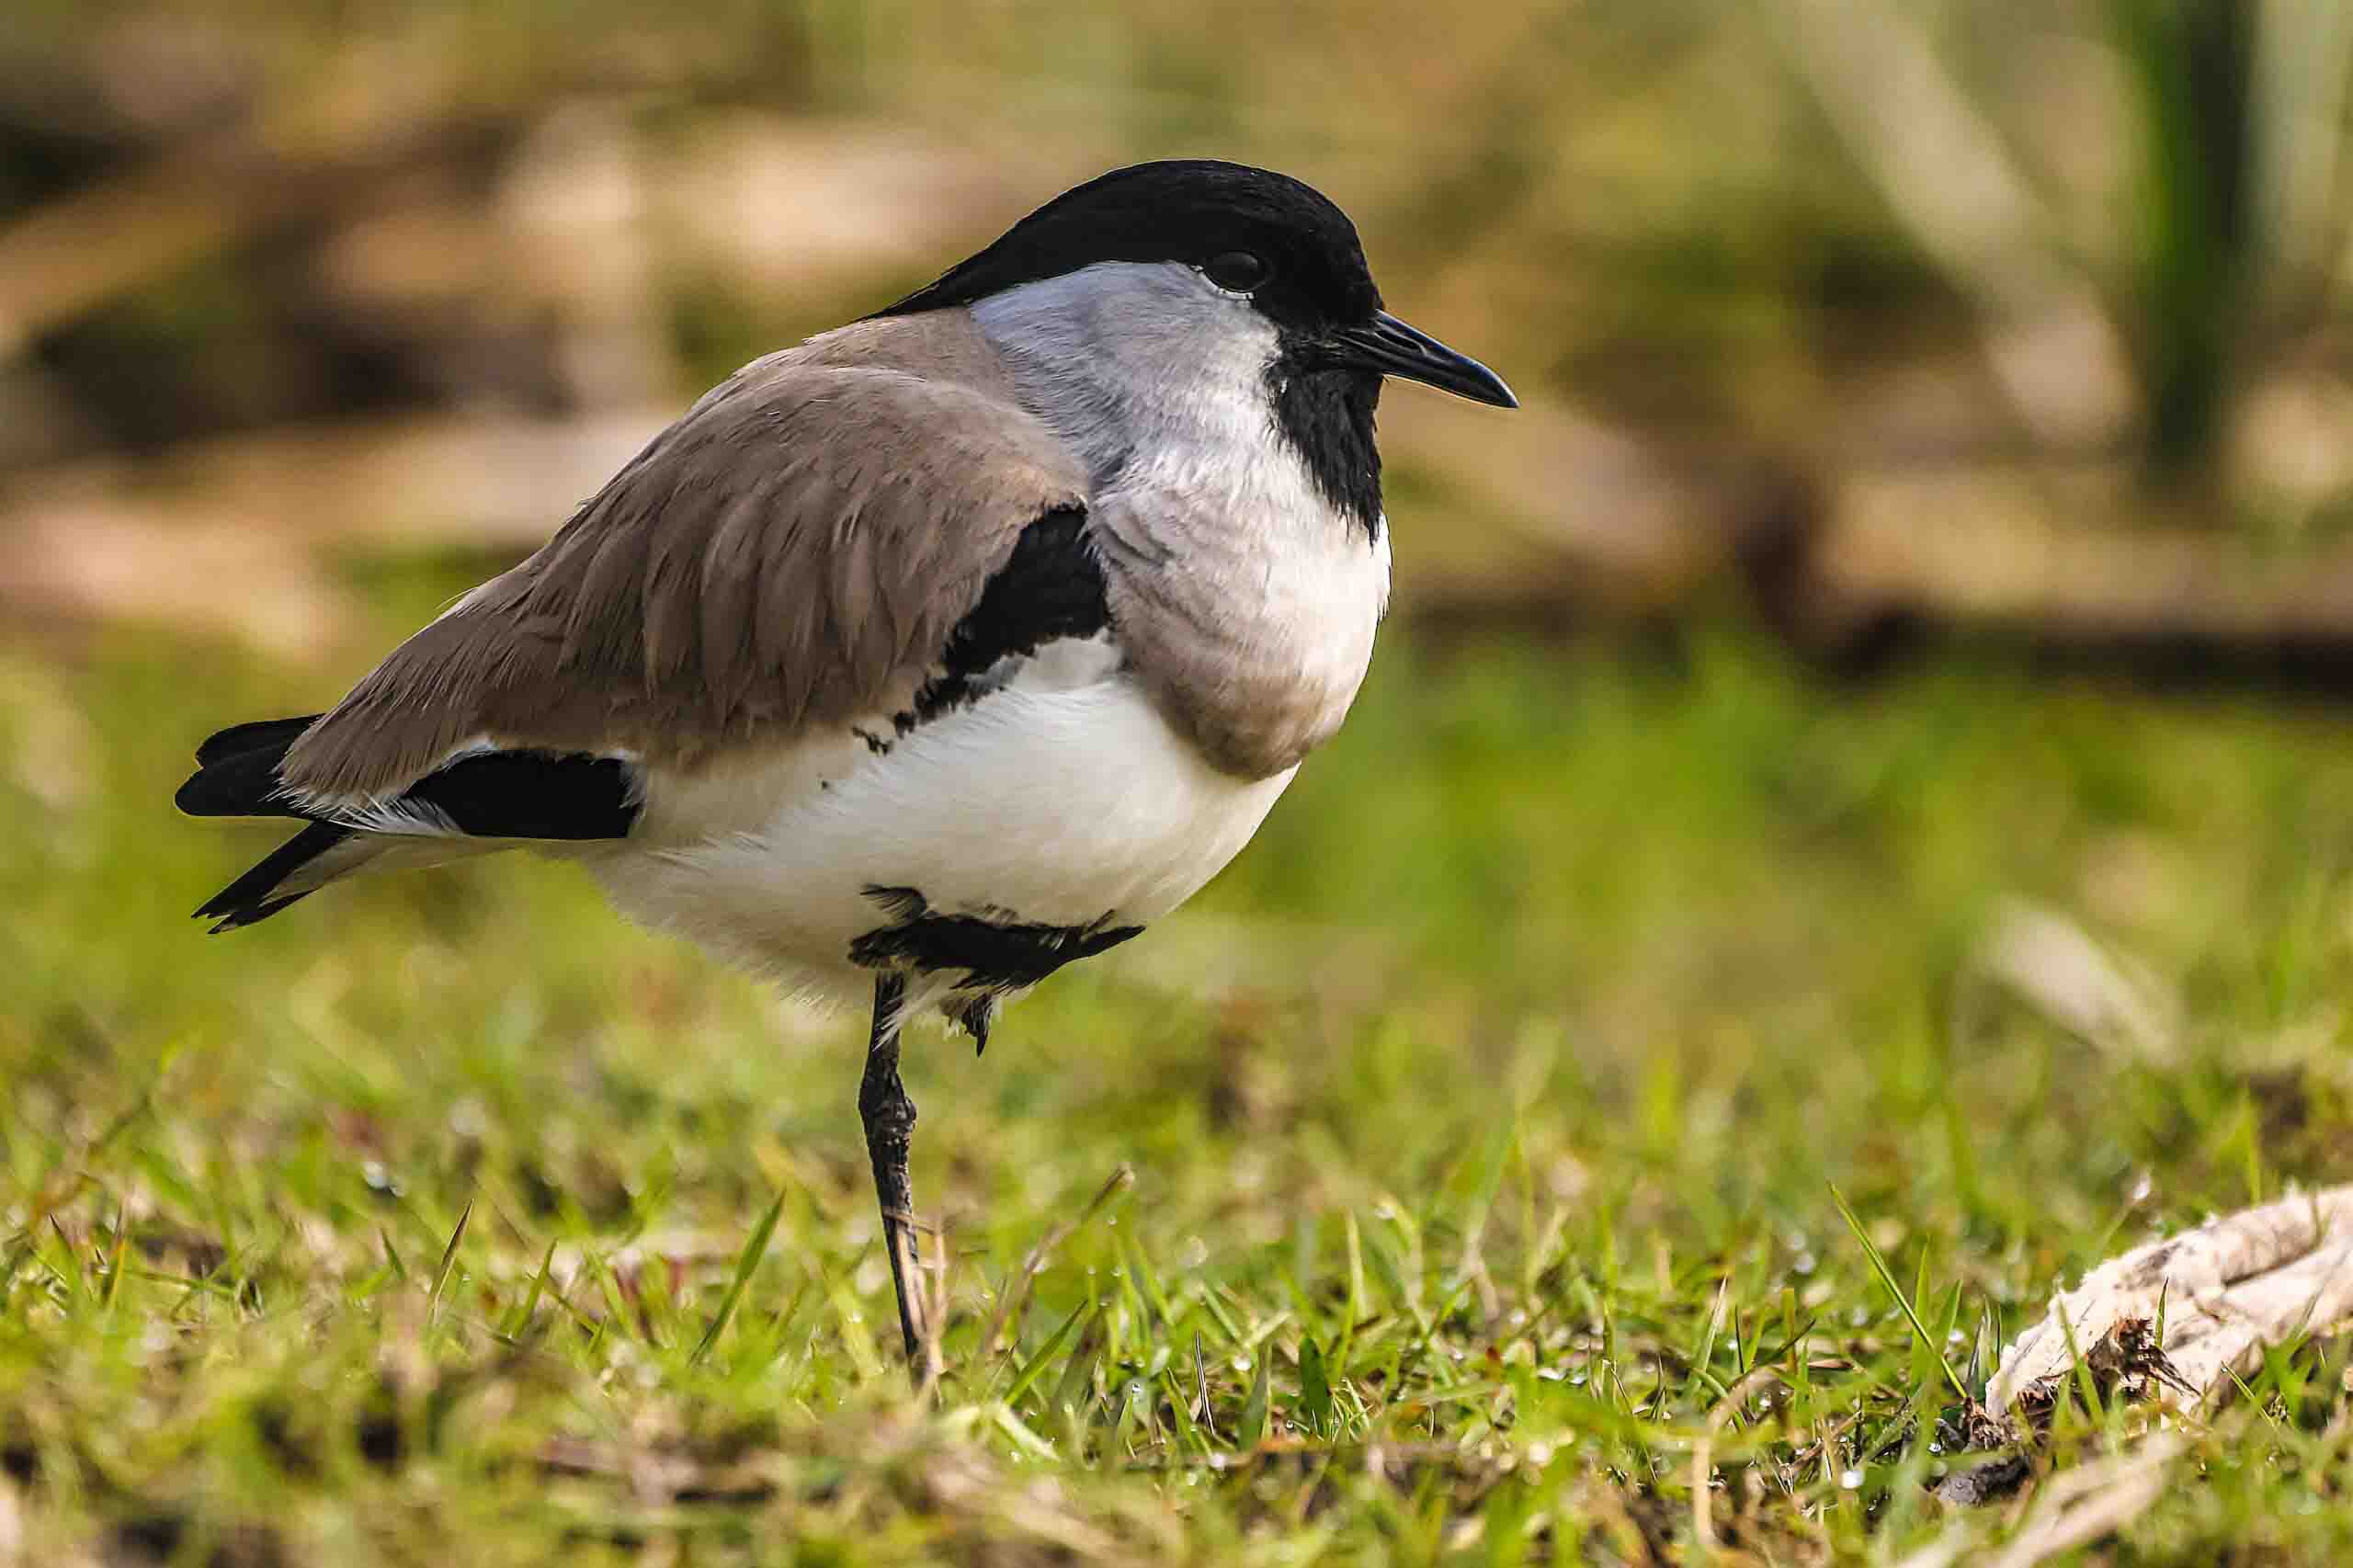
River Lapwing
- Learn About Birds: Study the behavior, habitat, and characteristics of the birds you wish to photograph. Understanding your subjects is crucial for anticipating their movements and habits.
- Invest in Proper Gear: Get a camera with good autofocus capabilities and a telephoto lens. A lens with a long focal length, such as 300mm or longer, is essential for capturing birds from a distance.
- Use a Stable Support: Invest in a quality tripod or monopod to keep your camera steady, especially when using long lenses.
- Practice Patience: Bird photography often involves long waits for the perfect shot. Be prepared to spend time observing and waiting for the right moment.
- Scout Locations: Research and scout birding locations. Visit wildlife refuges, parks, and areas known for birding to increase your chances of finding birds.
- Timing Matters: Birds are most active during the early morning and late afternoon, known as the golden hours.
*Golden hours offer beautiful lighting conditions and increased bird activity.
- Hides and Blinds: Use hides or blinds to conceal yourself and reduce the chances of disturbing the birds. This allows you to get closer for better shots.
- Learn Your Camera: Master the settings of your camera, especially autofocus modes and exposure settings. Practice using manual focus and exposure modes for more control.
- Fast Shutter Speeds: Birds are often in motion, so use fast shutter speeds to freeze their movements and prevent motion blur.
- Shoot in RAW: Capture images in RAW format to have more flexibility in post-processing. RAW files contain more data and allow for better adjustments.
- Experiment with Compositions: Practice various compositions, such as rule of thirds, leading lines, and framing, to create visually appealing bird photographs.
- Observe Behavior: Pay attention to bird behavior and look for interesting moments. Birds have unique postures and actions that can make your photos stand out.
- Respect Birds and Environment: Prioritize the well-being of the birds and their habitats. Avoid disturbing nests, and adhere to ethical bird photography practices.
- Join Birding Groups: Connect with local birding clubs and online forums. You can learn from experienced bird photographers and get tips on the best locations.
- Review and Learn: Critically assess your photos and learn from your successes and mistakes. Experiment with different techniques and settings to see what works best for you.
- Share Your Work: Share your bird photographs with others through social media or photography communities to get feedback and encouragement.
Bird photography is a journey, and improvement comes with time and practice. Keep honing your skills, and be patient with yourself. Each outing is an opportunity to learn and capture more captivating bird images.
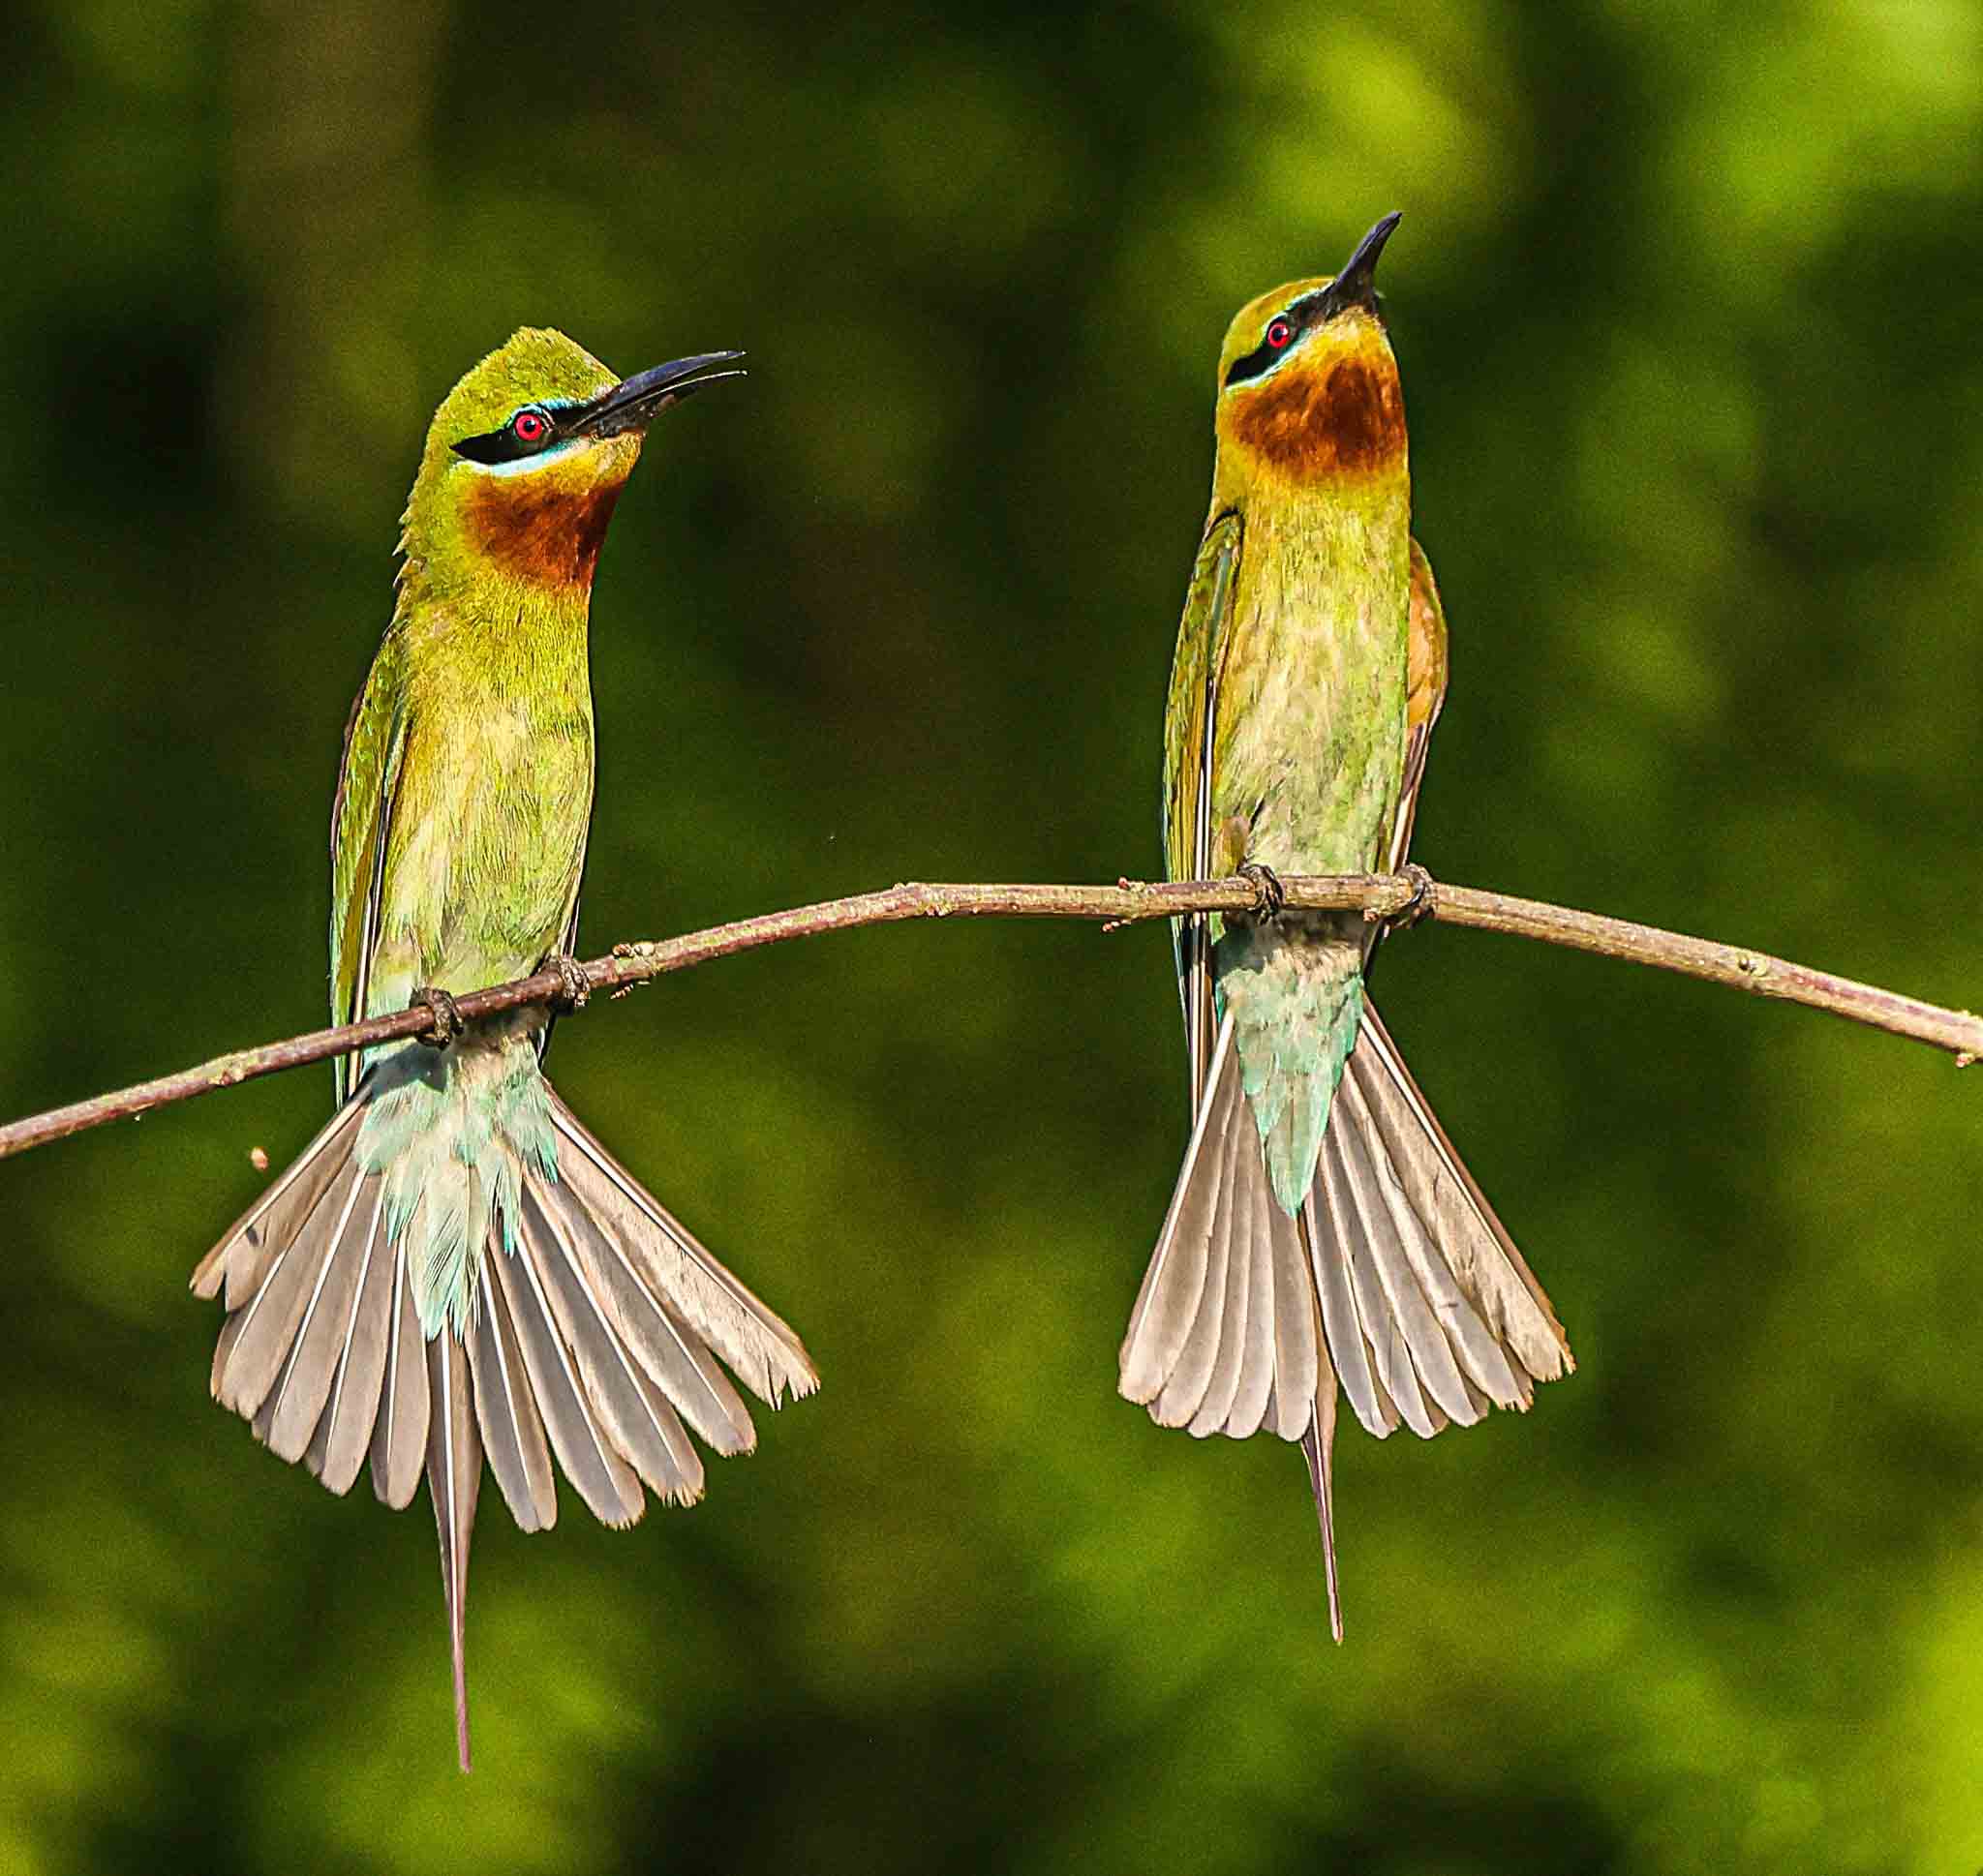
Blue-tailed Bee-eater Couple in Purbasthali, India
1. What is the best shutter speed for bird photography?
The best shutter speed depends on the bird’s activity. For flying birds, start at 1/1000s or faster to freeze motion. For perched or slow-moving birds, 1/500s is often enough. Always increase ISO if light is low to maintain sharpness.
2. Which lens is best for beginners in bird photography?
You don’t need the most expensive lens. A 300mm or 400mm telephoto lens is a great choice for beginners. Zoom lenses like 100-400mm give flexibility when birds are at different distances. If you’re on a budget, even a 70-300mm lens is a good start.
3. What time of day is best for bird photography?
The golden hours—early morning and late afternoon—are best. The light is softer, colors look richer, and birds are most active during these times. Midday sunlight is usually harsh and creates strong shadows, so it’s less ideal.
4. How do I keep birds in focus?
Use your camera’s continuous autofocus mode (AI Servo on Canon / AF-C on Nikon & Sony). Always try to focus on the bird’s eye—a sharp eye makes the photo stand out. Set your camera to burst mode so you can capture multiple frames in seconds while tracking movement.
5. Do I need expensive gear for bird photography?
No. Expensive gear helps but isn’t essential for beginners. Even an entry-level DSLR or mirrorless camera with a budget telephoto lens can produce excellent results. What matters more is patience, timing, and practice.
6. How can I practice bird photography without traveling?
You don’t need to visit wildlife reserves to start. Practice in your backyard, garden, or nearby parks. Photographing common birds like sparrows, pigeons, or crows will help you improve focus, light handling, and composition. Once confident, you can plan trips for rare species.
Embarking on the journey of bird photography for beginners opens up a whole new world of creativity, patience, and connection with nature. From understanding your camera settings to choosing the right lens, from learning bird behavior to practicing focus and tracking techniques—each step you take brings you closer to capturing truly memorable avian moments. While the learning curve may seem steep at first, consistent practice, observation, and time in the field will steadily sharpen your skills.
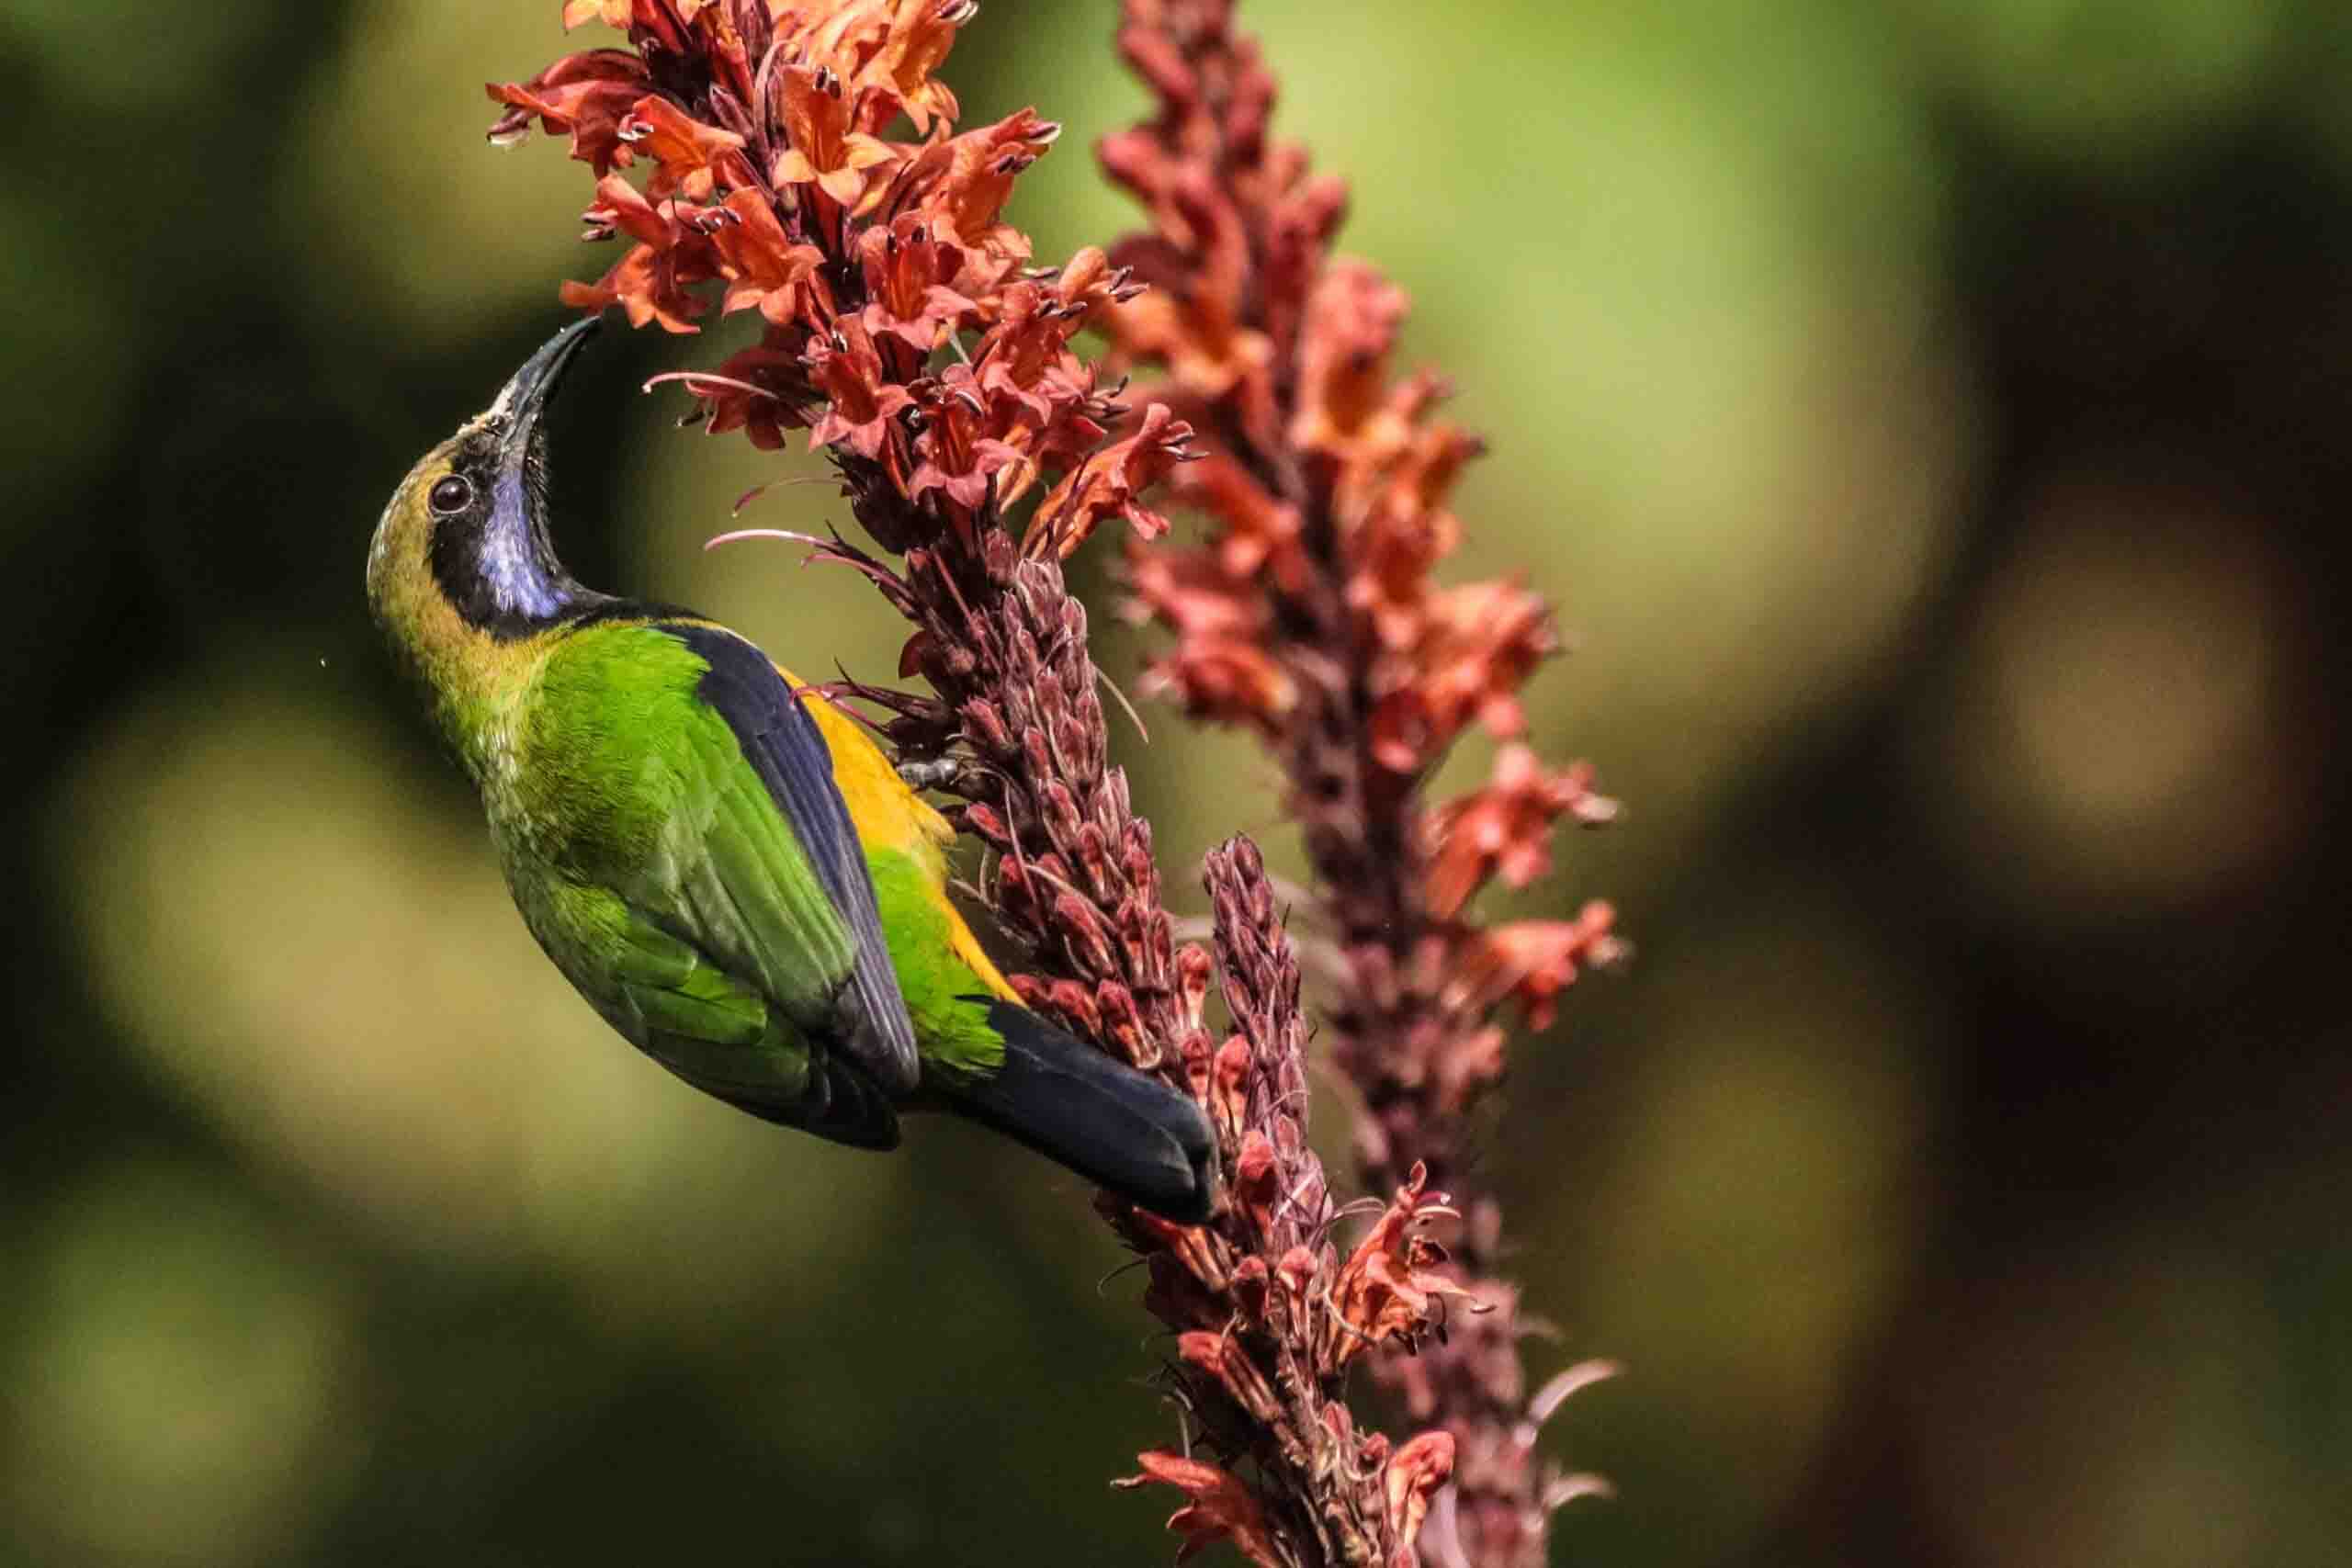
Chloropsis hardwickii
Remember, great bird photography isn’t just about expensive gear—it’s about timing, light, composition, and most importantly, your passion for birds and the natural world. As a beginner, don’t be discouraged by early challenges. Instead, use every outing as an opportunity to learn and grow.
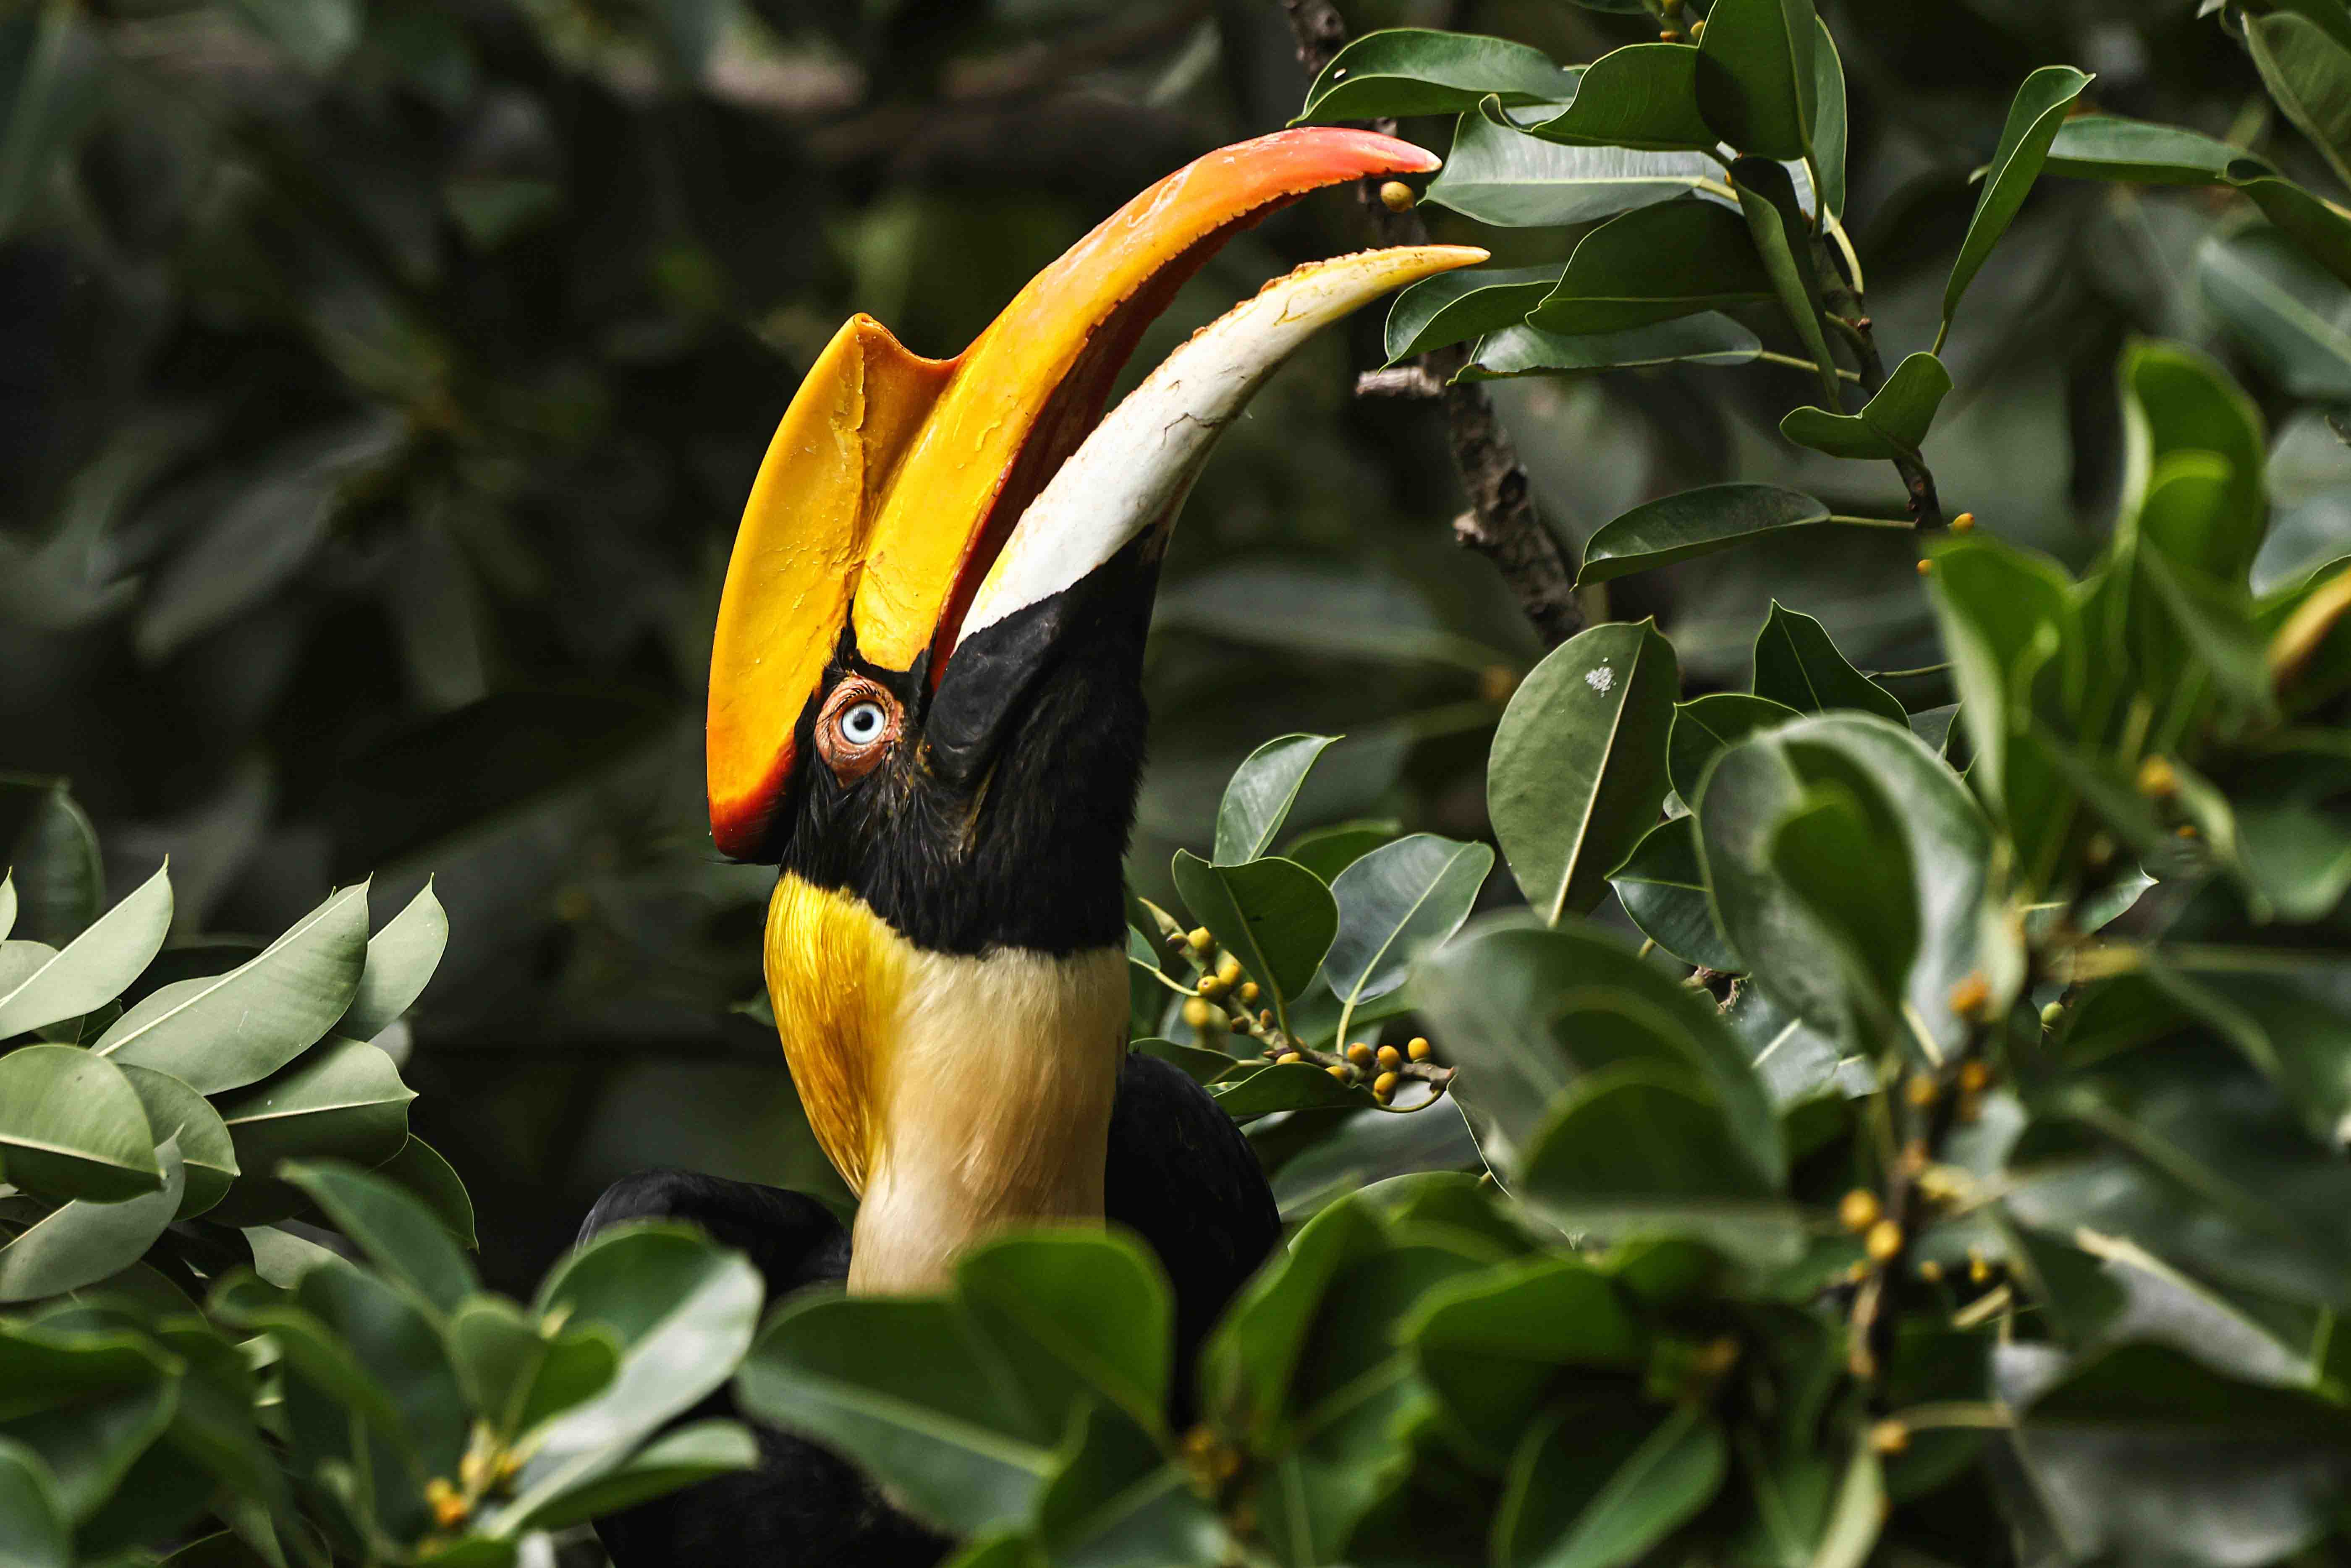
Great Indian Hornbill
With the tips and techniques shared in this guide, bird photography for beginners becomes far less intimidating and much more rewarding. Keep experimenting, stay patient, and allow your style to evolve naturally. Soon, you’ll not only be capturing stunning images but also telling unique visual stories that inspire others to appreciate the beauty of our feathered friends.
Recent Comments